Em processo de tradução
Levels 53-63 – Beshmundir Temple
Levels 53-54
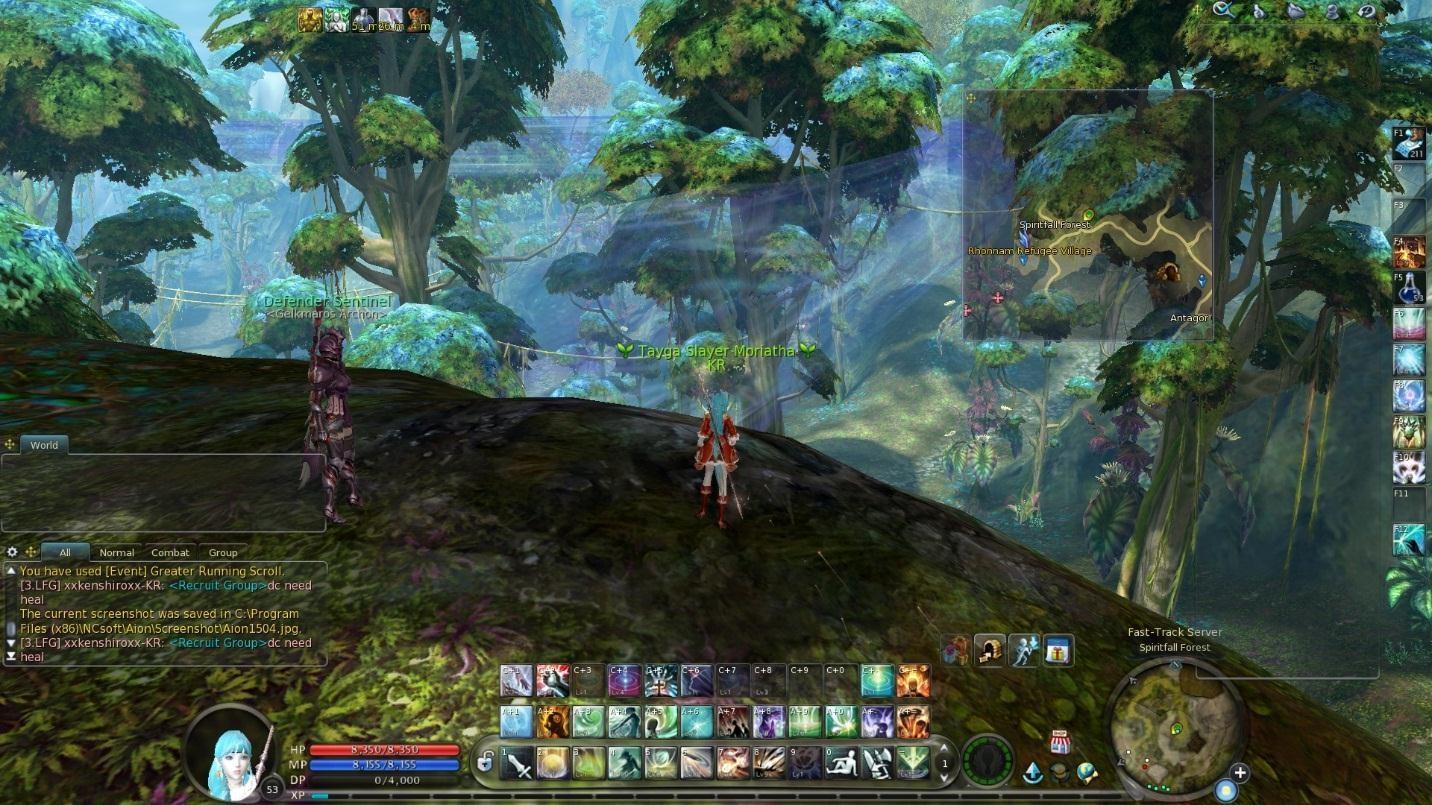
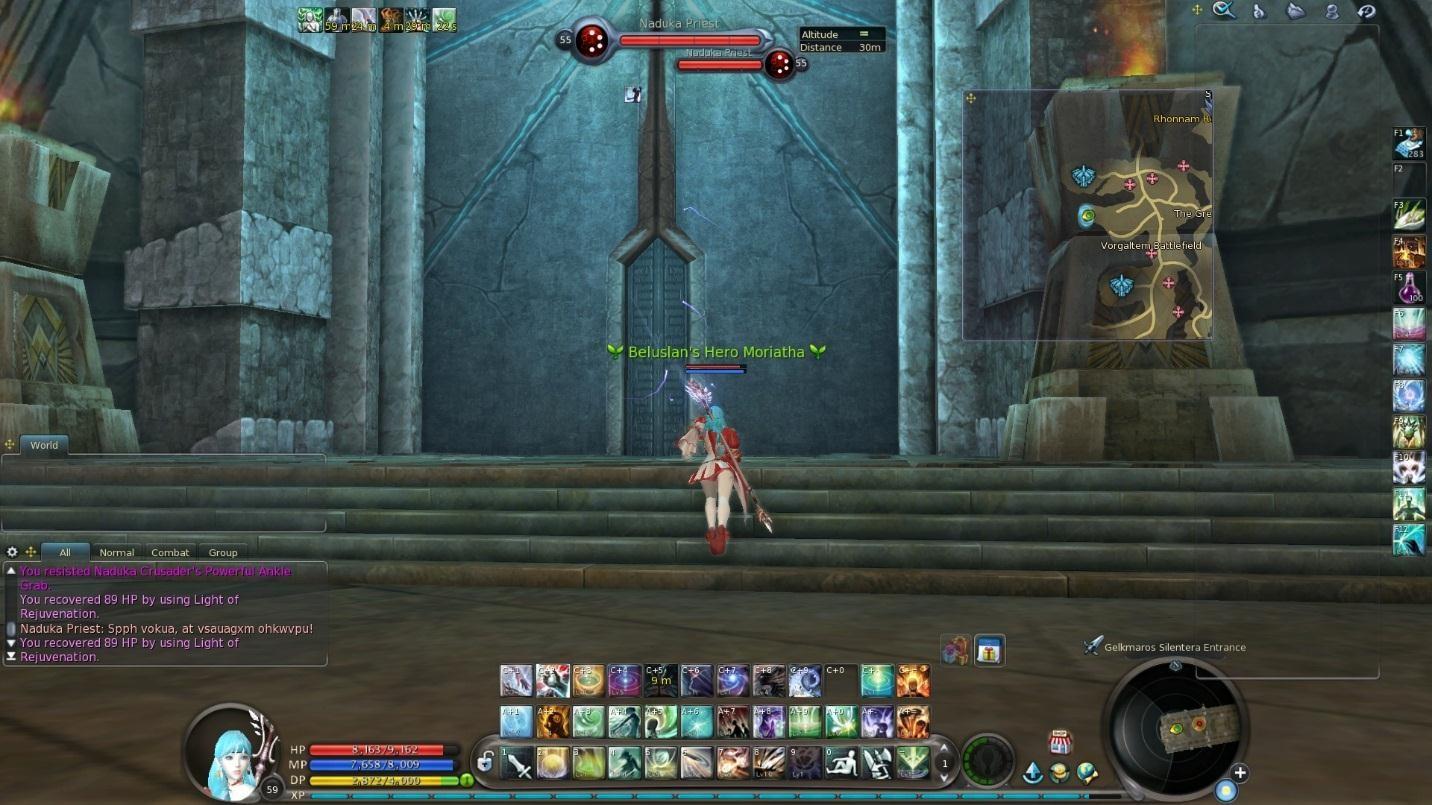
Head to Panda, and then teleport to Gelkmaros. Fly northeast to Rhonnamm Refugee Village. Note to fly here, you need to talk to the statue in the circle instead of to a flight transporter. Then when you land, run east and up a hill to get to an area between two guards.
 The blue object is called a Windstream. Glide into it and let it take you to the end. Then head into the building.
There are balaur on either side, so either clear a path through one set, or use a shield to get to the other wall.
The blue object is called a Windstream. Glide into it and let it take you to the end. Then head into the building.
There are balaur on either side, so either clear a path through one set, or use a shield to get to the other wall.
 When you’re through, right click on the door to enter Silentra Canyon.
 Go onto lfg and ask for someone to clear the first 3 bosses of Beshmundir Temple if you’re going to solo it, or look for a duo partner. When you have someone, follow the path below to reach Beshmundir temple.
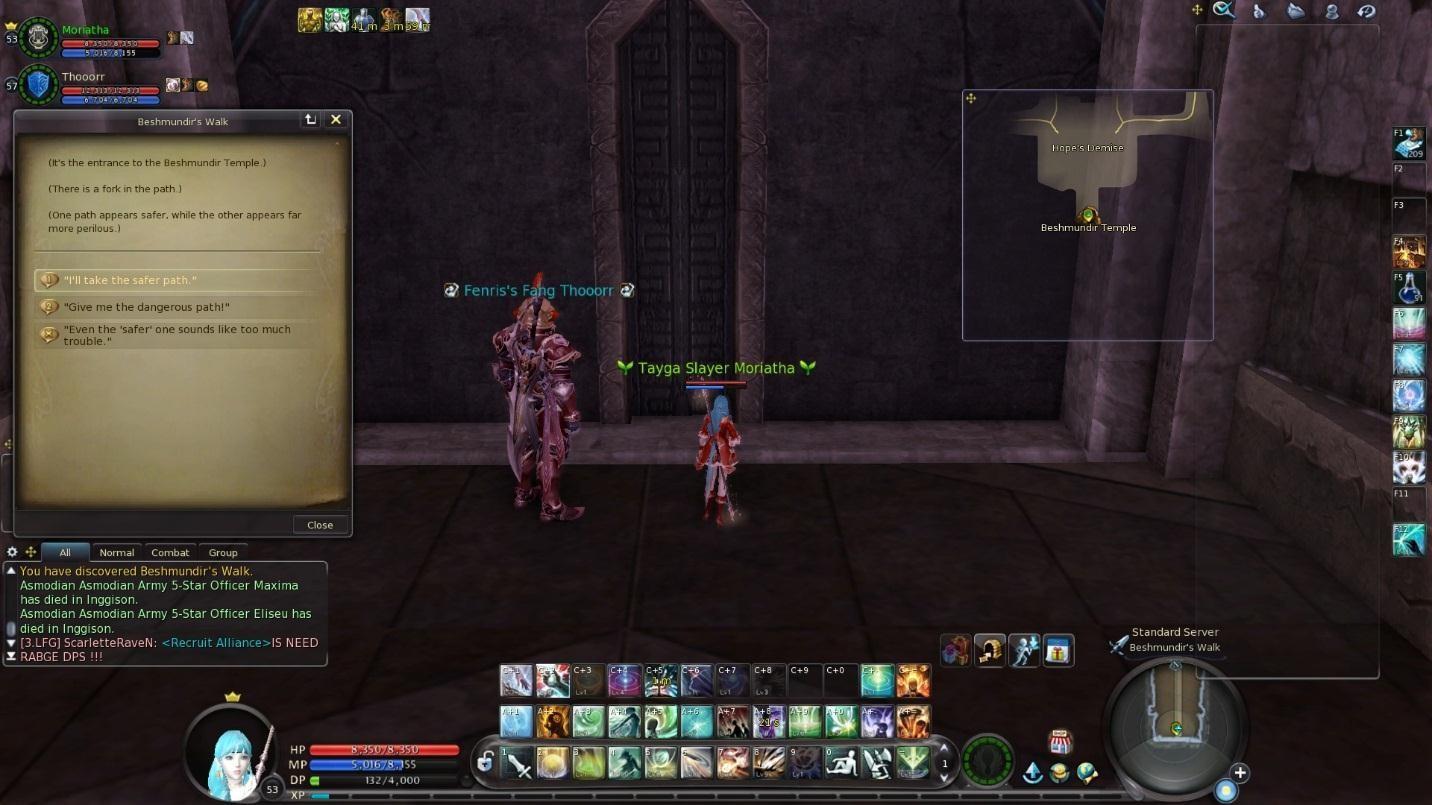
 When you get to the door, say you want to take the safer path and then teleport in.
Instance #7 – Beshmundir Temple
Beshmundir Temple is an instance that give a hell of a lot of XP for not a lot of work. If you have a Merek, you can clean up in here quickly. Also, use your tea of reposes whenever you’re out of repose.
In here, there are 5 types of mobs.
-
Magus – These will always open with a reflect, so don’t burst them early. After that they mainly autoattack for a lot of damage.
-
Officer/Healer – These mobs are melee, but after 15 seconds summon a dps servant. Kill the servant immediately or it and the officer will annihilate you.
-
Trapper/Assassin – These mobs will chase after you and then hit you for a ton of damage fast. Best killed with ranged characters.
-
Legatus/Warrior – These may throw a distant blade at you slowing you, but they are overall simple to kill.
-
Ranger/Sniper – Beware their “Powerful Shot”. It is exactly as it sounds.
If you do not have a sleep, prioritize killing the healer first in all situations. Root/disable a melee mob while you kill a magus. And if both are melee, immobilize the trapper over the legatus because it has less chance to resist the root.
If you do have a sleep, prioritize sleeping the healer. Sleep a magus and kill a melee. Sleep a trapper over a legatus.
After clearing the first room, engage the boss. This boss is best kited around (use running scrolls). At times he will stop chasing and start spinning around. This is your chance to dps it (but don’t be super close to it when he’s spinning). At about 50%, his attacks also will lower healing on the target by 50%.
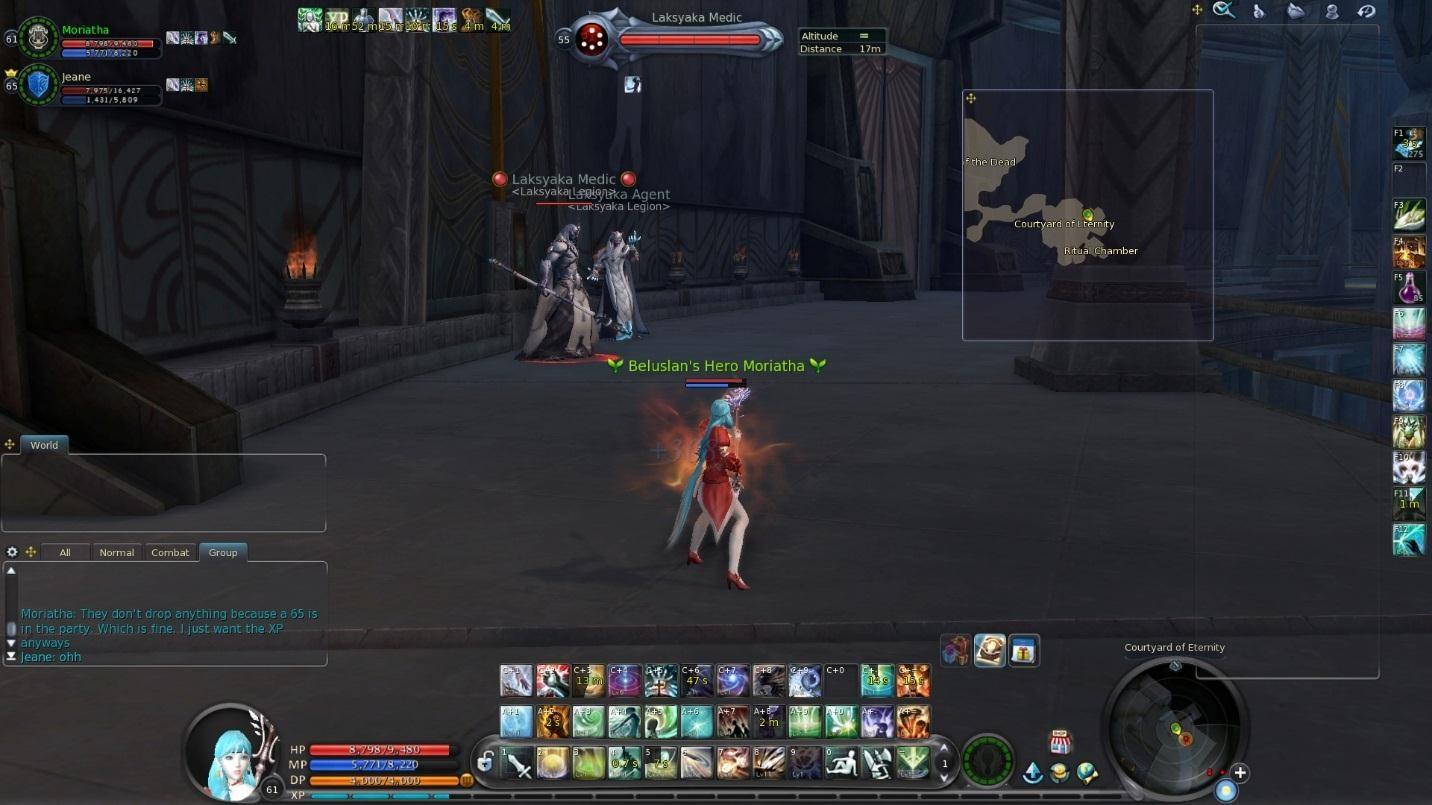
 A pretty infamous superstition is that you should never loot the ring he drops or you won’t get anything you want in the rest of the instance. Head into the west room. In here are several ghosts. These all drain your MP, so have pots and dispels ready.
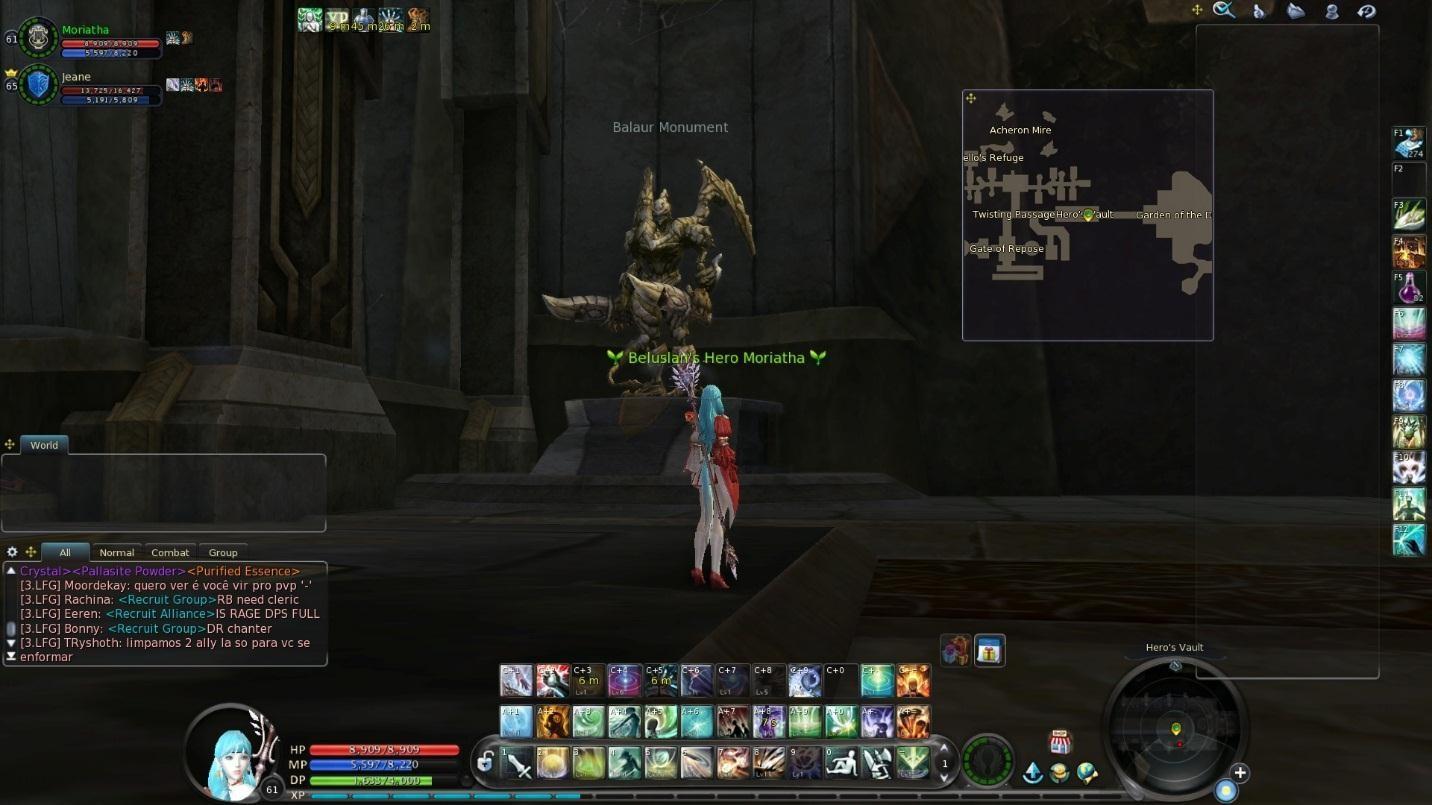
 Continue north and head east to the hero’s vault. In here are pairs of statues on either side. If the statue is a “statue” or “monument”, it is not going to activate. If it is a “Gladiator” or an “Ambusher”, it will activate as soon as you cross its line of sight. Use this to your advantage.
 At the end of the hall if the Great Virhana. Make sure that you stand right under his feet as all ranged damage is reflected to the caster. You will have 90 seconds to kill him (which should be plenty of time), at which time he’ll start to oneshot. During the fight he’ll slam his sword into the ground doing big damage, so use pots and heals to survive.
 Head east to the Garden of the Dead. Do not charge into it – rather hug the south wall. If a mob aggros you, kill it in one shot. Right before the courtyard is Taros.
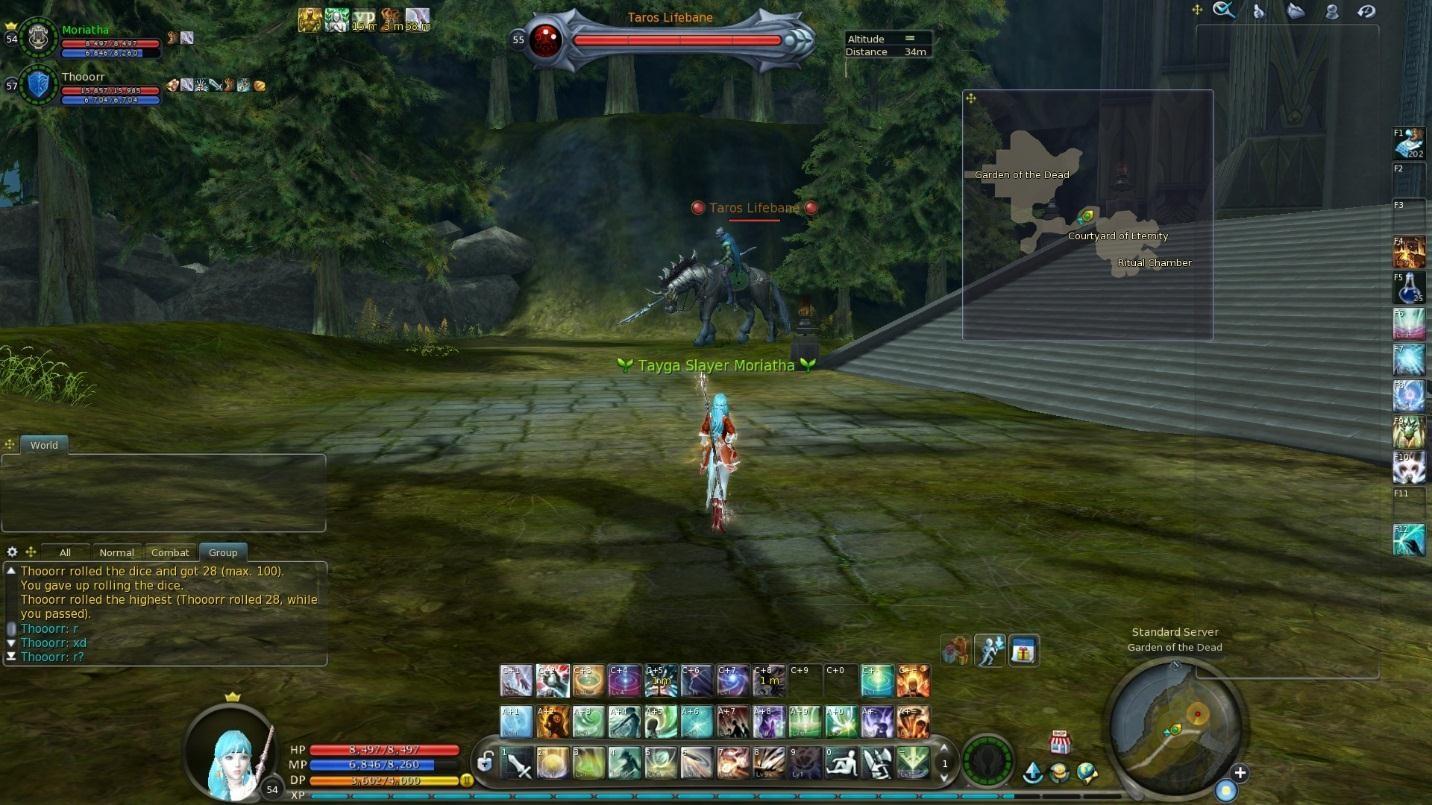 Taros will be similar to Lannok in terms of attacks. However, at 25% he will enrage and attack at super speed. This is the time to use DP to either heal quickly, or burn him fast. When he dies, his corpse (sort of hard to see, do /select Taros Lifebane to select him) will have a key. Head up the stairs to open the door.
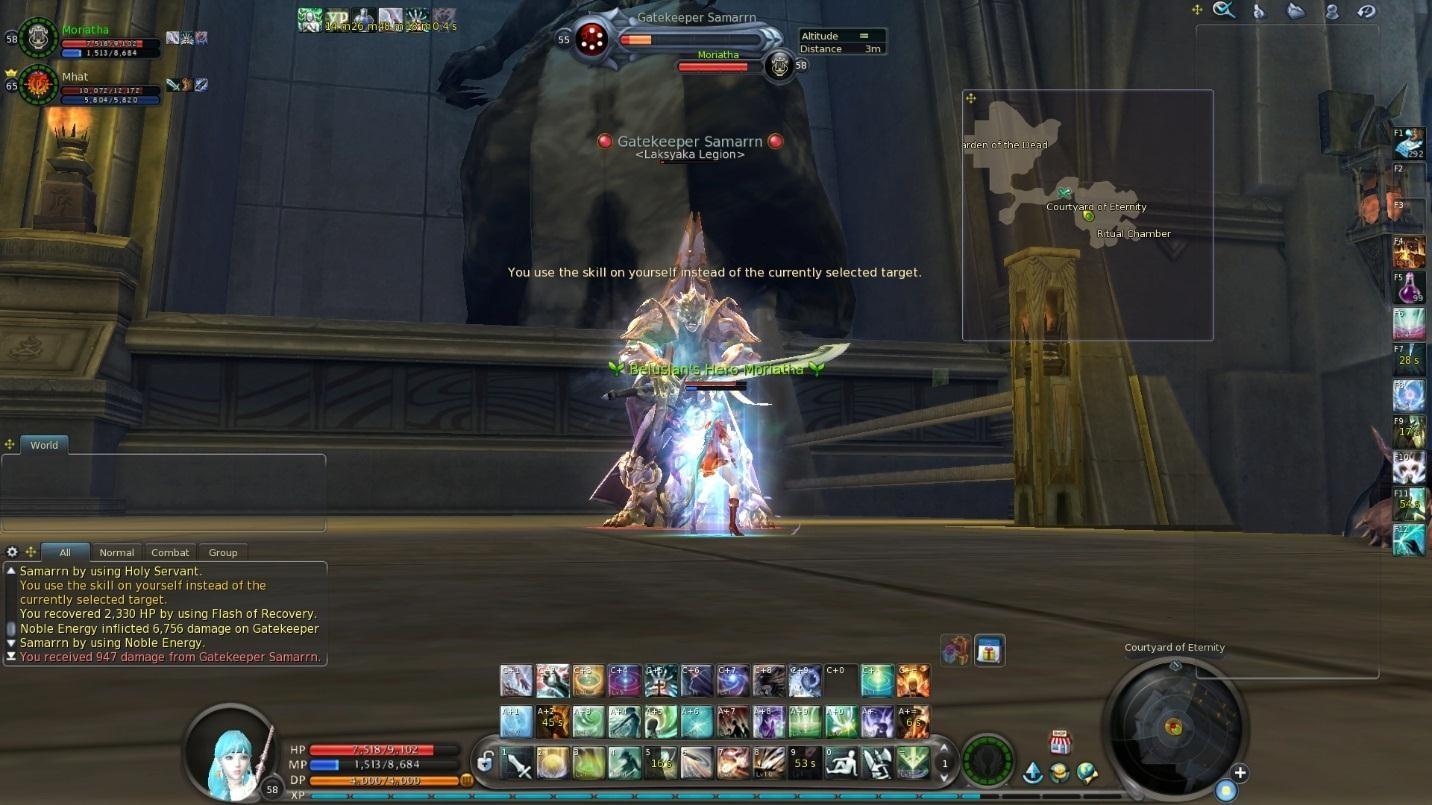
In here are your wide assortment of mobs. There are also 4 special “Gatekeepers”. Kill them to get keys.
Taros will be similar to Lannok in terms of attacks. However, at 25% he will enrage and attack at super speed. This is the time to use DP to either heal quickly, or burn him fast. When he dies, his corpse (sort of hard to see, do /select Taros Lifebane to select him) will have a key. Head up the stairs to open the door.
In here are your wide assortment of mobs. There are also 4 special “Gatekeepers”. Kill them to get keys.
 Note that the pair of trappers in front of the south ramp will aggro each other even though they don’t look like it.
 On the southeast wall, use the keys to open up doors to get to more mobs to kill. Judges are really squishy.
 The northern gate on the bottom floor is special because there is also an archer in it.
Head up the stairs to get to two more gates. Note that there is a sniper walking around on top as well. However, what we are mainly concerned about are the two mobs on the north side. This is the only occurrence of a mage and a medic that aggro each other. All classes should burn the medic first, as sleeping him would just result in wasted sleep time while the agent has a reflect up.
The northern gate on the bottom floor is special because there is also an archer in it.
Head up the stairs to get to two more gates. Note that there is a sniper walking around on top as well. However, what we are mainly concerned about are the two mobs on the north side. This is the only occurrence of a mage and a medic that aggro each other. All classes should burn the medic first, as sleeping him would just result in wasted sleep time while the agent has a reflect up.
 Head back through the Hero’s vault and head north and then west. Here we get to a long hallway called “the rooms”.
 The mobs here behave slightly differently. Trappers will start with a huge hit, so you don’t want to deal with them. Spirits will start with a firebolt or a stun, and then they will turn you into a tree. Make sure you’re at full health when they cast curse of roots on you as their firebolt that comes after hurts. Legatuses have a skill called “Hydro Eruption” that you don’t want to be near when it goes off.
No mobs here are in pairs by designs, so only pull when they are a bit apart. Clear your way down the west hall (there is an archer that patrols back and forth). Then drake signifies the halfway point. Then continue west to get to some slimes.
The mobs here behave slightly differently. Trappers will start with a huge hit, so you don’t want to deal with them. Spirits will start with a firebolt or a stun, and then they will turn you into a tree. Make sure you’re at full health when they cast curse of roots on you as their firebolt that comes after hurts. Legatuses have a skill called “Hydro Eruption” that you don’t want to be near when it goes off.
No mobs here are in pairs by designs, so only pull when they are a bit apart. Clear your way down the west hall (there is an archer that patrols back and forth). Then drake signifies the halfway point. Then continue west to get to some slimes.
 These slimes HURT. Kill them from range if you can and be prepared to kite. Do not go into the room north of the slimes – it is a boss. Also do not go into the room west of the slimes – it is another boss that has wiped many full parties in the past. Just clear the south room and return to the center.
Head east this time to kill the corpeal balaur. These have the same moves as the ghosts with one difference. Slayers. Slayers are archers, and when you attack them, they will always start with “throw trap”. When they do that, run immediately away and don’t stop running until they hit you with arrow deluge. The trap is invisible and is under your feet about 1 second after it is cast. It immediately starts to explode, and if that + arrow deluge hits you, it is a oneshot.
Clear all rooms except the far east room. You should easily have hit level 55 this run.
These slimes HURT. Kill them from range if you can and be prepared to kite. Do not go into the room north of the slimes – it is a boss. Also do not go into the room west of the slimes – it is another boss that has wiped many full parties in the past. Just clear the south room and return to the center.
Head east this time to kill the corpeal balaur. These have the same moves as the ghosts with one difference. Slayers. Slayers are archers, and when you attack them, they will always start with “throw trap”. When they do that, run immediately away and don’t stop running until they hit you with arrow deluge. The trap is invisible and is under your feet about 1 second after it is cast. It immediately starts to explode, and if that + arrow deluge hits you, it is a oneshot.
Clear all rooms except the far east room. You should easily have hit level 55 this run.
Magus – These will always open with a reflect, so don’t burst them early. After that they mainly autoattack for a lot of damage.
Officer/Healer – These mobs are melee, but after 15 seconds summon a dps servant. Kill the servant immediately or it and the officer will annihilate you.
Trapper/Assassin – These mobs will chase after you and then hit you for a ton of damage fast. Best killed with ranged characters.
Legatus/Warrior – These may throw a distant blade at you slowing you, but they are overall simple to kill.
Ranger/Sniper – Beware their “Powerful Shot”. It is exactly as it sounds.
Level 55
Use a scroll to return to Panda. Speak with Edandos to get your last set of consumables.
 Teleport to Gelkamros. Follow the ramp east into a building to turn in “Major Sixth” to Garath to get your last stigma. For some classes (Songweaver comes to mind), this is your most useful skill. Regardless, equip it.
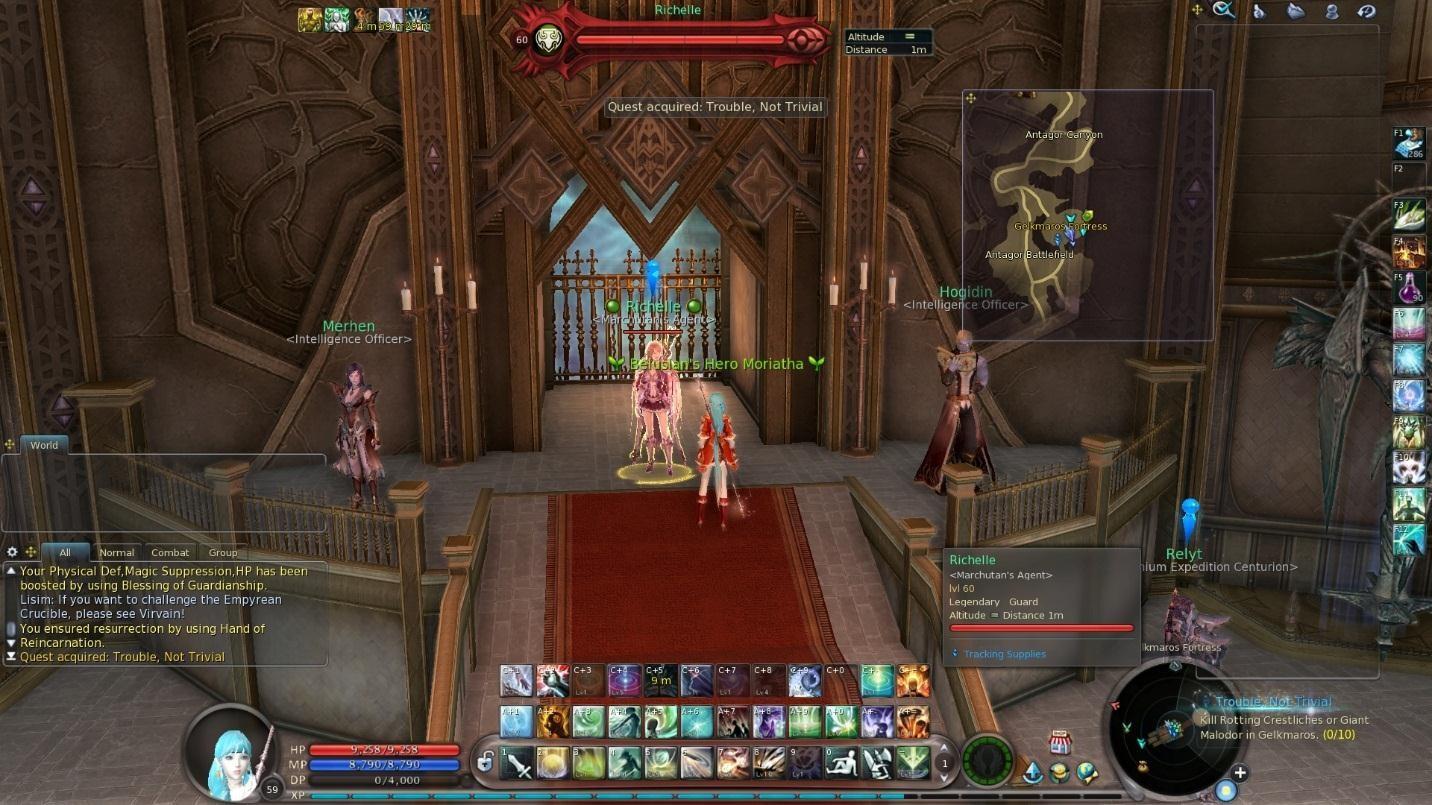
 Now we’re going to get gear we can level in to the end. Head north off the ramp and speak with Richelle to pick up “Trouble, not Trivia”.
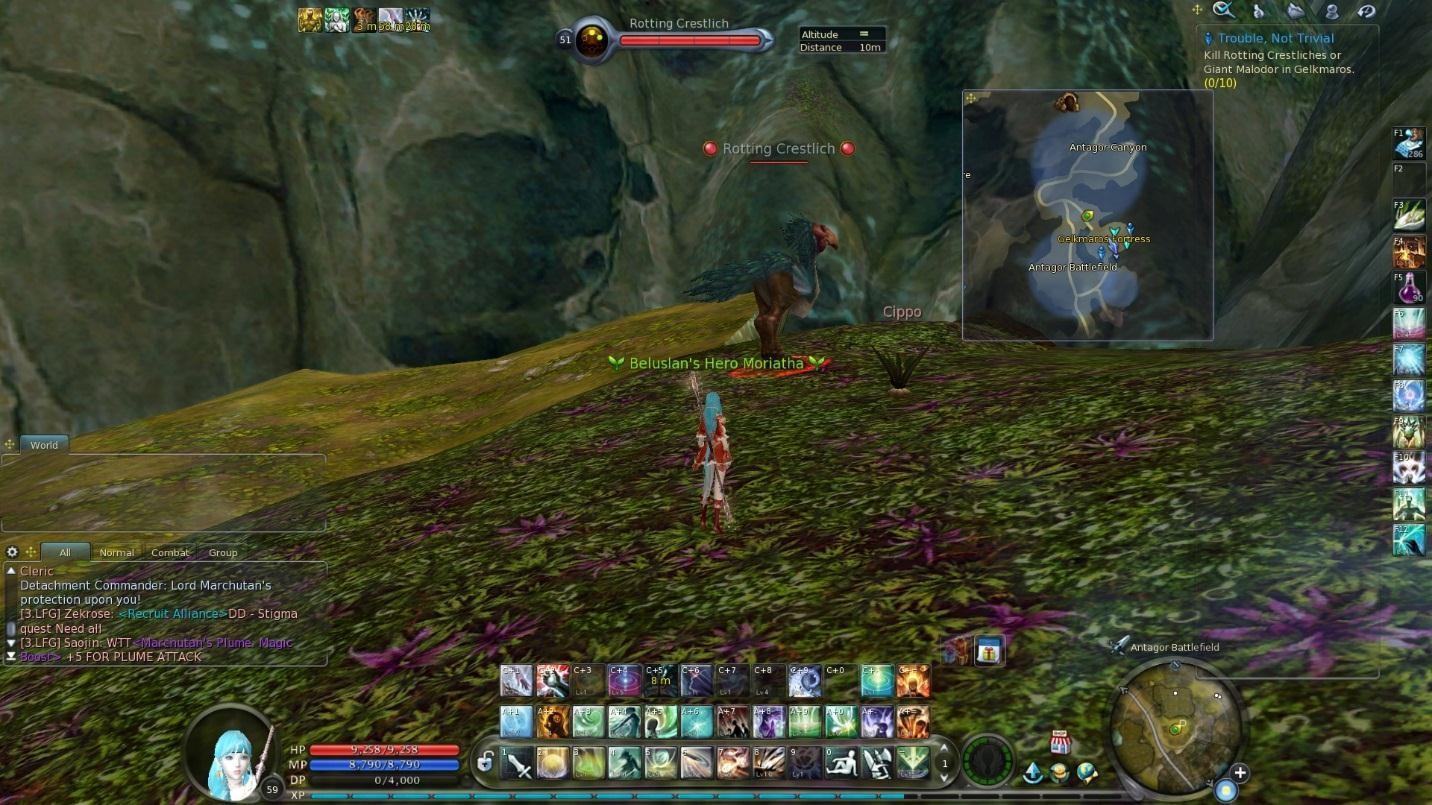
 Make your way north and kill 10 rotting crestliches on the way.
 Speak with Vesvola to turn it in.
 Pick up “Not so sweet”. Head north and kill 10 Ksellids.
 Return to Vesvola to turn in the quest and pick up “Monsters Unholy”. Head southwest to a cliff.
 Open your wings and fly down to the bottom. In the water, kill 10 Slinks.
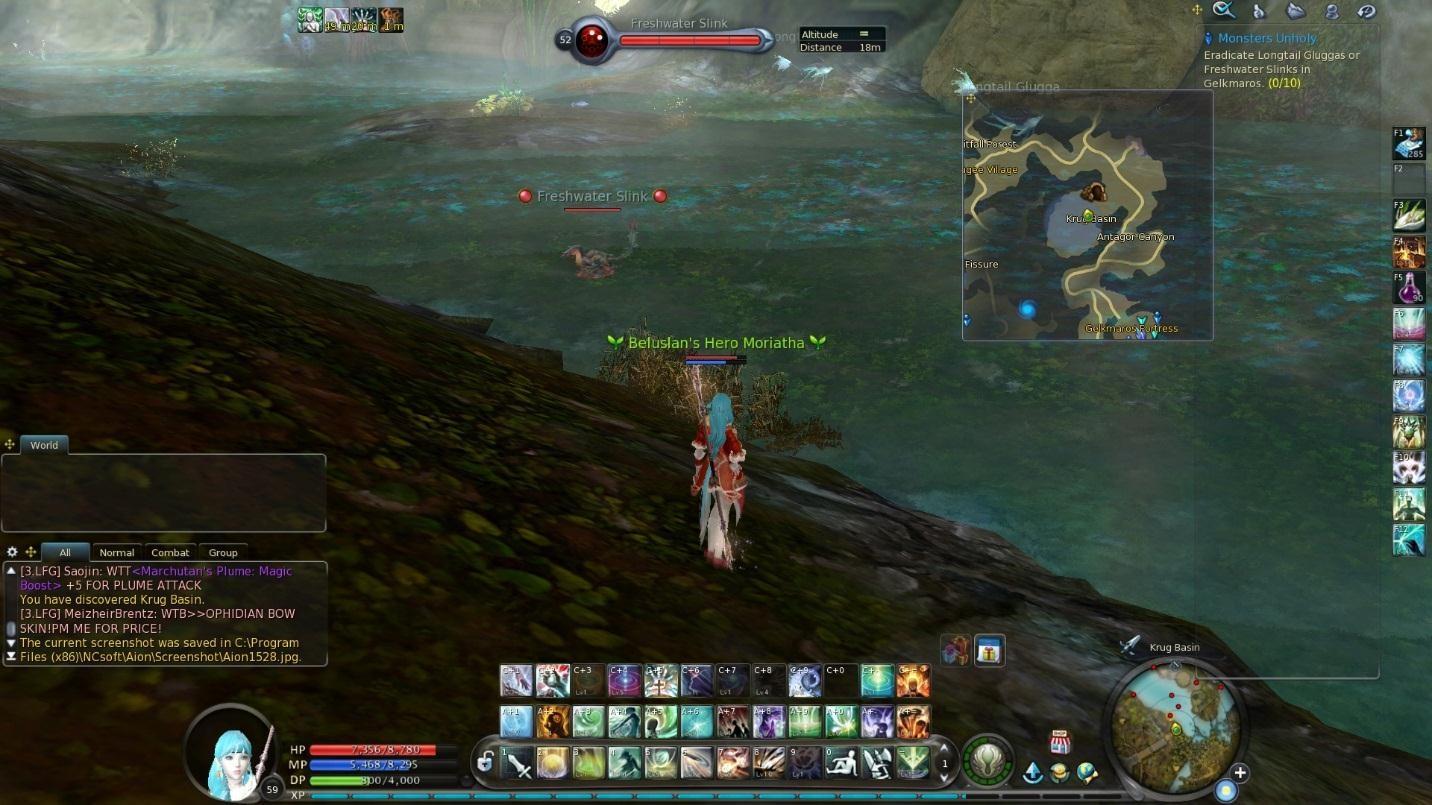 Gluggas are also plentiful and can be killed instead.
 Return to Vesvola to turn in the quest and pick up “Final Krug Clearing”. Return below the cliff and in the middle on the land portion, kill 10 seaforms or sludgers. Seafoams will aggro each other.
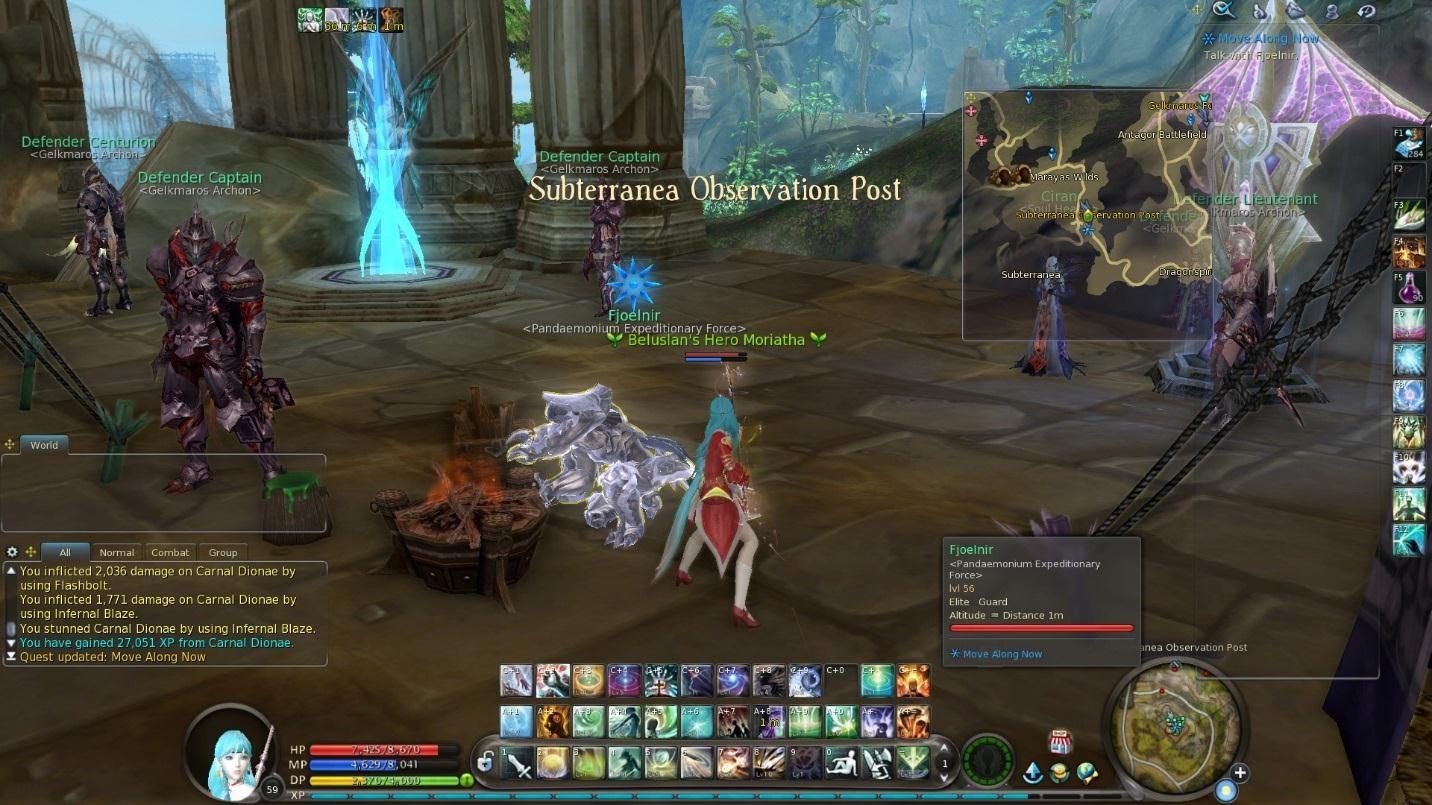
 Return to Vesvola to turn in the quest and pick up “Move Along Now”. Use your map teleport to move to Gelkmaros Fortress and then fly south to Subterranea Observation Post. Outside of the post, kill 10 Dionaes and Manticores.
 Speak with Fjoelnir at the post to turn it in.
 Pick up “Good on Gelkmaros”. Follow the road north that bends to the west. Kill 10 exquisite Nagolems and Snufflers on the way.
 Return to Richelle in the fortress to turn in the quest and receive the last piece of gear. This gear should last you all the way to level 64, so equip it as soon as you can.