


Em processo de tradução
Phase II – Instance Grinding (Levels 46-63)
Levels 46-52 - Brusthonin
Level 46
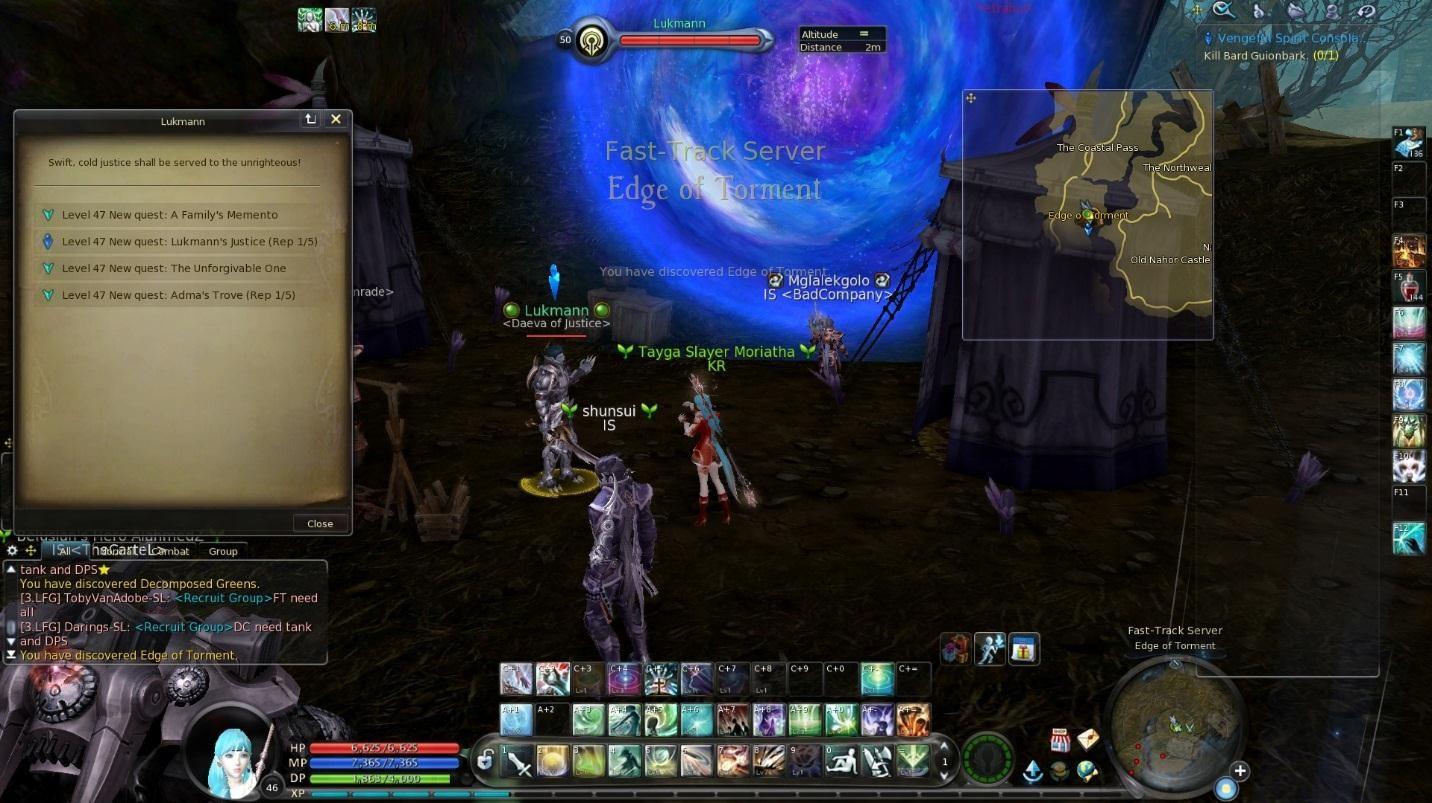
Equip all the new gear you just got. Then fly to Settler’s Campsite and teleport to Beluslan. Speak with
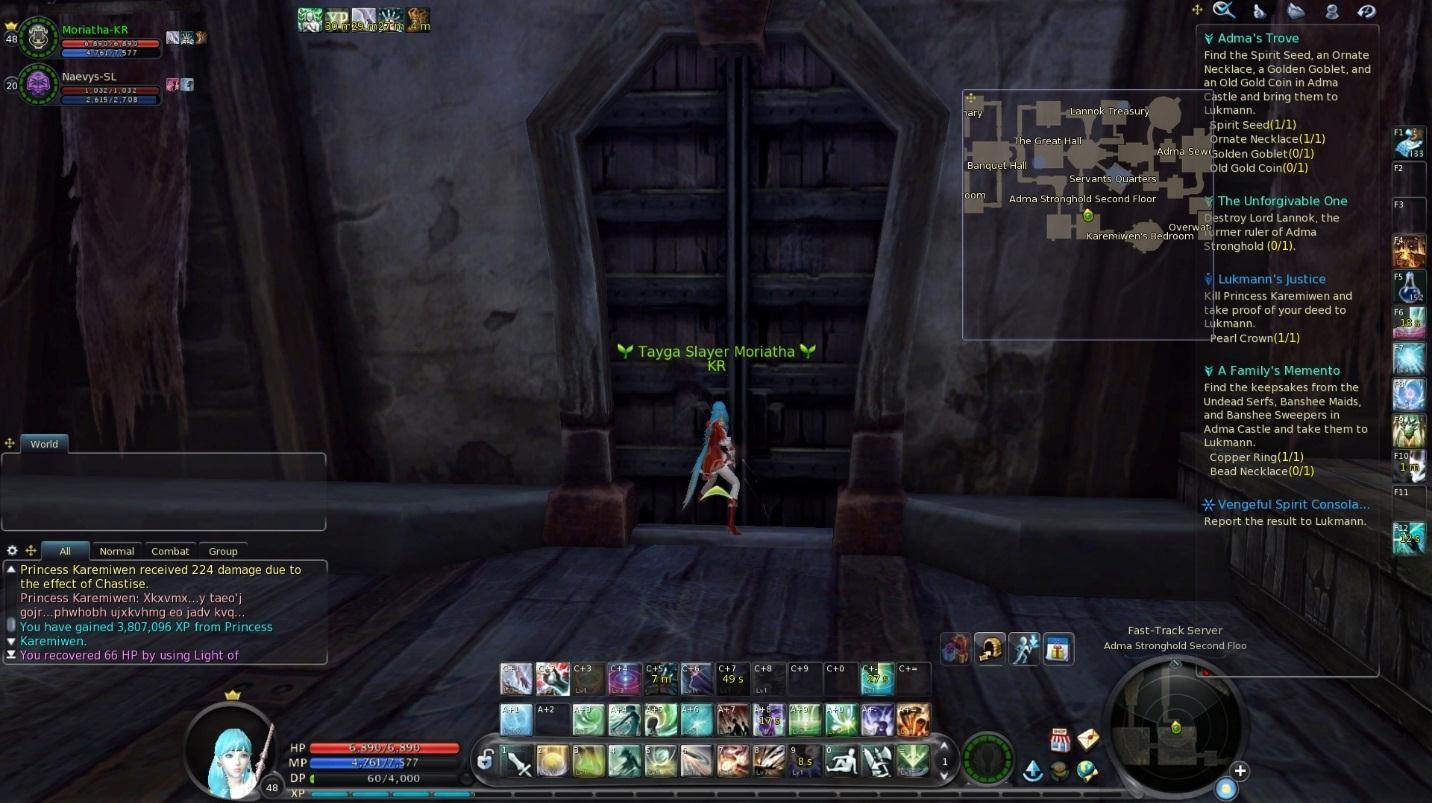
Nerita to pick up “Induction to Brusthonin”. Then return to Surt to turn it in. Pick up “Vengeful Spirit Consolidation” and fly to the Edge of Torment. Speak with Lukmann to pick up “The Unforgiveable One”, “Lukmann’s Justice”, and “A Family’s Memento”.
At this point, you need to risk temptation. On lfg, you will probably see plenty of people looking to rush Adma or Theobomos Labs. While this will get you to 50 no problem after 5 runs of each, the problem is that doing so will use up counts on your repeatable quests.
Until you hit level 51, you will be gaining double XP on the fast track server standard. After 51, you gain normal XP. What this means is that it’ll be much harder to gain the same XP in the instances. Therefore, you should save quest XP for when you hit level 51 to get to 53 without any difficulty.
Go onto LFG, and decide if you want to duo (if you’re newer or less skilled or play a class like a ranger or assassin), or solo Adma. If you want to duo, look for a partner (ideal party has at least 1 songweaver, chanter, or cleric). If you want to solo, look for someone to hold group. Make your post, wait for someone to join, and then prepare to enter.
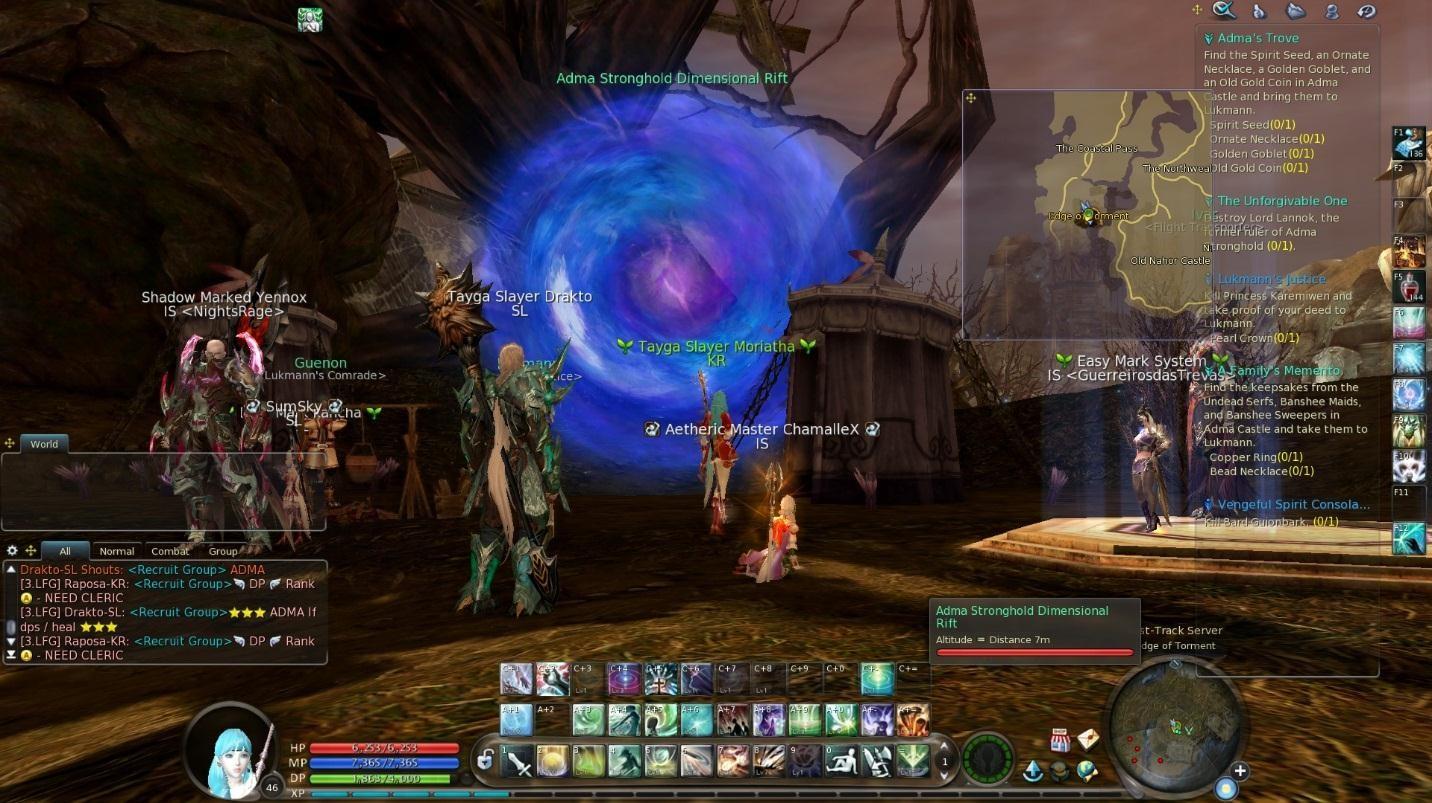
Instance #5 – Adma Stronghold
Head into the big blue portal to your right to enter Adma.
After heading in, head north into the Granary and south into the storeroom. There will be a mini-boss there that drops a key.

Make sure to loot a serf here for a ring.
Return to the main hall, and on top of the stairs, kill the Bard.

He will drop another key. Head behind him and to the right to get to a door.

Your key from the steward will open it. Head inside and clear the way to the Bedroom. You’ll notice some mobs come in pairs. If the pair includes a Banshee, kill the Banshee first. If it is a Lich + Vampire, kill the Lich first (root the vampire).
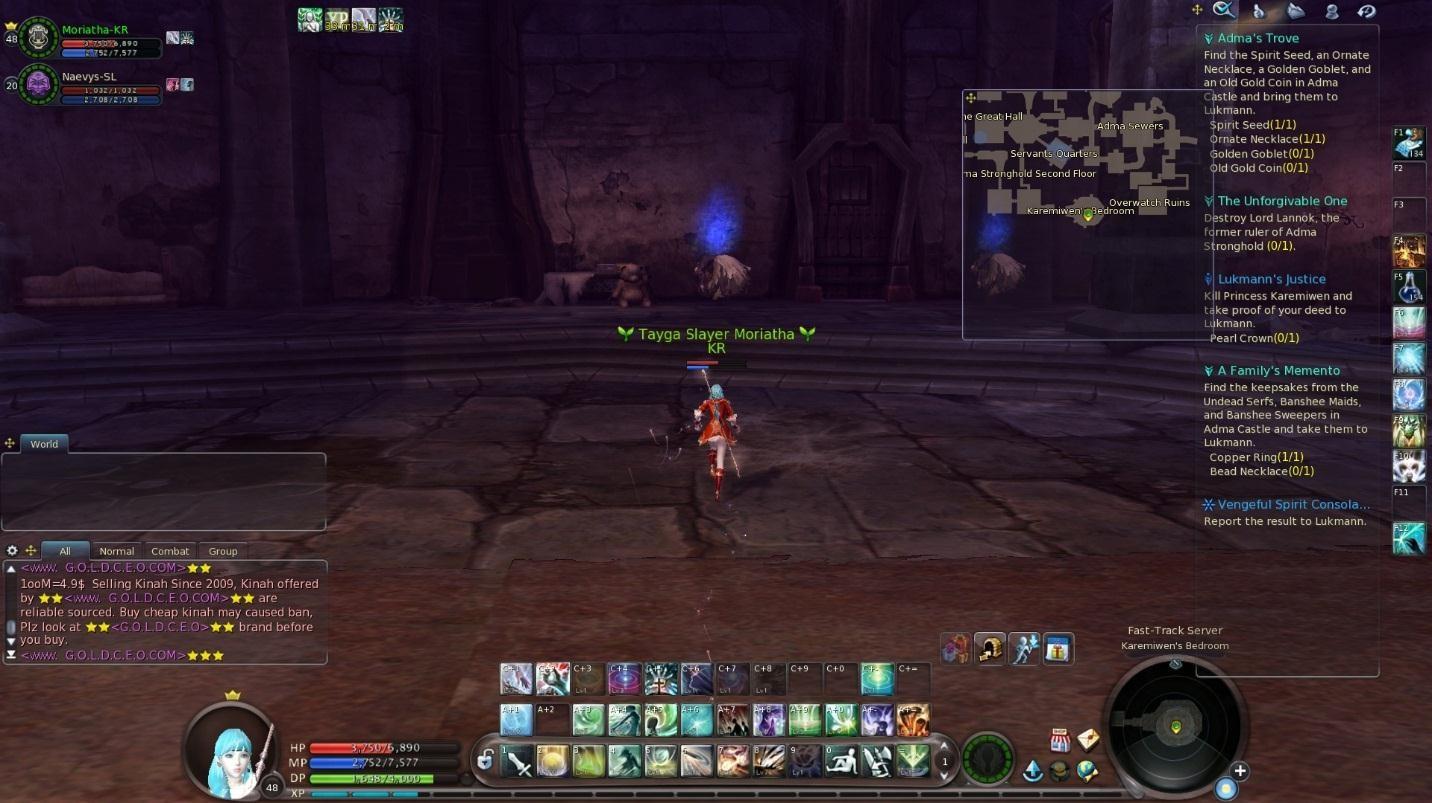
You’ll then come to the bedroom. Clear it and take note of two object. First, the teddy bear in the south.
Second, the urn in the north.
Go an attack the princess. She will throughout the fight put 3 debuffs on you. One (cold wind) can be dispelled normally. The other two, look at the color. If it is blue, use the incense burner or you will lose mana and attack really slow. If it is red, use the teddy bear or you’ll lose health quickly.

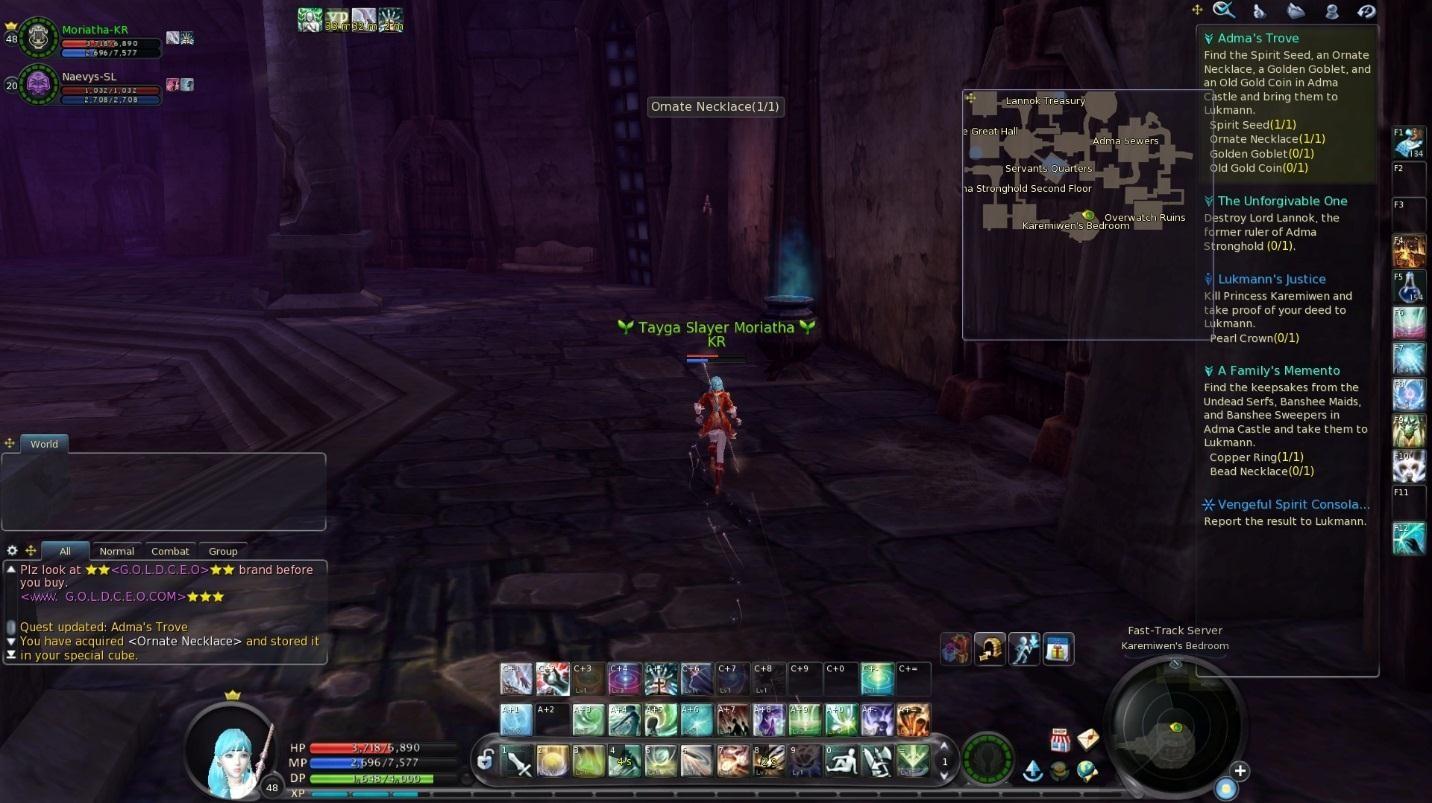
When she dies, loot her for her crown and key. Return to the room prior and head north. There’ll be a door that the key opens.
Head through the hallway which lightly poisons you to get to Templar Taliesin.

Typical vampire mob. Loot him for a key. This key will be random.
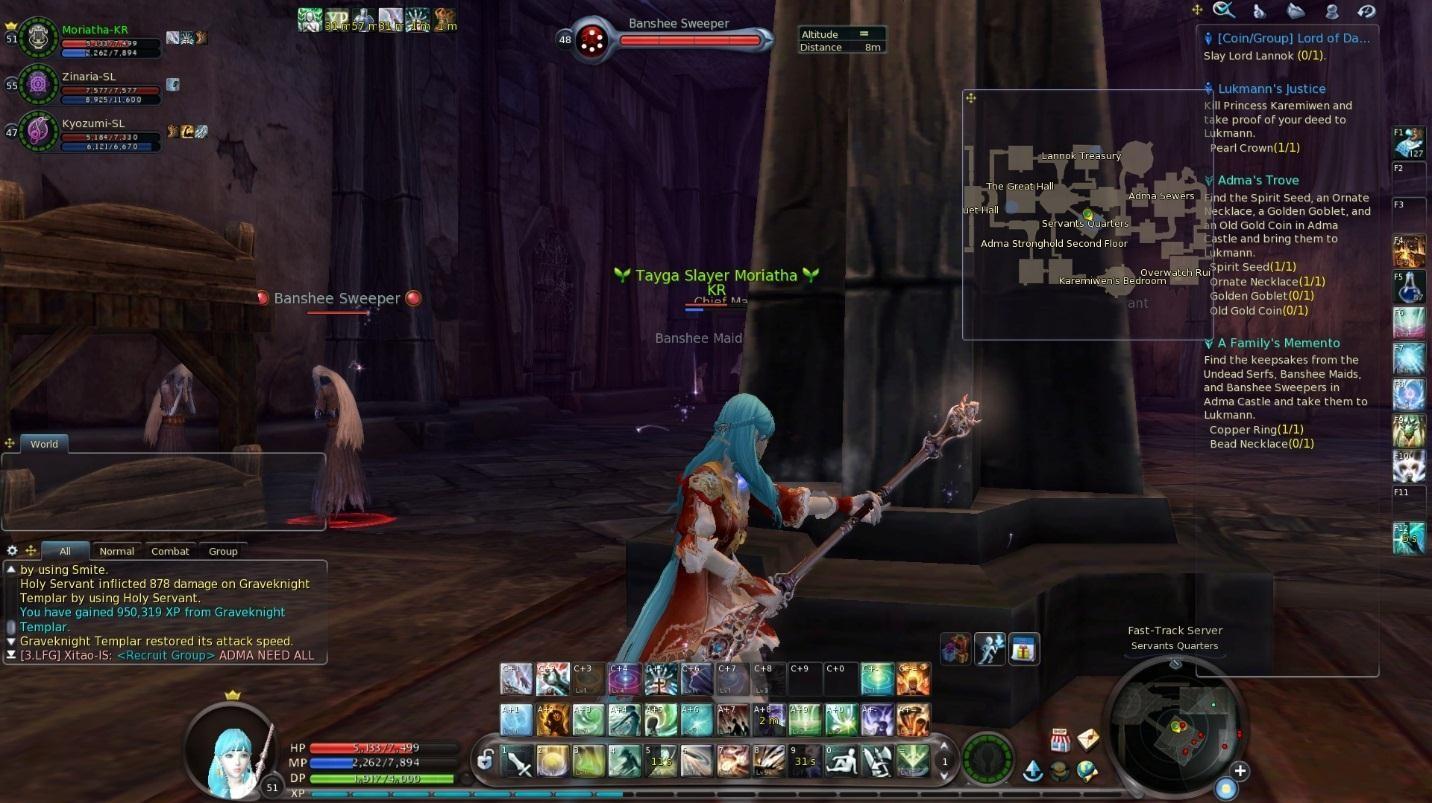
If you get the treasury, head to the room to the northeast. This boss will spawn boxes in the fight and they multiple, so burn him fast. If you get the servant’s quarters, head to the southeast room. This boss will sleep one target, and put a mana drain on them. If you get the Great Dining Hall key, head west. This boss is a typical vampire mob but comes with a banshee.
If you’re lucky enough to get the servant’s quarters key, make sure to loot a banshee in it for a necklace.
Head back to the main hall and head north. Follow the path back to the beginning, clearing all mobs. Then return to the main hall. Head east and use the door to get to the passageway.
Hop down the hole into the sewers. Head north and clear mobs. Ignore the suspicious boy as he is too hard for a small group/solo. Follow the path south and clear the side room. Continue south and follow the path east to Bloodthirster.

Nothing special, just tank and spank. Continue through the passage to get to the southeast corner. Here is a destroyed door. Head through it to the final boss.

Lannok is easy to duo, but near impossible to solo. At the start, he does nothing but trample. However, at 50% he starts casting “Death Sentence”. This will be a 5 second debuff that must be dispelled (if you have no dispell skill, use a greater healing potion), or you die. At 33%, he’ll start summoning a set of 4 adds. These adds hit hard, and are the reason why you can’t solo it. After 25% he’ll also put you into Aether’s hold periodically.

Turn in your quests. At this point, there is a wide range of levels you could be. If you ran a duo with no XP boost, you’ll probably be 47. Or if you ran solo with a 200%, you’ll be well into level 50. Regardless, repeat this process until you hit level 52.
Level 47
Continue to run Adma.
Level 48
Continue to run Adma.
Level 49
Continue to run Adma.
Level 50
Stop by Sanctum and speak to Edandos for free goodies. Speak with Aud to pick up another greater stigma. Then continue to run Adma to level 51.
Level 51
Unlike the Elyos who get to rotate to Theo labs at this point, our Theo labs quests are complete and utter trash and commonly require multiple runs or a lot of side tasks to do. Ignore Theo and continue running adma to level 52.
Level 52
Speak with Ivar to pick up “Invade the Past”.

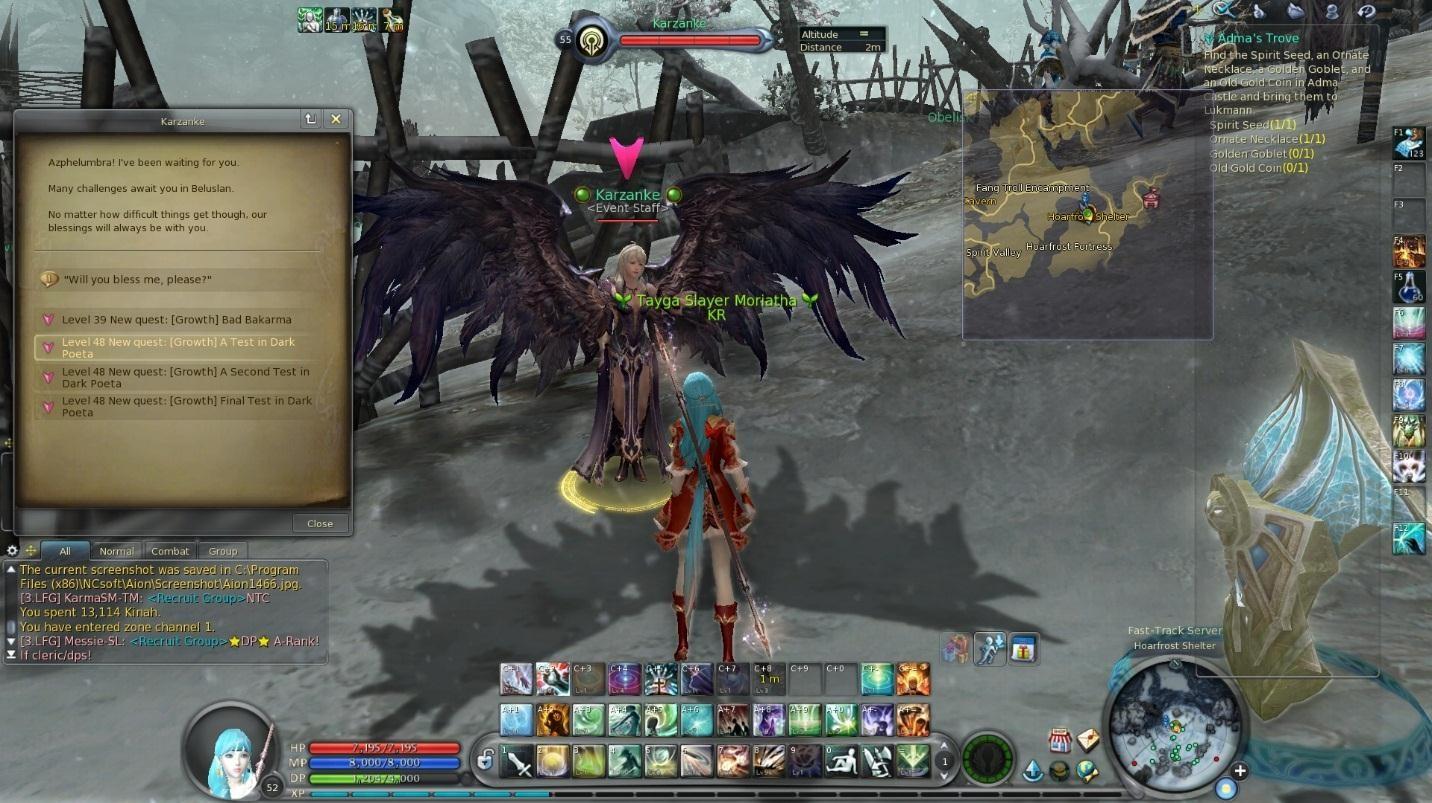
Fly to Settlers Campsite (Via Baltasir Hill) and then teleport to Beluslan. Then use your map teleport to go to Hoarfrost Shelter. When there, speak with Karzanke to pick up “A Test in Dark Poeta”
Right across from her, speak with Hresvelgr to turn in “Invade the Past”.
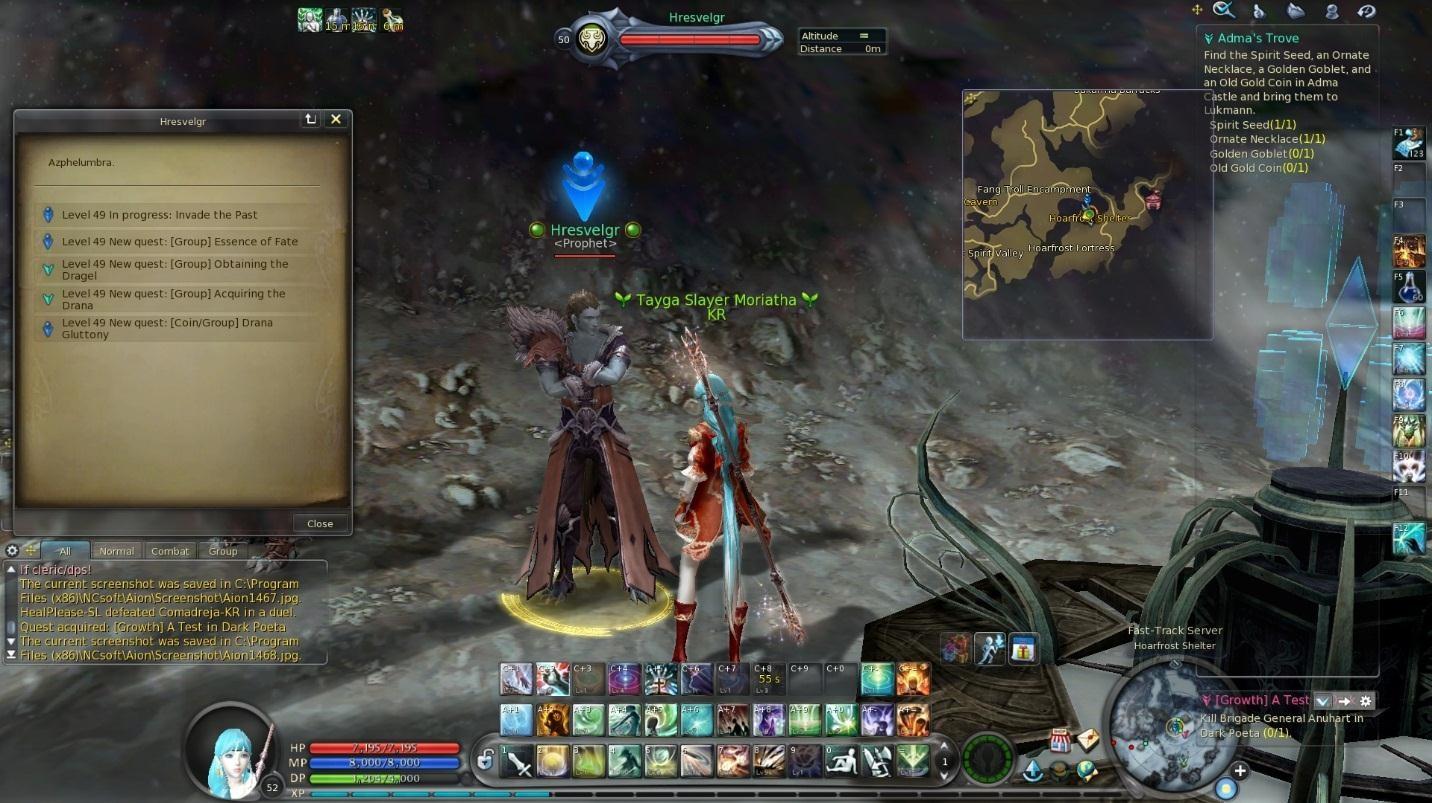
Pick up “Essence of Fate”, “Obtaining the Dragel”, “Acquiring the Drana”, and “Drana Gluttony”. Then use lfg to find a Dark Poeta group. When ready, use the artifact to enter.
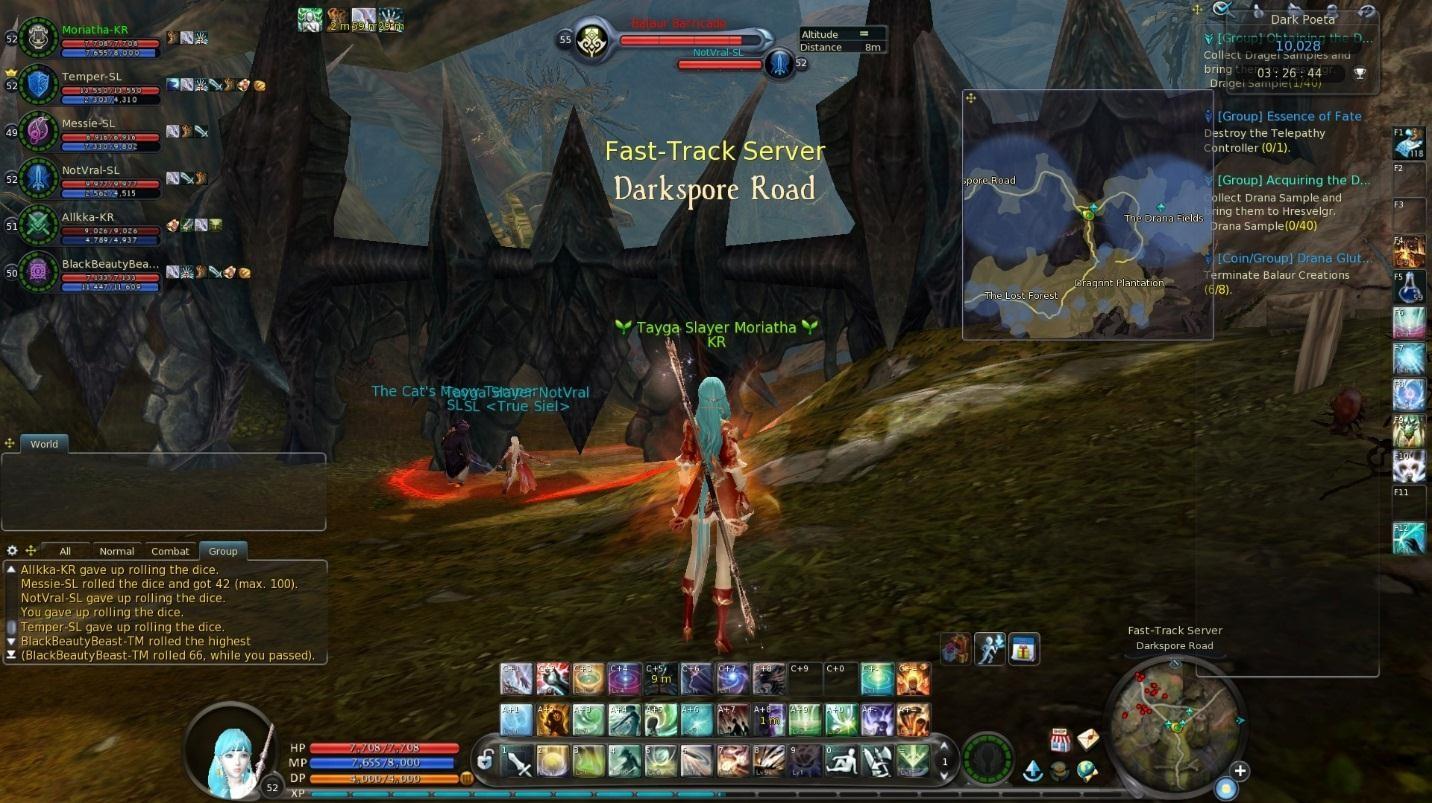
Instance #6 – Dark Poeta
When you get in, a timer will start ticking. You can skip it to 0 by using the door if you wish.

Head east towards a river. If you aggro a mob, kill it. Too many mobs will kill you. Then head north along the river to the Akarios Ruins.
Clear just a little ahead on the path and then return to the first boss.

The boss will cast lots of paralysis. The one to be careful of though is his reflect. If he has a pink buff under his name, do not attack him or you will die fast.
When he’s dead, use the scroll on the ground to update “Essence of Fate”. This boss drops a heroic chest box every run.

A few mobs will charge up the hill at you as soon as he’s dead, so don’t let your guard down. Then follow the road to the lake. Go around the lake and clear any mobs close to it (don’t aggro the bosses). Also kill any “captain” mobs you may see.
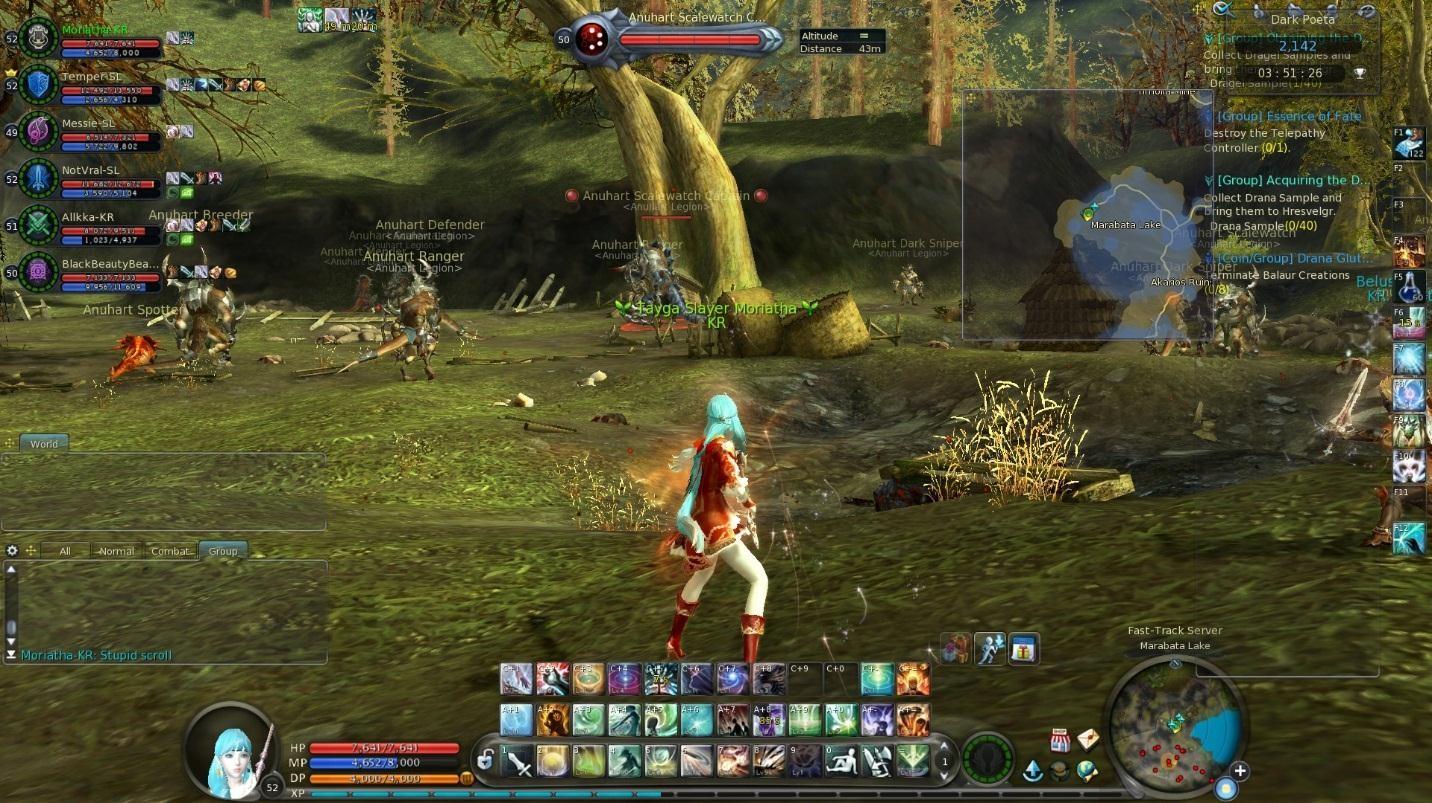
When cleared, attack the boss. The boss has 3 generators near him. Magic classes should attack the attack booster, and physical classes should attack the defense booster. Ignore the property controller. Failure to attack the right booster will reflect damage onto you and is a quick way to die.
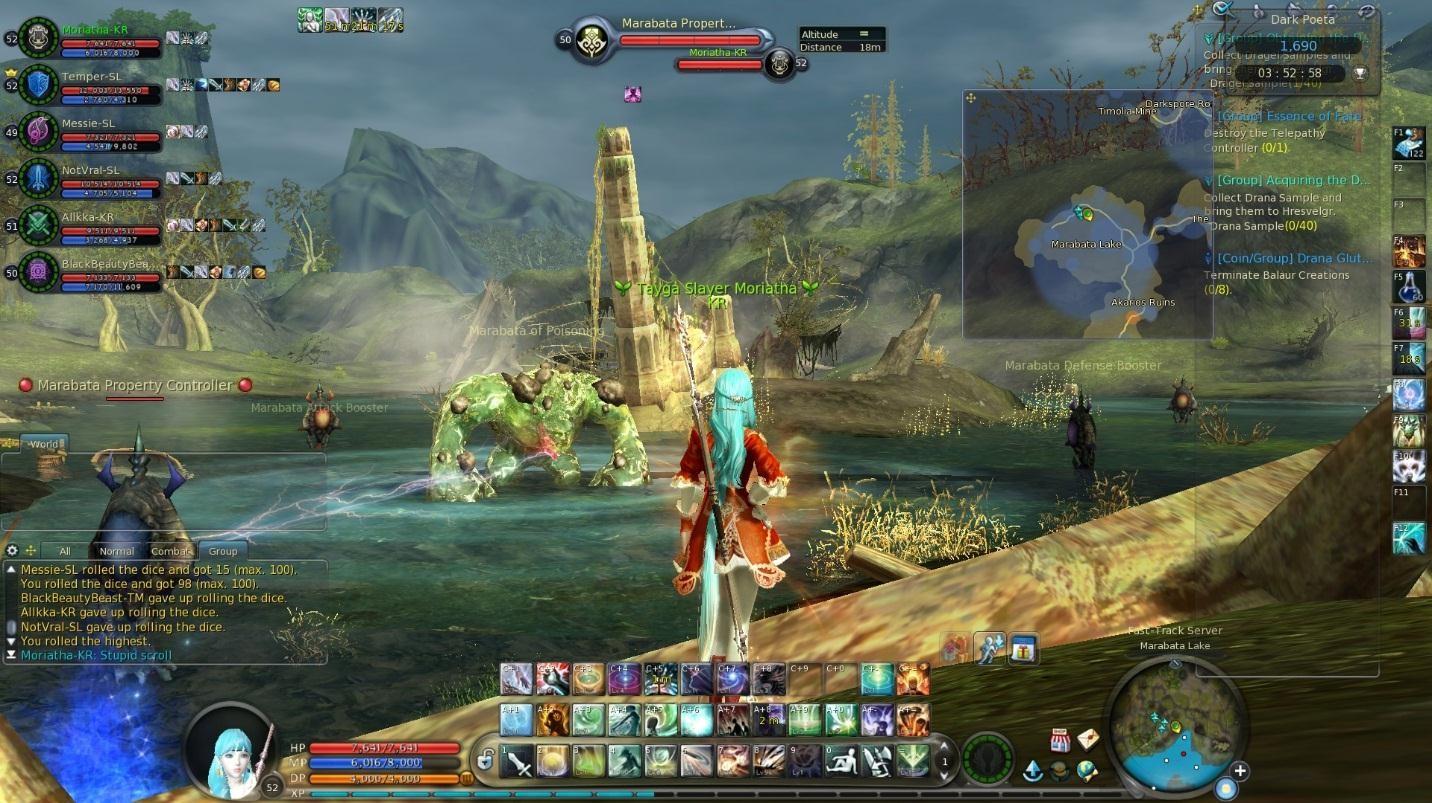
The bosses are stupid easy when the generators are down. Two Marabatas will either drop fabled or heroic shoulder boxes (group loot), and one will drop either a fabled or heroic ring box (group loot).
Head east and go to the northern part of the woods. Clear out the ghosts. Captains give more points.
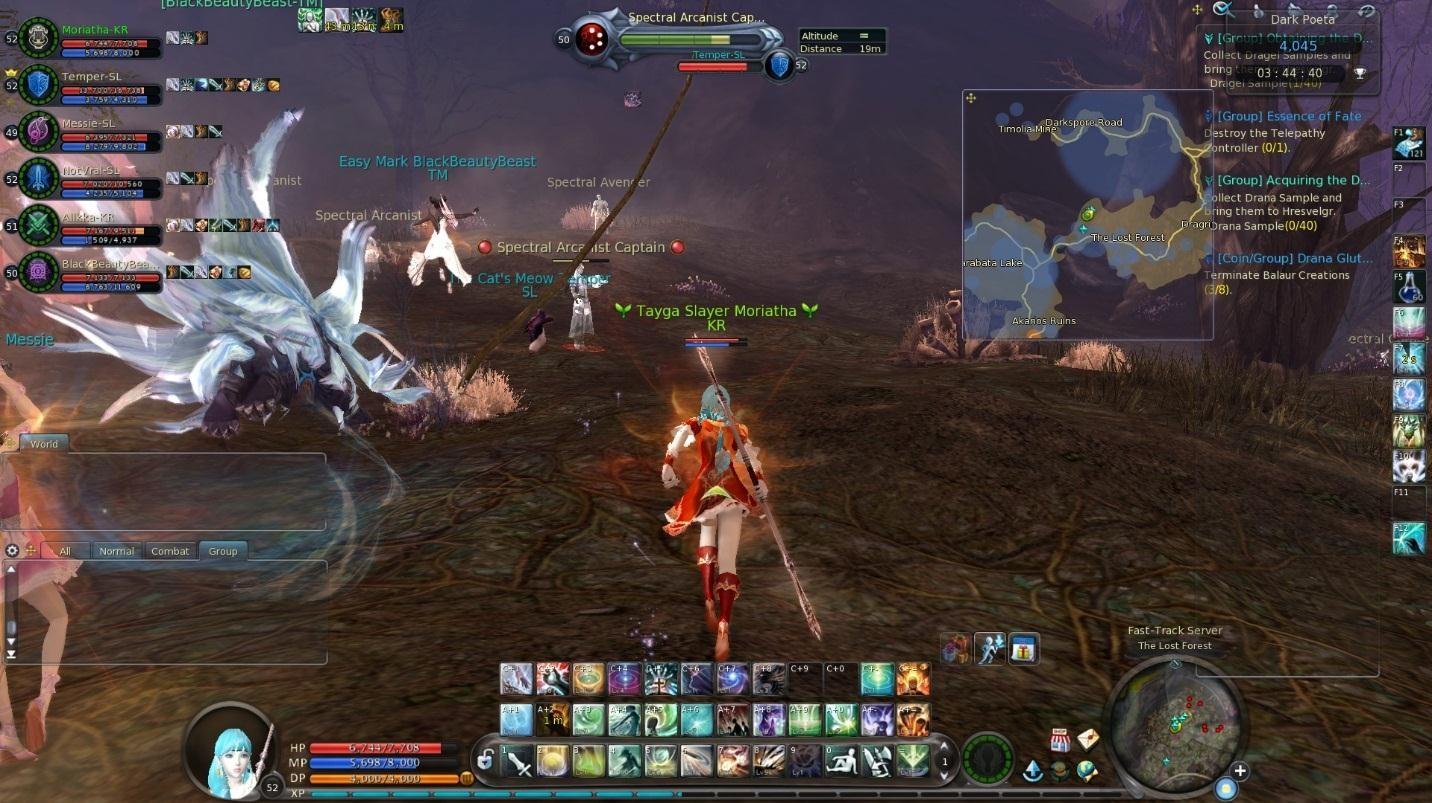
While doing this, a leather should use their hunter’s eye to find Noah’s Furious Shade. Hit him and bring him north to the group.
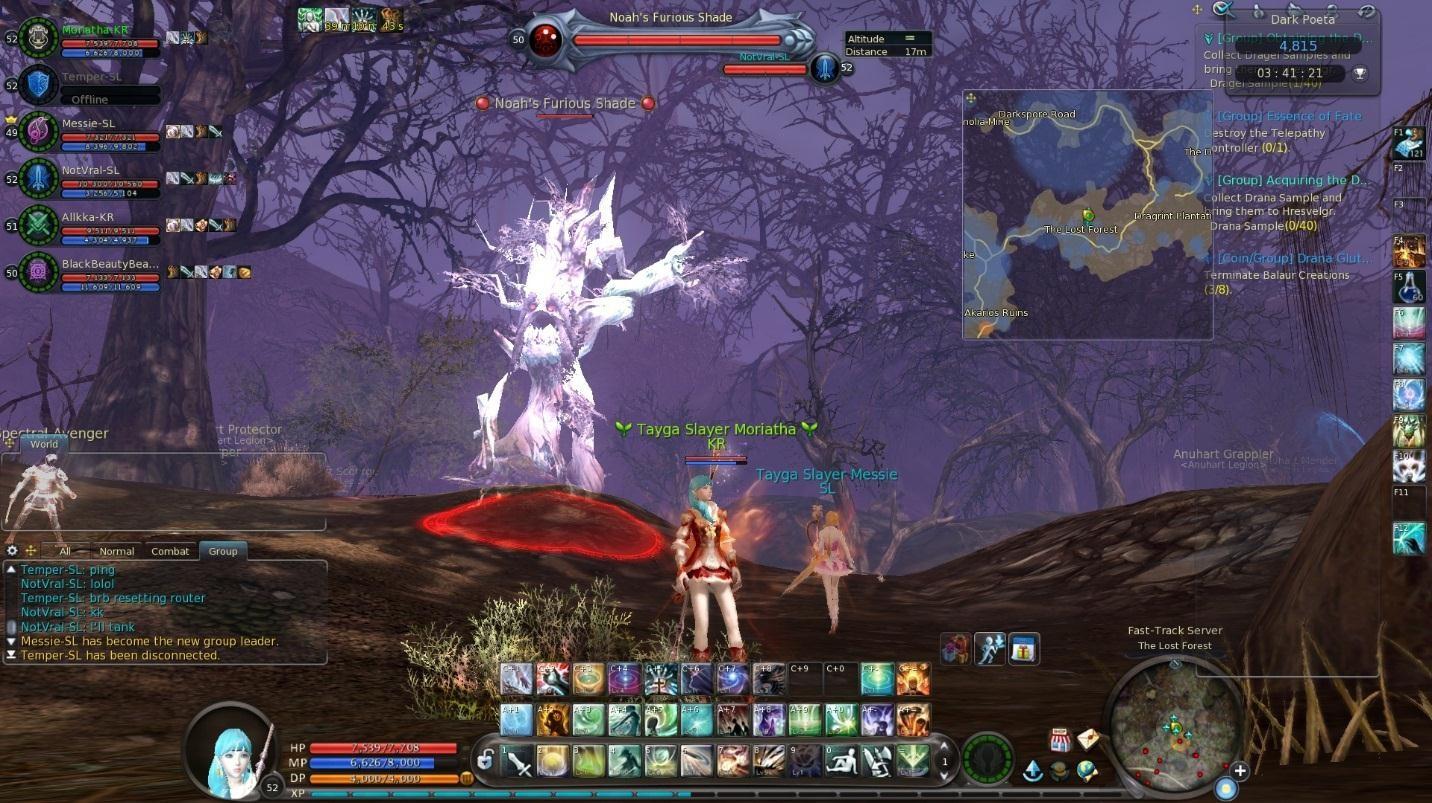
This guy will do a scream to induce fear, so you want him near the mobs you cleared. His main move is grudge wound followed by deep grunge wound. Get behind him for deep if you have regular or it can oneshot. There is one more tree in the woods (more to the south). These drop heroic or fabled glove boxes (group loot). Follow the road north to a barricade. Ignore the barricade and head east. In here are several Spallers. You will want to train them on top of pits with drana in them. This will shock them for 20 seconds for free dps.

Repeat this for the 3 Spallers. Two can drop heroic and fabled gloves, and one can drop heroic or fabled earrings. All are group drops.
Head back to the barricades. At 60%, 2 mobs will spawn. Kill them and return to the gate. When it’s down, kill 2 more mobs.
Head north. On this road are mutated fungie.

These mobs die in one hit, but also hit like a truck. If they get on top of you they cast explosion which will oneshot you. Have a high AoE class deal with them.
Follow the road to another gate. Same type of mob spawns.

Follow the path west into a cave. When the road splits, head to the right branch to get to the telepathy controller.

Don’t stand on the blue circles. The telepathy controller at the start will cast stun waves. It also will spawn a balaur add. Burn the balaur fast. Keep heals up and survive past this phase and you’ll be fine. After 70% the stuns become slows, and no more balaur will spawn.
This guy will drop either a fabled belt (group drop), or a heroic shield box (group drop).
Continue west into the next room. Hit balaur only – do not hit any generators.
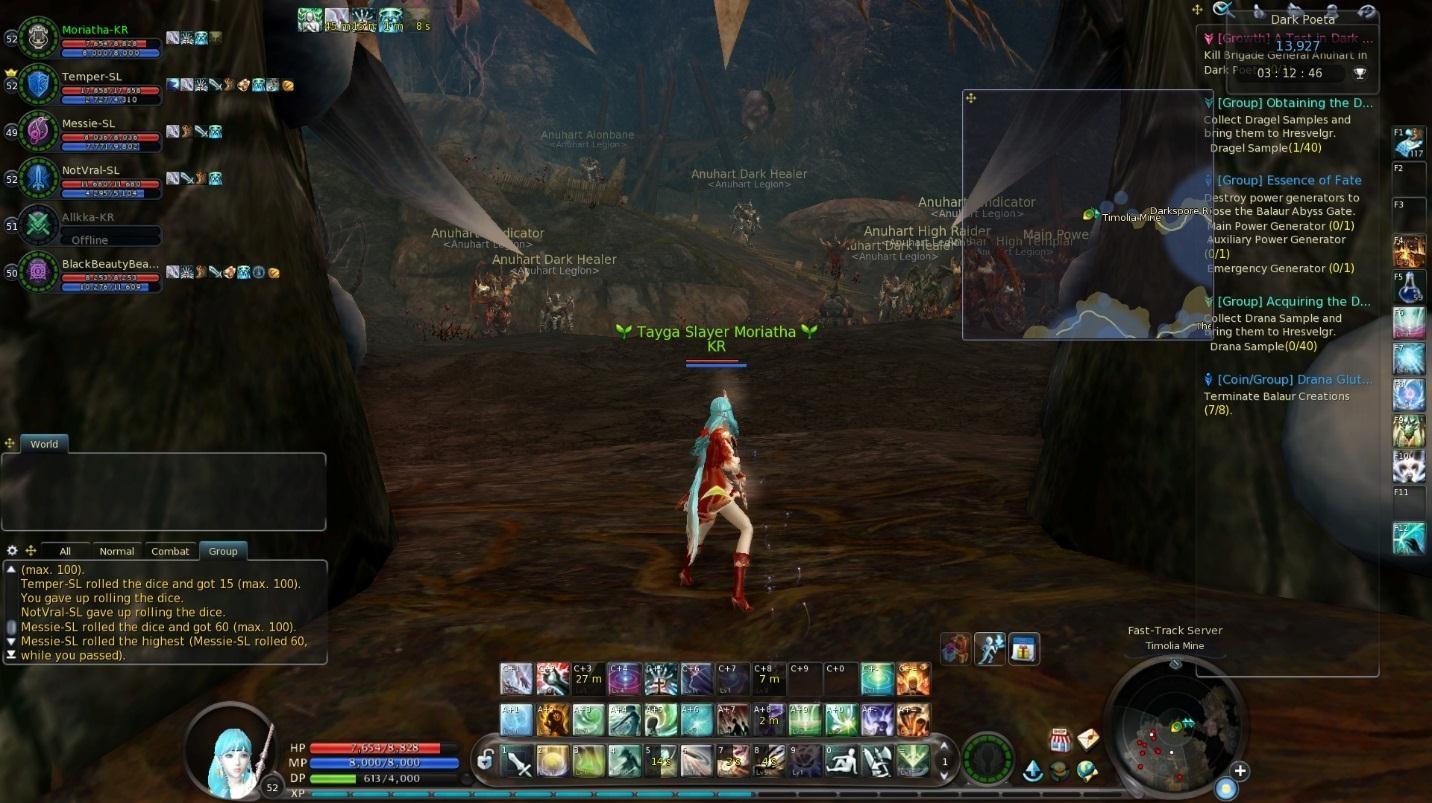
Clear the entire room – bottom of the ramp and the top. If you hit a generator by mistake, run far away so it resets.
When the room is cleared, kill the Auxillary Generator in the middle. Do not loot it – the adds it spawns hit fast and hard and will kill you if you try, and they stay until all 3 are down.
Kill the main generator (right one facing the ramp) next. Kill it with your ranged dps standing on the ramp. Then go up the ramp to the other side and kill the emergency generator (ranged dps only). This one will spawn mobile adds to attack you.
When the 3 generators are down, Collect your loot. The left two can drop heroic or fabled pants boxes (group drop), and the right one can drop either a fabled necklace box or a heroic hat box.
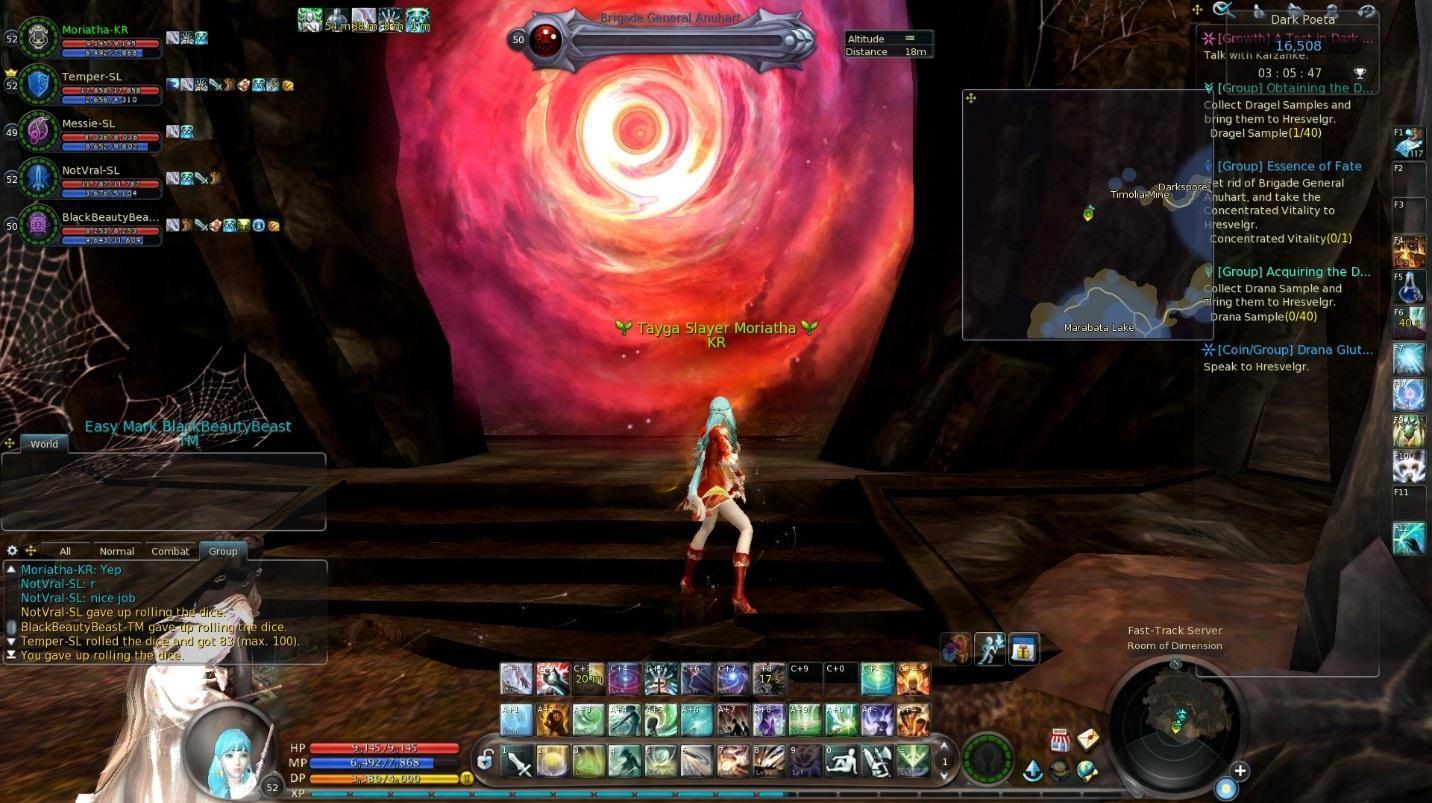
Head up the ramp and tackle Anuhart.

Fight Anuhart on the circle where he spawned. He’s simple, but he will summon 4 adds you need to kill mid-fight.
Anuhart will drop a fabled sword, dagger, pistol, mace, or shield. This is a single loot. Make sure to loot him for the item to update “Essence of Fate”.
You will then receive a grade. Right now, you only get grades S (if you killed most mobs in the instance), A (if you killed the bosses and captains), or B (if you just got the bosses). You will want A. Use the portal to get to the boss.
If you have S, you’ll have to find another guide as I have never beaten him.
For A, he will cast a skill called “Come forth, my faithful servant”. Adds will spawn in the magma around. Kill then quick or they can wreck your healer.
If you have B, just be aware of his reflect skill.
S and A will drop an eternal weapon, a fabled weapon, and a chest piece box (chest can be heroic or fabled, group drop). B will drop a fabled accessory box that will give you a random accessory.
Turn in your quests to Hresvelgr outside Dark Poeta. Return to Karzanke to turn in your quest (pick either 40 Drana or 40 Dragel), and speak with Hresvelgr again to turn in that quest.
The fabled gear from DP is good, but you should only consider wearing it if you have the shoes. If you do not, you will lose the set bonus of your current gear which is where movement speed comes from (DP shoes have the speed on them).
That said, I wouldn’t bother grinding DP for gear. Our current gear is good enough for the next few levels, and without the free manastones from the pink quests that were taken out in 4.8, they don’t have that much of an advantage anymore.
At this point we will only be a few bars away from 53. You can either run DP again, grind Adma again, or try Theo Labs (which is not covered in this guide).


0 comentários:
Postar um comentário