


Em processo dde tradução
Levels 36-45 – Beluslan
Level 36
When you arrive in Beluslan, talk to Edados and get your free goodies for your pink quests.
Fly to Deryk and turn in his quest for a little bit of free XP.
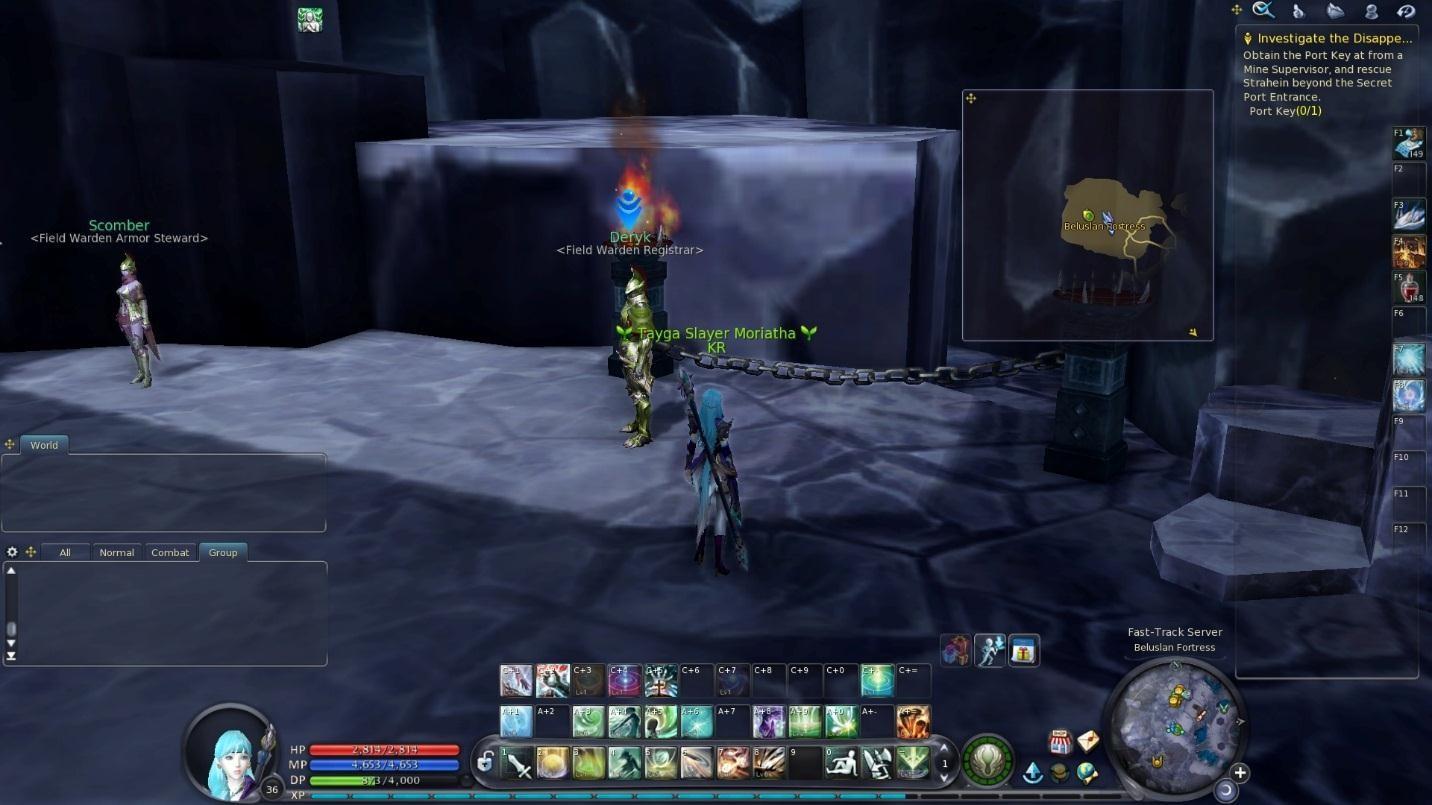
Then head to Nerita at 11:00 in the fortress and turn in “Nerita’s Orders” and pick up “Interior Landscaping”.
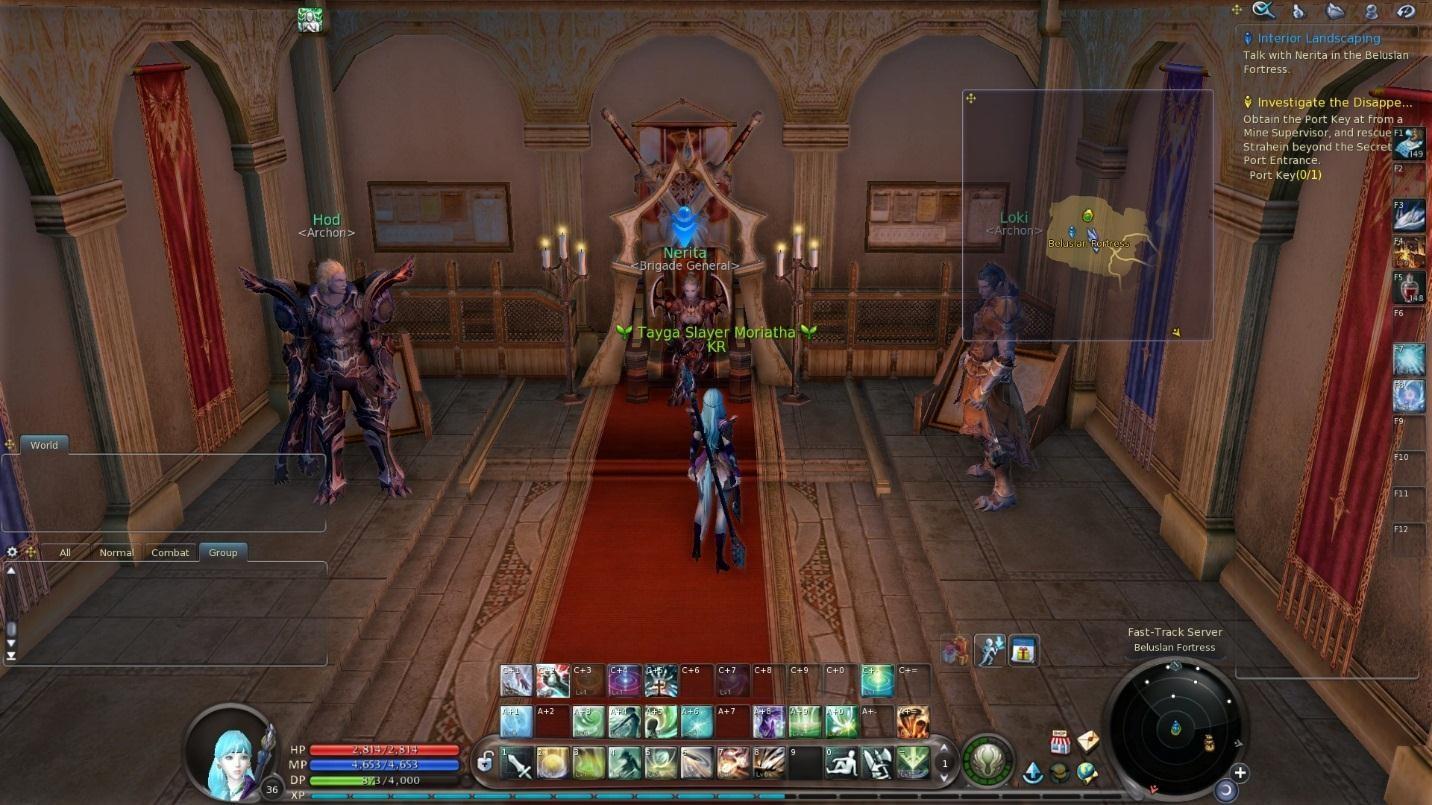
Talk to Mani outside of the building to update “Investigate the Disappearance”. Make a left and jump down a level to update “Interior Landscaping” at Bestia. Then fly up to Horu to update the quest.

Return to Nerita to turn in the quest.
Speak with Paeru (little kid walking around) to update “Investigate the Disappearance”. Then right click the propaganda in your special cube to update the quest.

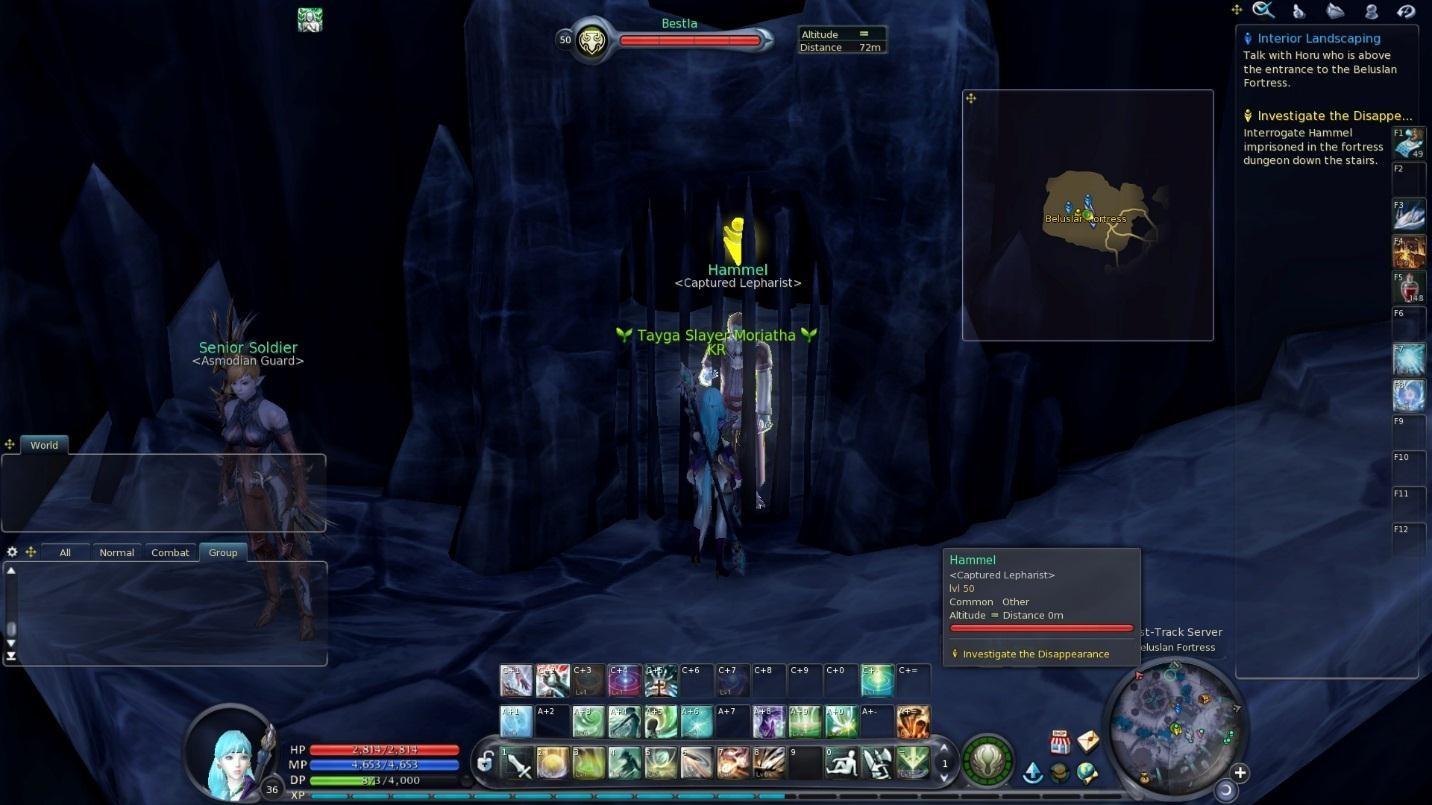
Return to Mani to update “Investigate the Disappearance”. At this point, hit enter on your chat and do “/where Leanor”. Head to this location.

Straight ahead is a ramp heading down, so follow it to get to Hammel.
Talk to the flight transporter and fly to Kidorun’s Campsite.
From here, head north and then east into the Malek mines. Follow the road south and kill an overseer on the left.
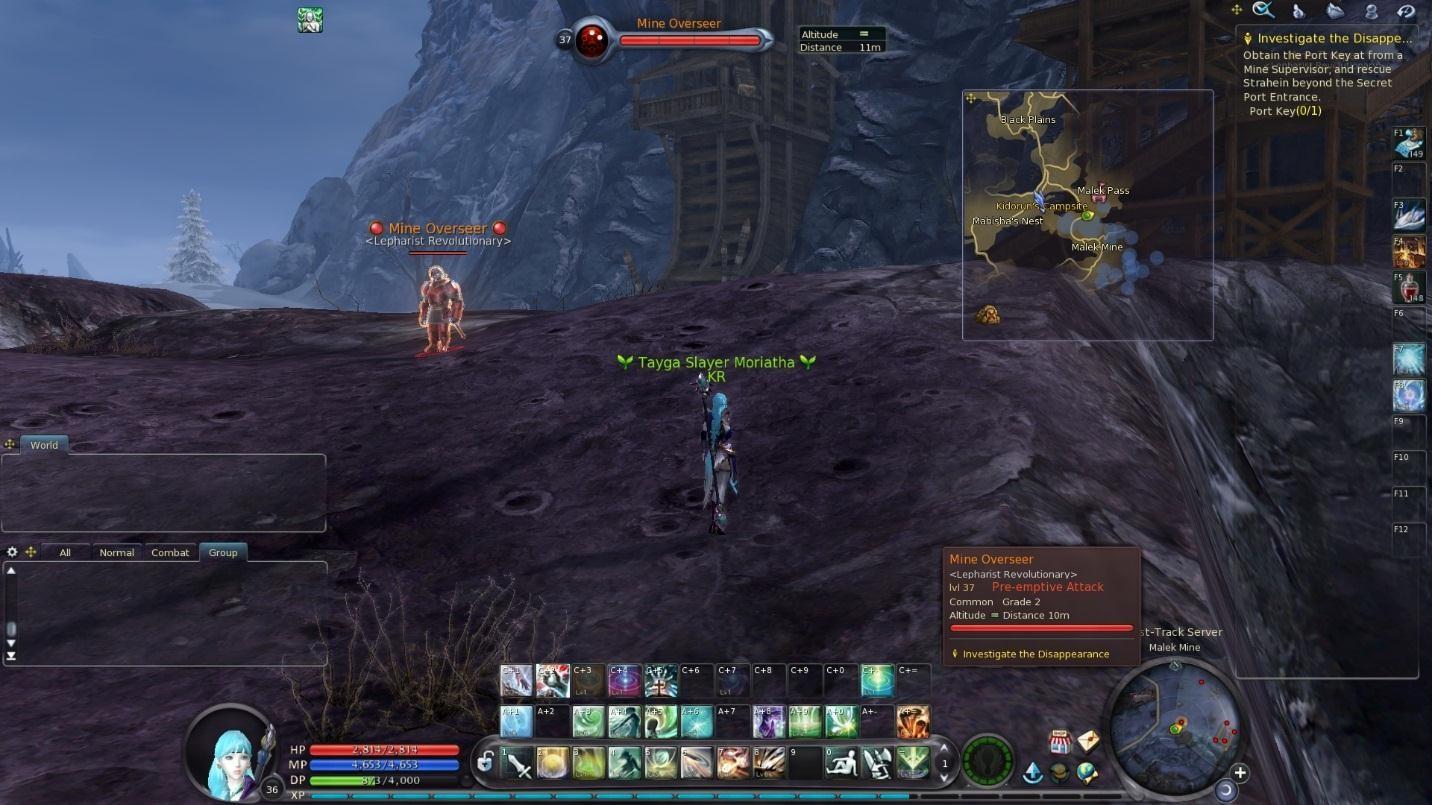
Then follow the road east. At the furthest east part of the road, head south to get to the secret entrance doorway.

You will teleport up. Just walk a small distance in to update the quest. Then use your map teleport to return to Beluslan Fortress and turn the quest in to Mani and reach level 37.
Level 37
Speak with Nerita inside to pick up “Suspicious Errand”. Then talk to Hudrunerk to update it (he’s in a corner below the warehouse manager).

Fly over to Broha to the southwest, and then return to Hudrunerk. Return to Nerita to turn in the quest.
Pick up “Nightmares and Dreamscapes” from Nerita.
Fly down to Red Man Cavern and the fly up to Camp Kistenien. You will see Bridget surrounded by 3 more NPCs with blue quests. Pick them all up (A Blacksmith’s Dreams, Seeking Slumber, Confirmation in Dreams, and An Honorable Death). Then talk to Bridget to turn in “Nightmares and Dreamscapes”.
Pick up “Into the Unknown” from her, and talk to her once more to enter Kromede’s Trial.
Instance #4 – Kromede’s Trial
Starting with Kromede’s Trial, we have an option to use the Innocent Merek pet. Innocent Merek is available on the Black Cloud Marketplace for $5. If you wish to use it, you will hatch it at the pet minder in Sanctum, and then feed in 10 “spicy health food”, which you buy from the pet merchant in Panda.
Merek will give you a bundle. Do not open up this bundle until you are ready as the resulting item will last only 10 minutes. Feed Merek constantly to create more bundles.
When you’re ready to start an instance, open up bundles until you get the one you want. It will either give you a 50% amulet (15% chance), a 100% amulet (70% chance), or a 200% amulet (15% chance). I’d suggest for Kromede’s being happy with 100%.
If you are going to run the instance with an XP boost, you should clear all mobs in the instance. If you are not, then just kill the bare minimum to get to each location.
A few seconds after entering, you’ll get a cutscene. Follow the path south after to get to a grave robber’s corpse.
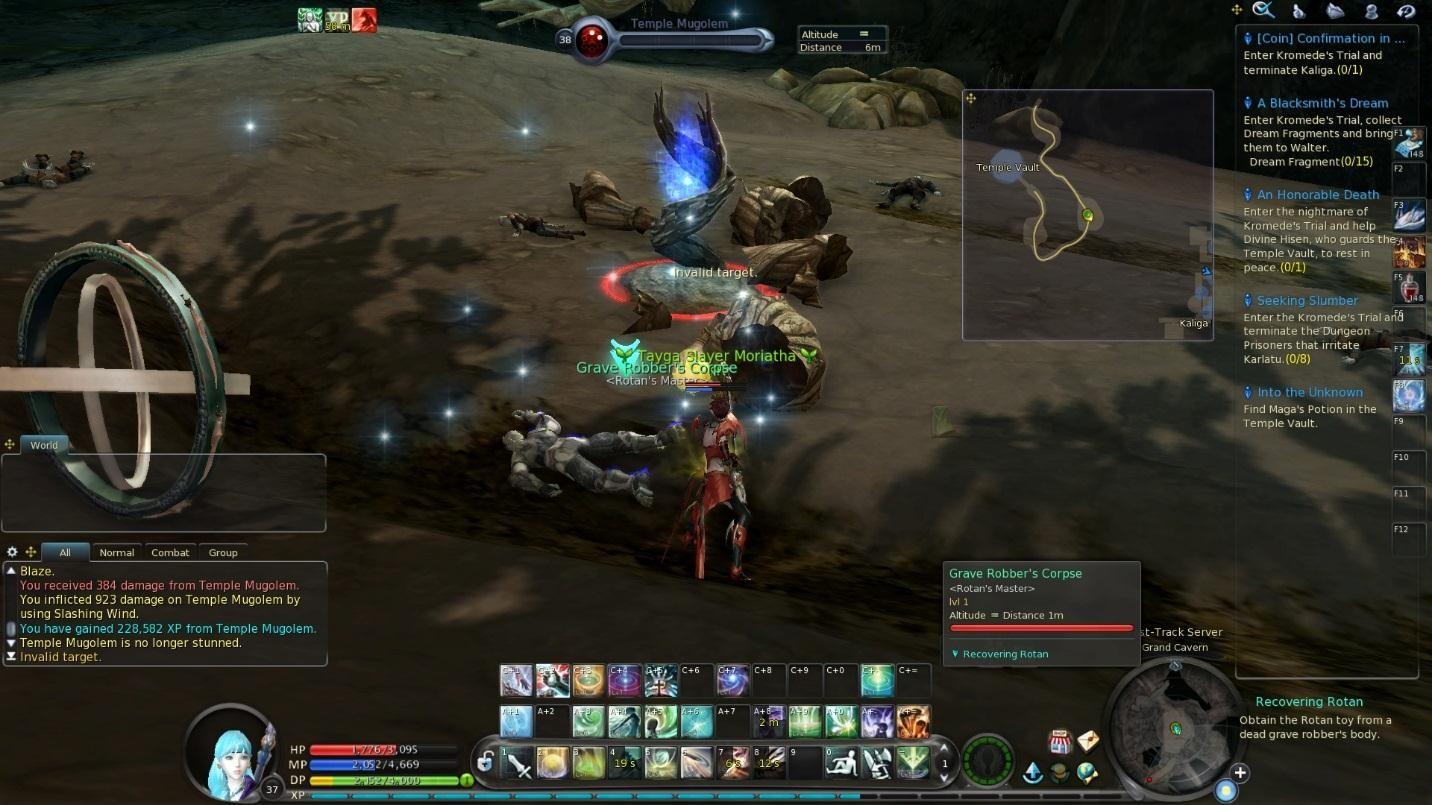
Speak with him to get a roton. Roton is a summonable skill so you might want to put it on your quickbar. Use it to attack the Sealed Stone Door as it won’t be broken otherwise.
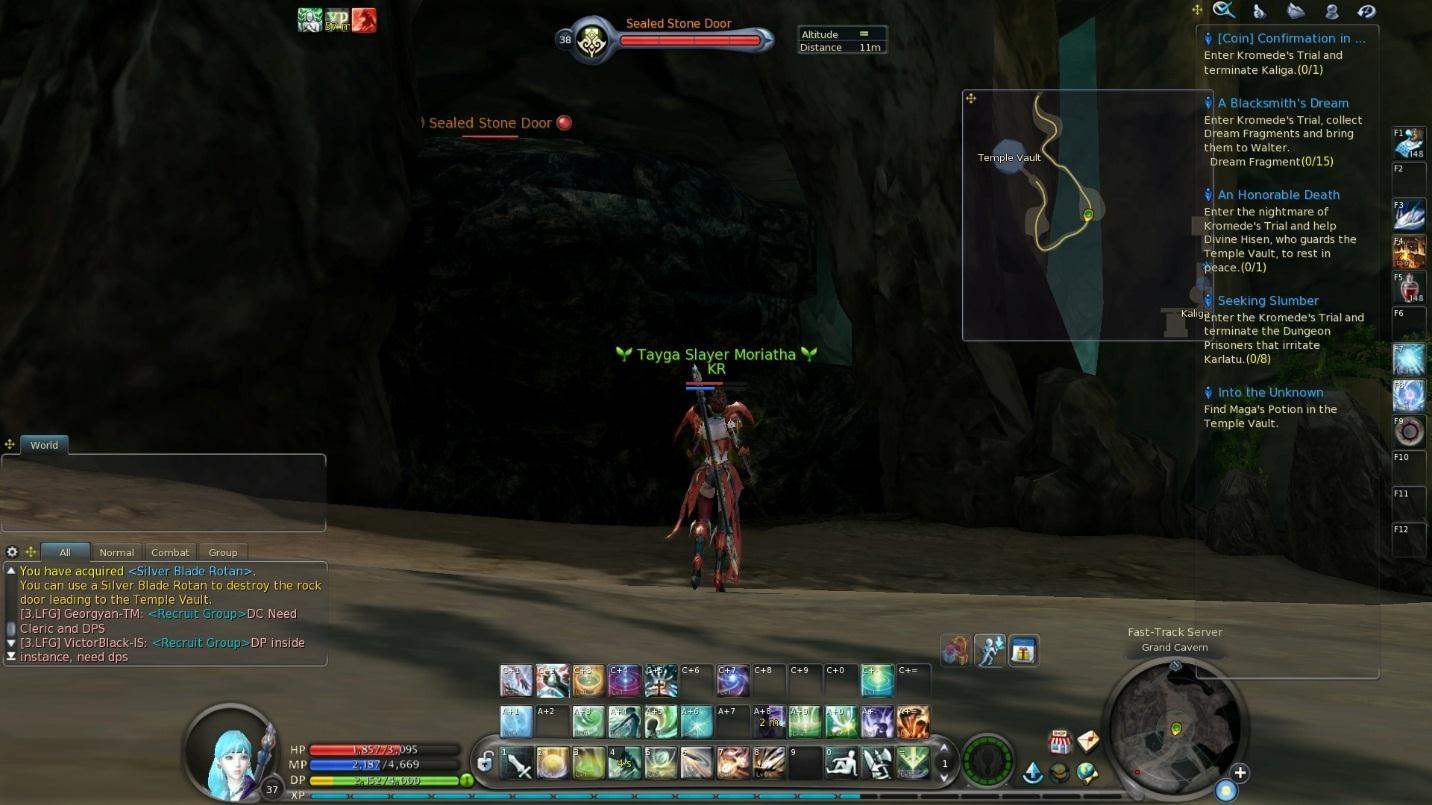
Continue to follow the path to get to a petrahulk gatekeeper. Kill him and open the door behind him.
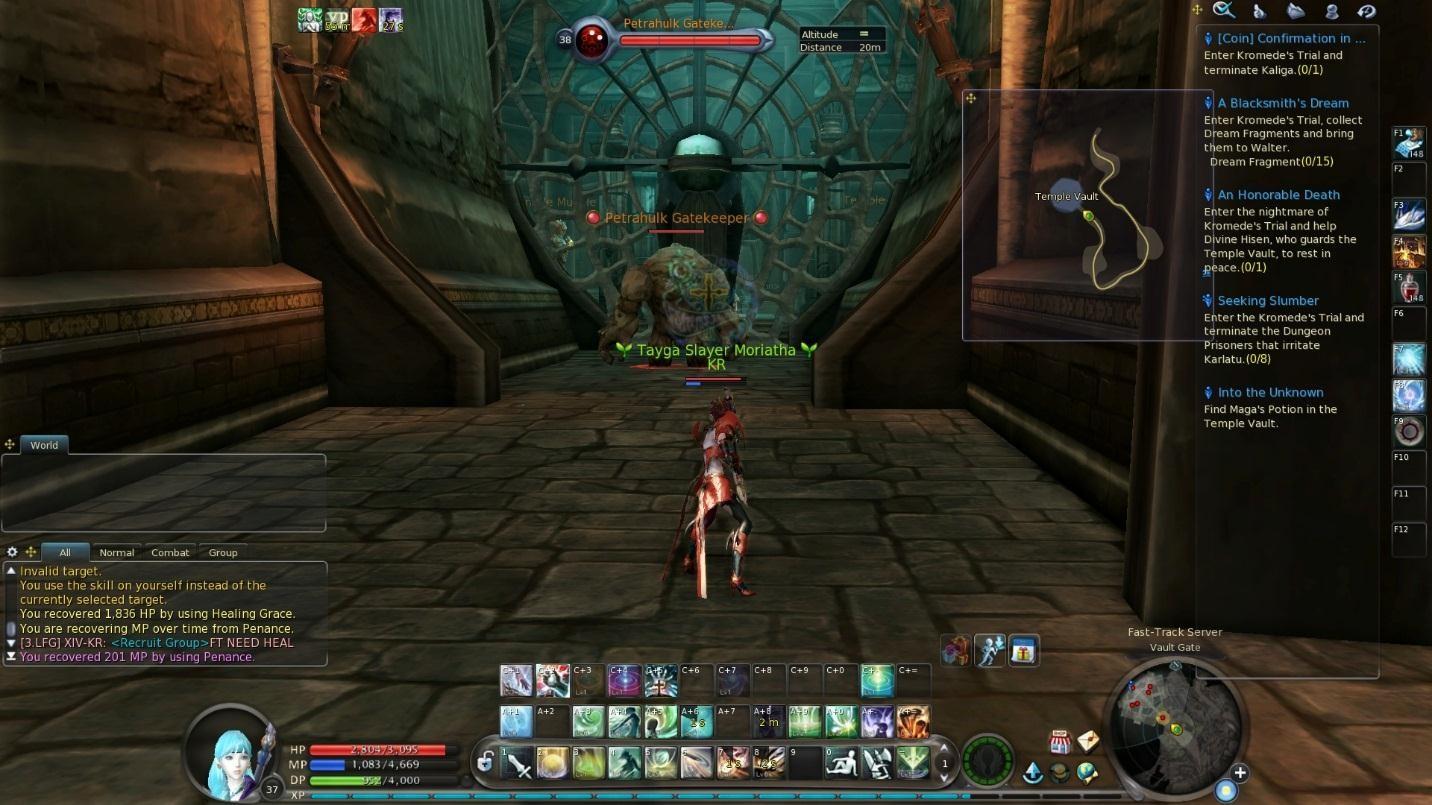
Clear the room and then kill Divine Hisen.

Divine Hisen will always start by putting you to sleep, so DoT him at the start if you can. He does an attack called area explosion. Get far away when he does this. Otherwise, he’s simple.
Loot the key and use the potion behind him to teleport.

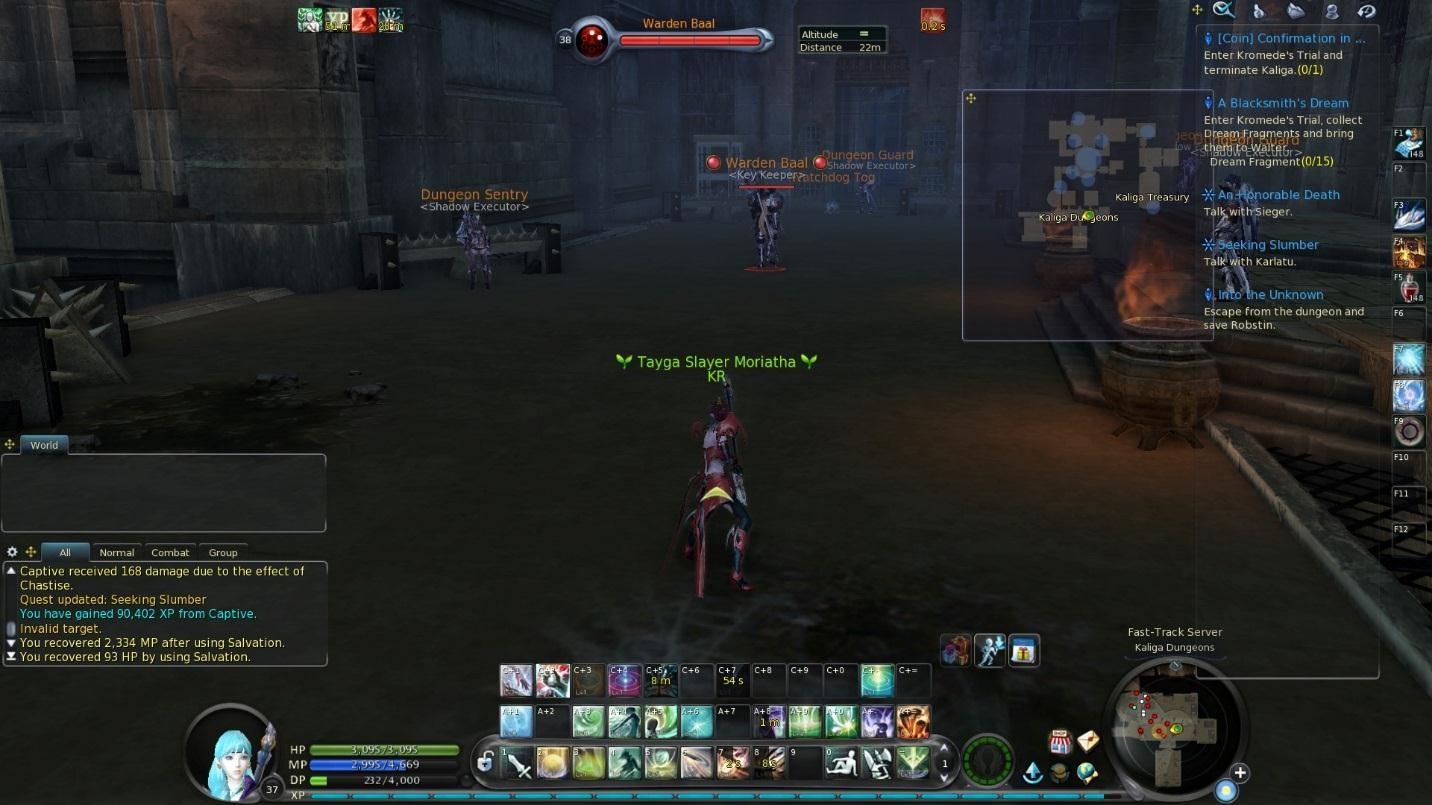
After leaving your cell, go into the first room on the right to kill 8 prisoners and captives. Then kill Warden Baal in the main hallway and loot the “Dungeon Grate Key”.
Open the gate behind him and then head into the southwest room. The Manor Guard Captain is in the back. Kill him and loot his key. He has a skill to put you up in the air and then smash you down, so don’t be at low HP with him at any point.

Use the relic chest behind him to get explosive beads.

Start heading north and kill Guard Bitin.
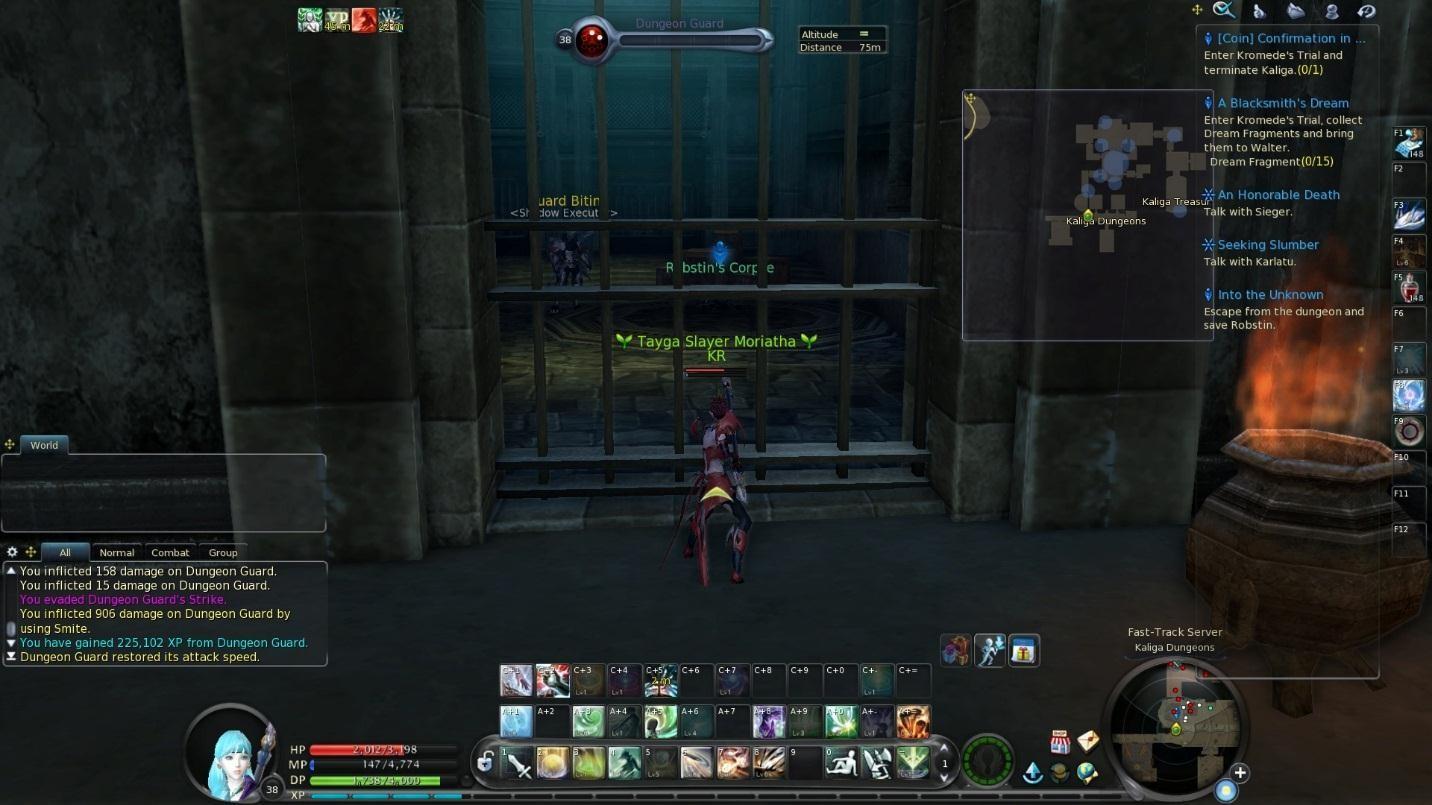
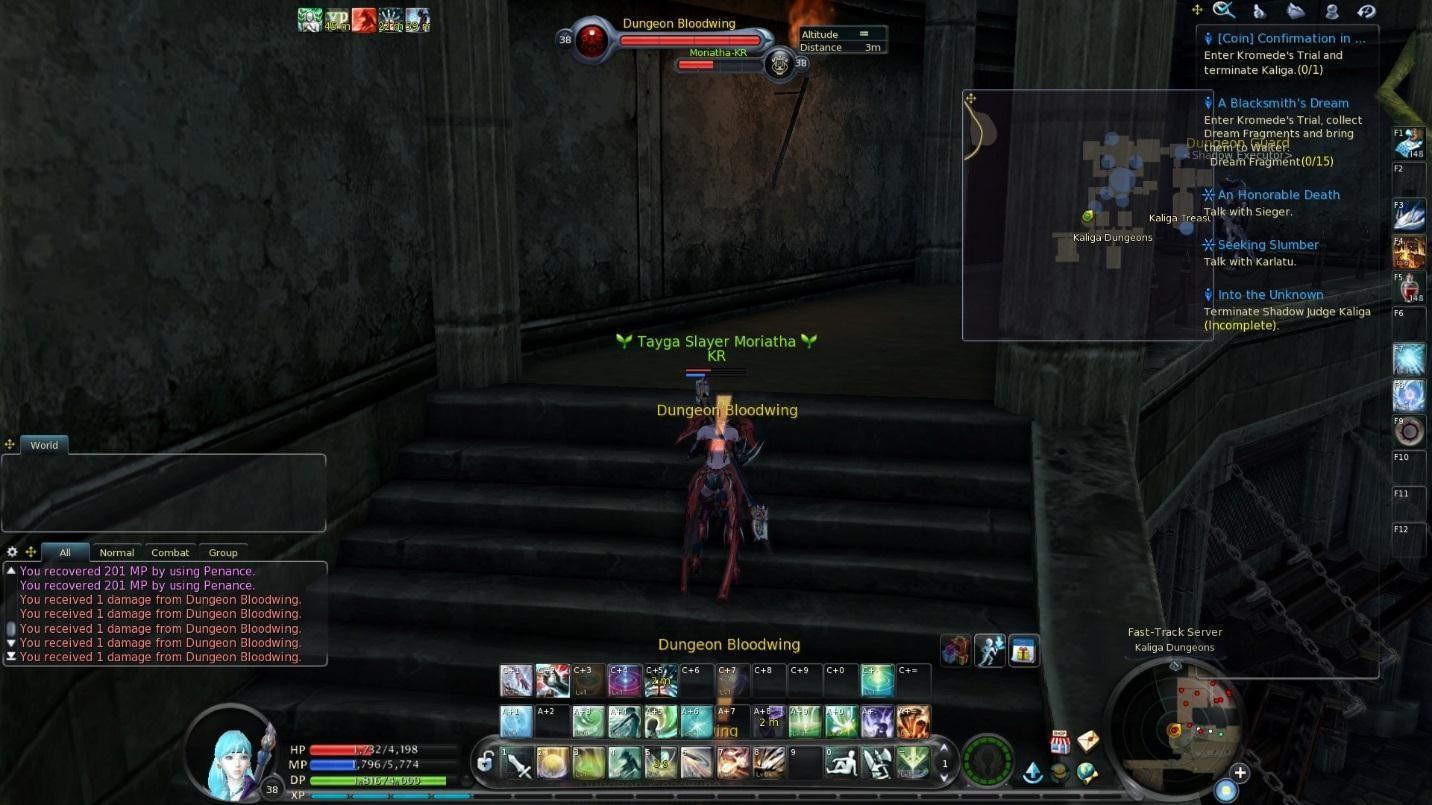
Speak with Robstin to update the quest. Then head up the stairs. Dungeon Bloodwings will appear. Use the explosive beads to kill them all in one hit.
Then at the top use the door to enter the manor proper.

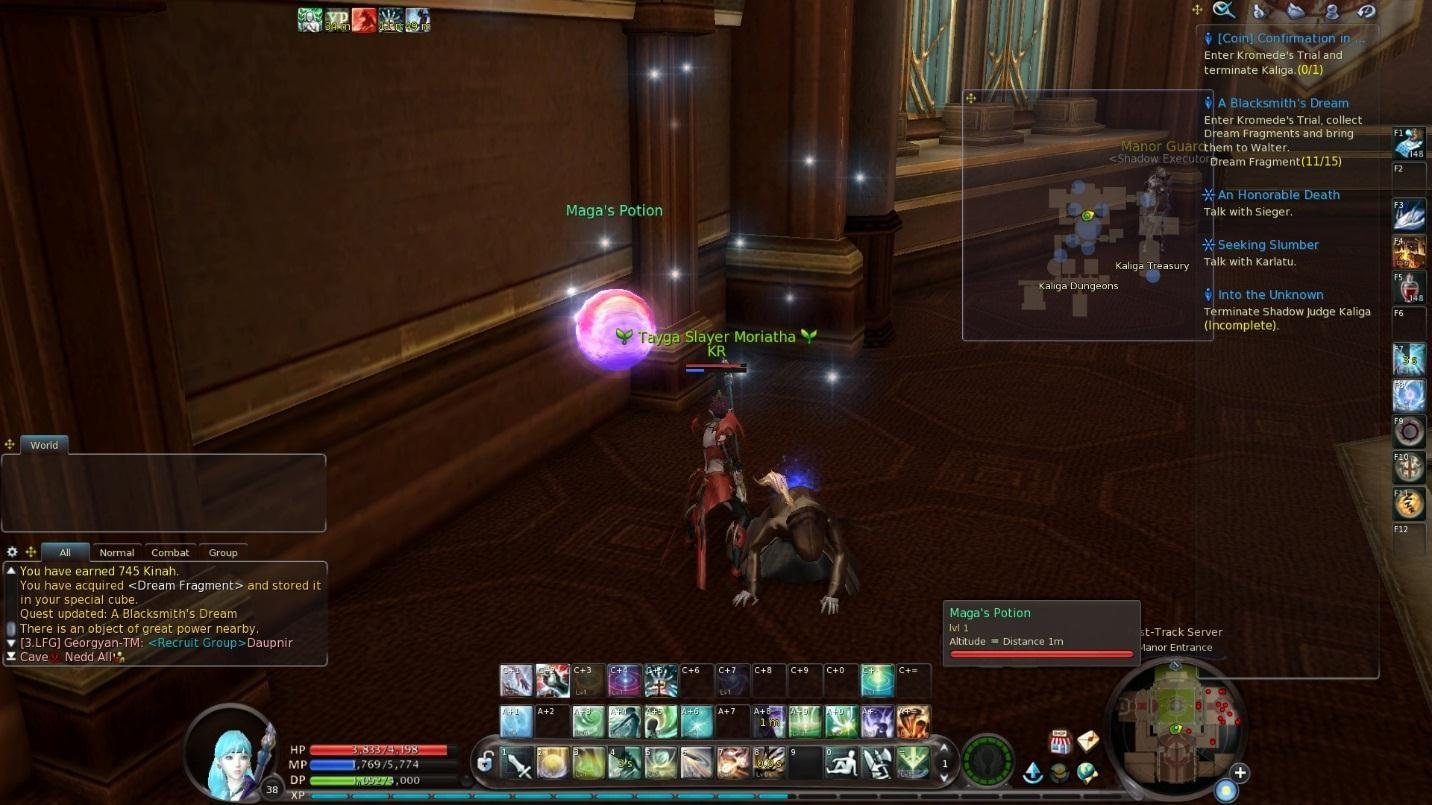
Inside, kill the 2 manor defenders and loot their fragments.

Continue to the next room. There are some patrolling mobs to kill. In the center is a set of 3 manor guards. Wait for 1 to walk away to kill her, and then kill the other 2. You should be at 5 fragments now.
In the middle, you can use the tower for a small buff.

Head downstairs. The guards patrol the edges of the room, so if you don’t have an XP boost on, sneak around the corners. If you want, there is a sleep flower here that’ll put a target to sleep and then deal massive damage. The fountain in the middle also can be used to restore HP.
Return to the main hall and head up the west stairway. Kill guards and defenders on top to loot more dream fragments. In the middle is Austin. He’s a mage mob and hurts, so I suggest blowing him up fast.

You can take the potion behind him which is a cure all, but I rarely use it.
Head east to the next room. This room is optional. If you have an XP boost, clear it all. Note that if you use a sleep flower on a mob in the middle, when it wakes up it’ll graphically glitch to be right where you slept it, but still be able to attack you.
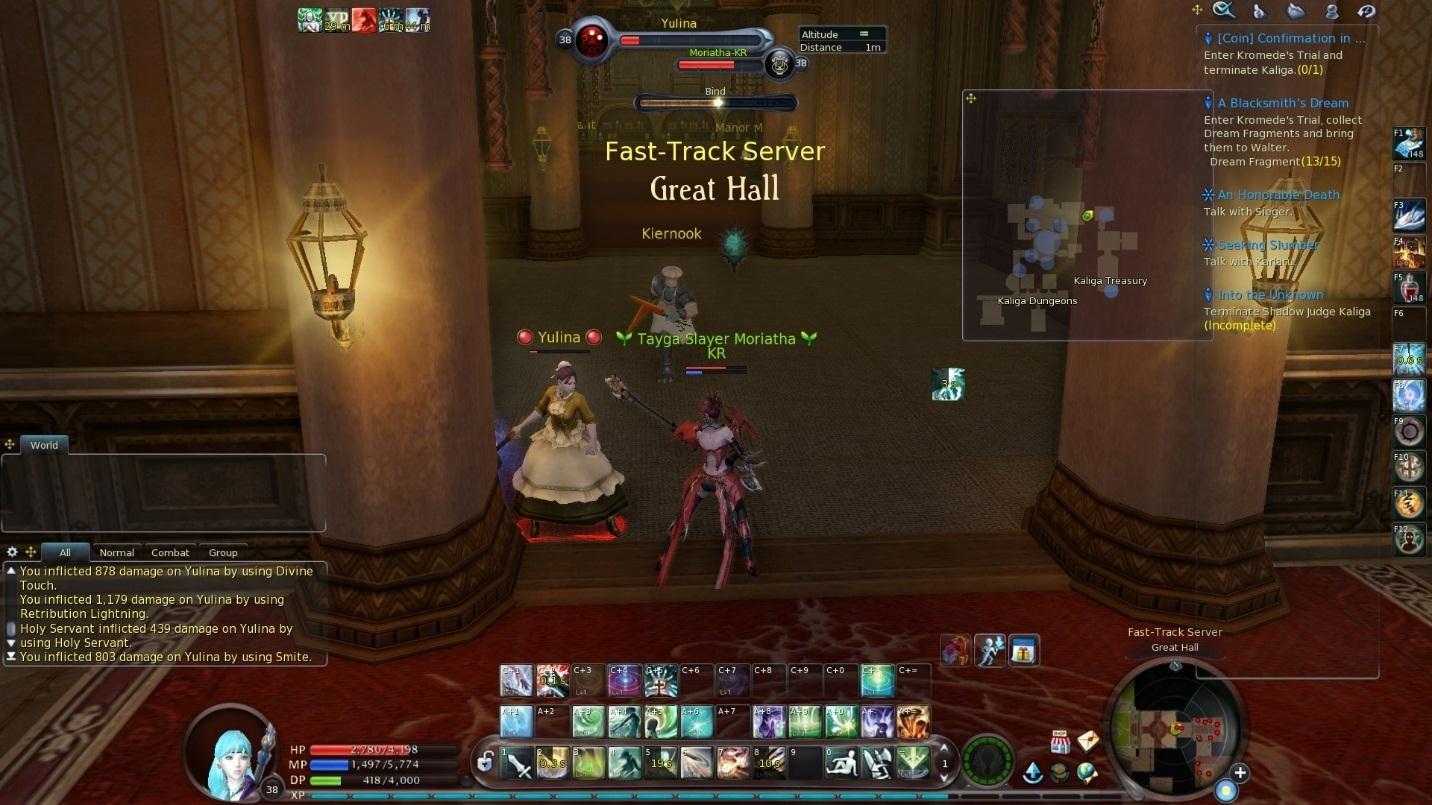
Head to the next room to the east. Wait for Kiernook and Yulina to be near the entrance to pull them and kill them. Physical classes may have issues as they can bind.
Clear the room and loot any last dream fragments you may need. There is a porgus barbecue that gives a buff, and a fruit basket that recovers most of your health. Then head south into the library. Kill Jeeves in the south corner. He will sleep you and hits hard, so I’d probably pop a consumable if needed.

Use the bookcase he was working on to teleport to the last room. After killing the mobs, run south at Kaliga.

Kaliga is fairly easy in this mode. He’ll pull and hit you, and at low health he’ll summon a bunch of bats (use the explosion beads on them). And he never drops anything the first run.
Use the oak doors to exit.

Turn in your quests to reach level 38 (if you’re not already).
Level 38
Pick up the same quests as last time and re-enter Kromede’s Trial after waiting 10 minutes for it to reset.
With this, we have a choice. If we choose to go for armor, when you teleport into the dungeon, you can head into a south room and kill an executioner (no special skills).

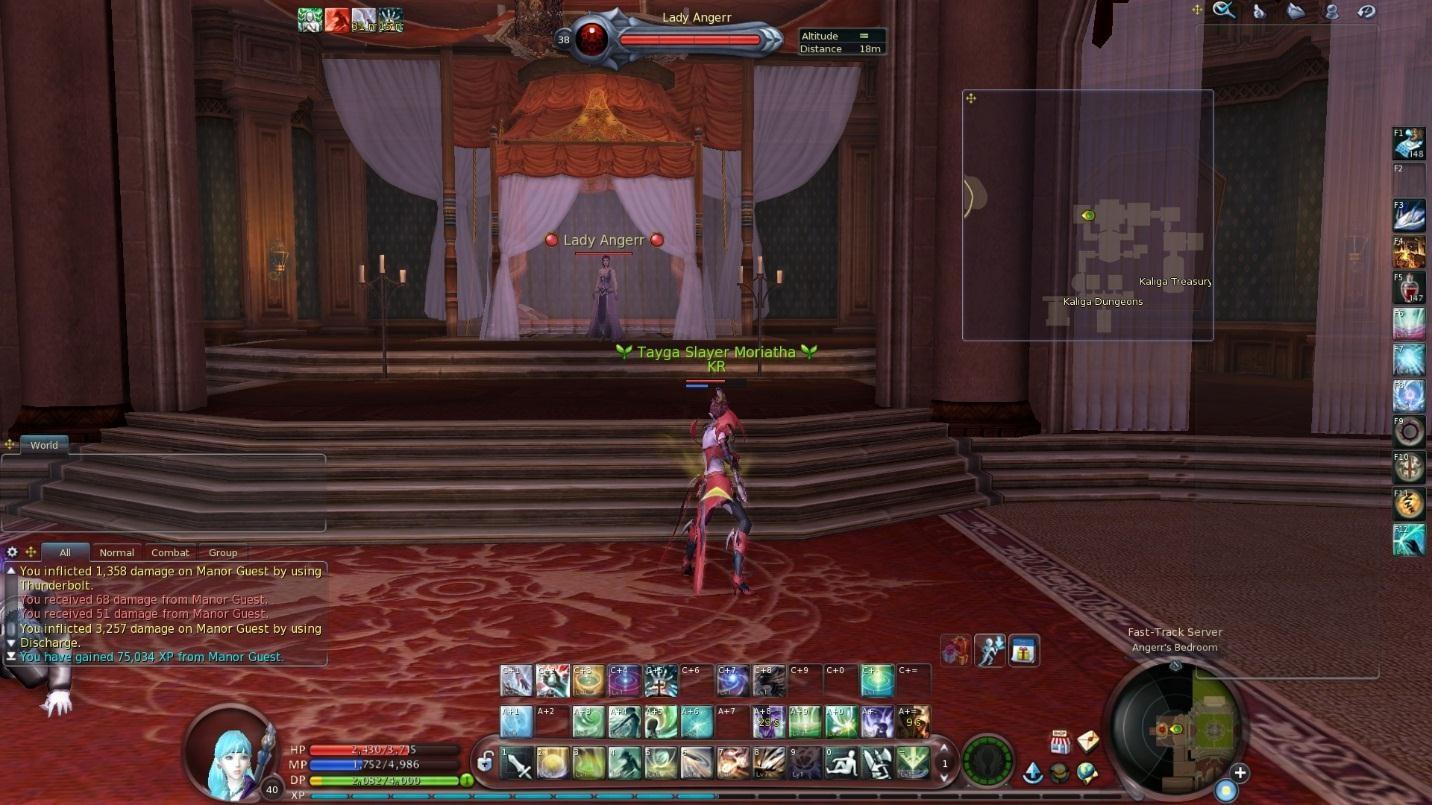
Then when on top of the stairs, head west to Lady Angerr. She summons bats to kill.
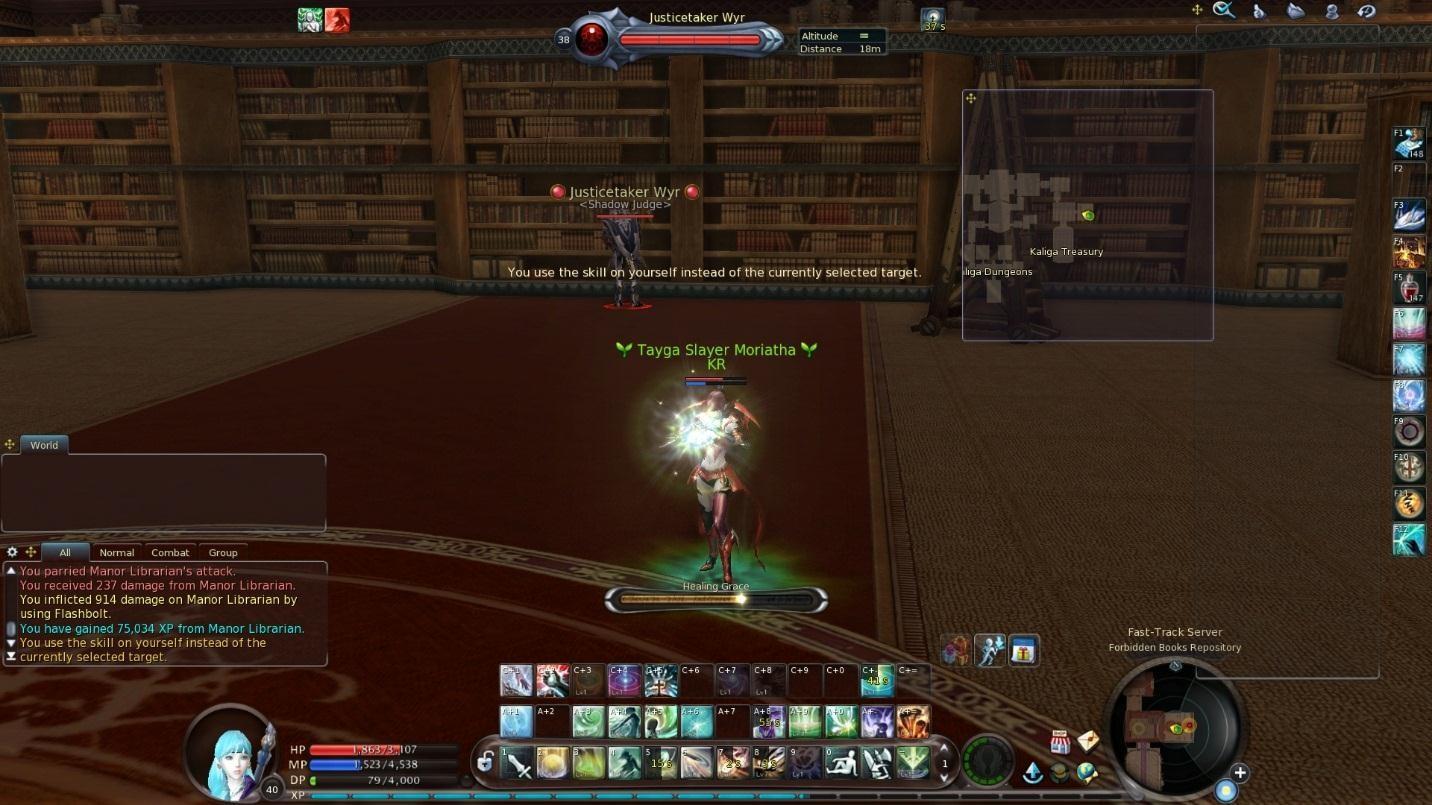
Finally, in the library head to the top and head into the east room to kill Justicetaker Wyr. He can shield himself against physical attacks.
When you enter the final room, there mobs will be there with Kaliga, but very weak (hit for like 10 damage each, and die in 5 hits).
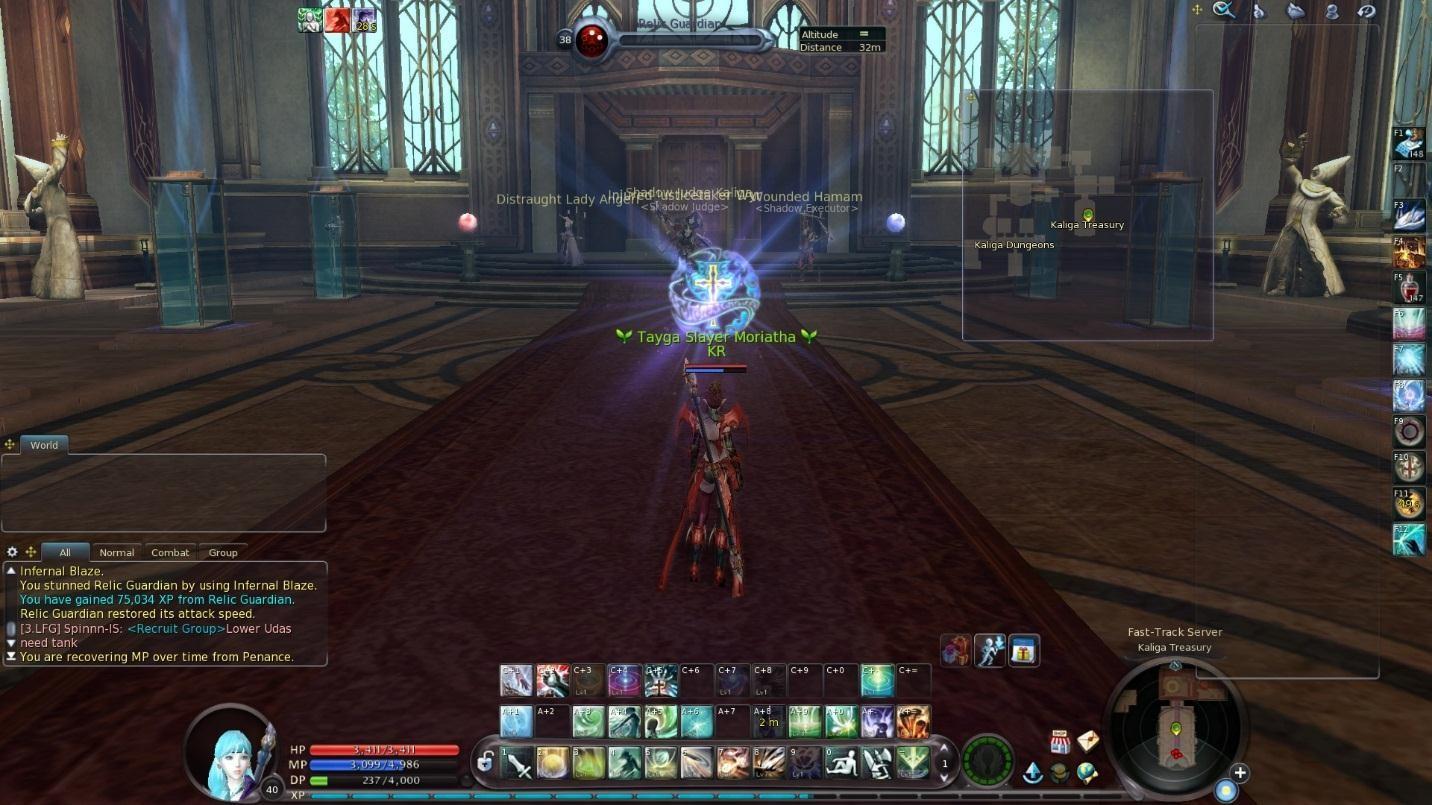
If you decide to go for hard mode (no mini-bosses killed), Kaliga will have slightly different mechanics.
He starts with a long stun. If you are a physical class, kill the red relic as that boosts his physical defense. If you are magical, kill the blue relic.
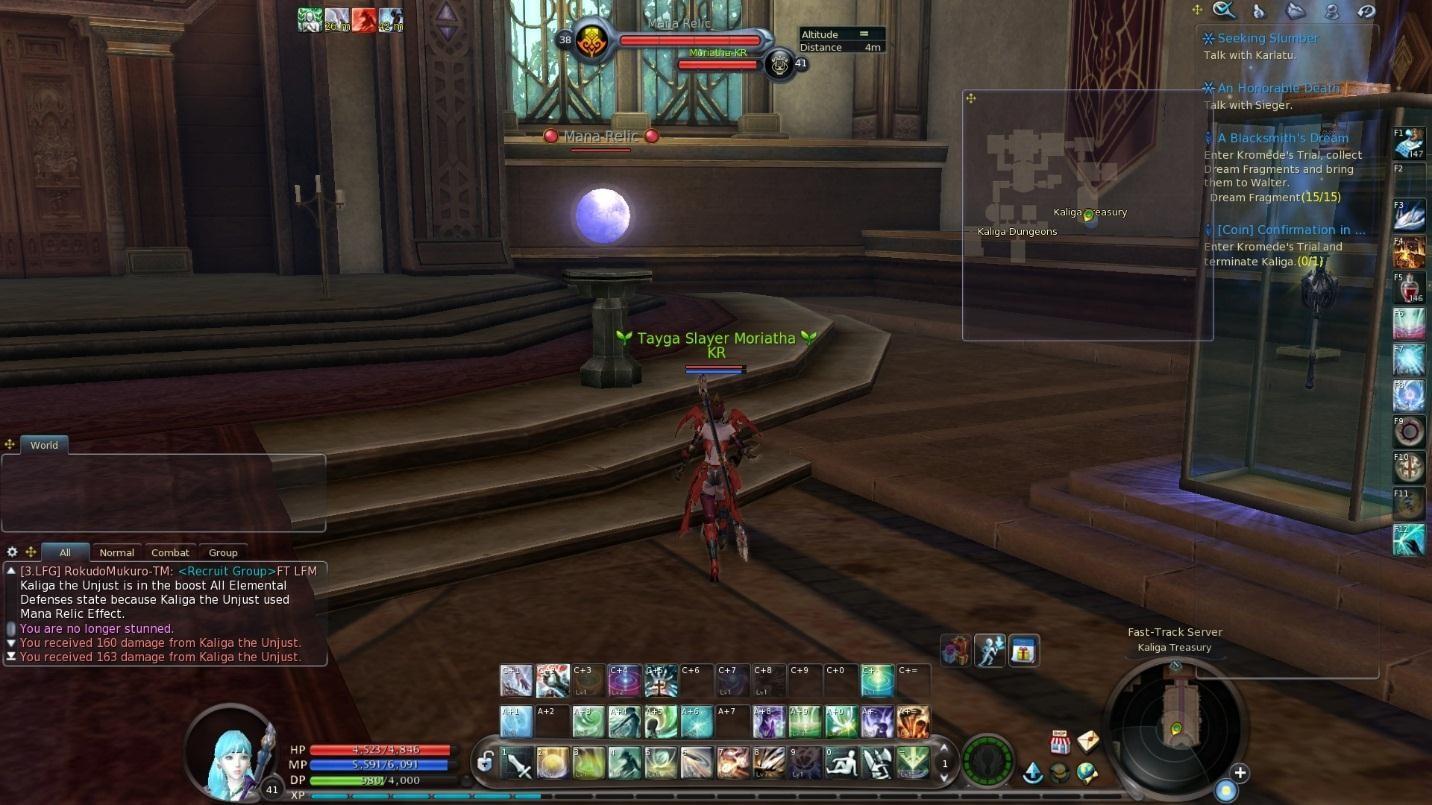
During the battle, he’ll summon a few adds. They don’t hurt badly, but should still be killed for ease. At low health, he’ll summon a blue circle. Get out of it or it’ll hit for major damage.
He has a chance to drop a key when he dies. Use a weapon rack on the sides to acquire a weapon of your choice that’s worse than a Kromede weapon.
Head out and turn in your quests to reach level 39 (or more)
Level 39
Continue with Kromede’s Trial’s processes, picking up and turning in quests.
Level 40
Run more Kromede’s Trial. At this level, be aware of the “Remove Shock” skill which allows you to escape stuns, knock downs, and aether’s holds.
Level 41
Start the level with Kromede’s Trial. If you aren’t using an amulet, this will be your 5th run. If you are, it will probably be your 3rd, but you should just rush the instance as soon as you hit 41 instead of grinding the mobs.
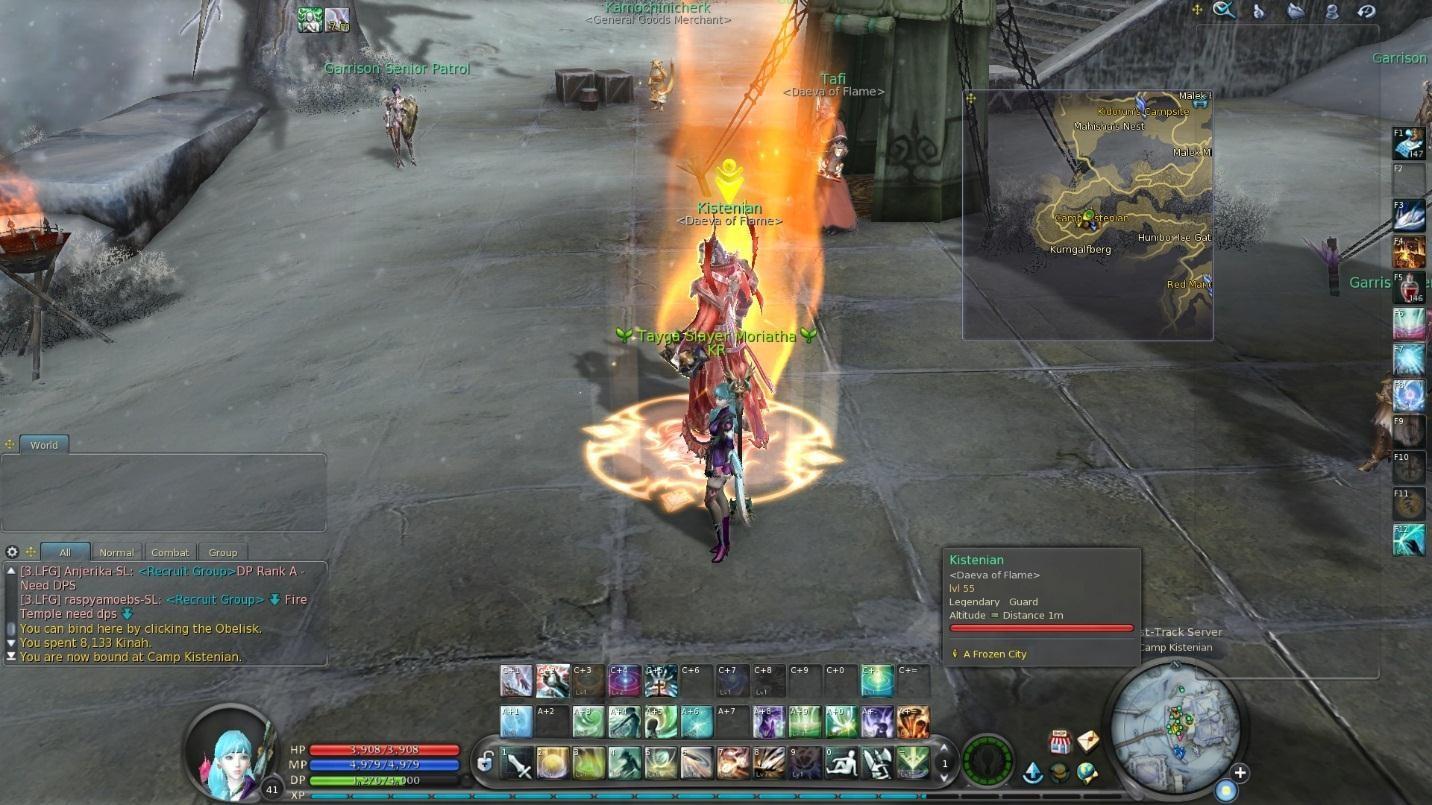
Speak with Kistenian to update “A Frozen City”.
Then head southwest up some stairs to get to a gap in a wall.

Head down the stairs. Open up your cube and right click on the orange orb.
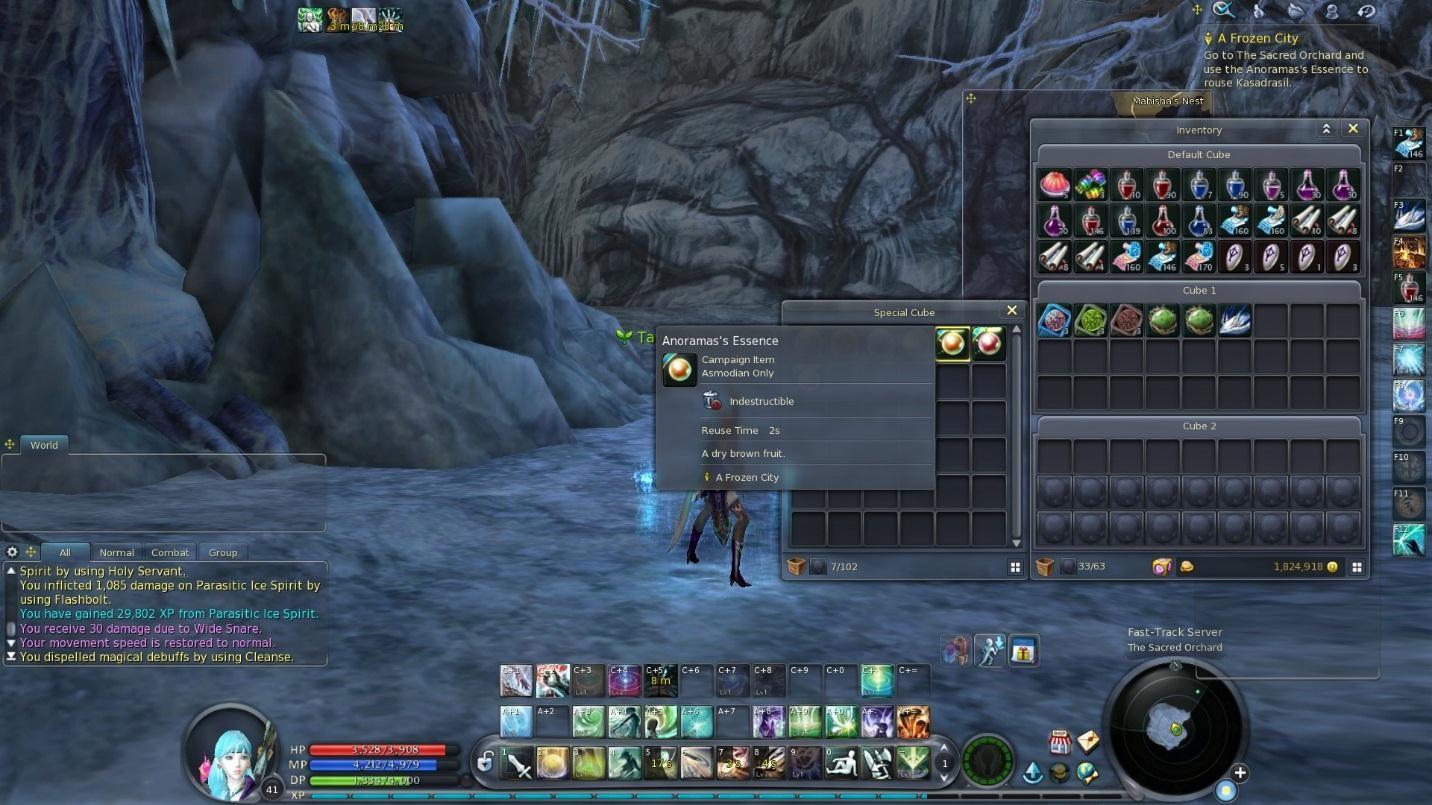
Repeat this with the red orb and the white orb. When it’s all done, kill the ice spirit that spawns.

Return to Kistenian to turn the quest in and reach level 42.
Level 42
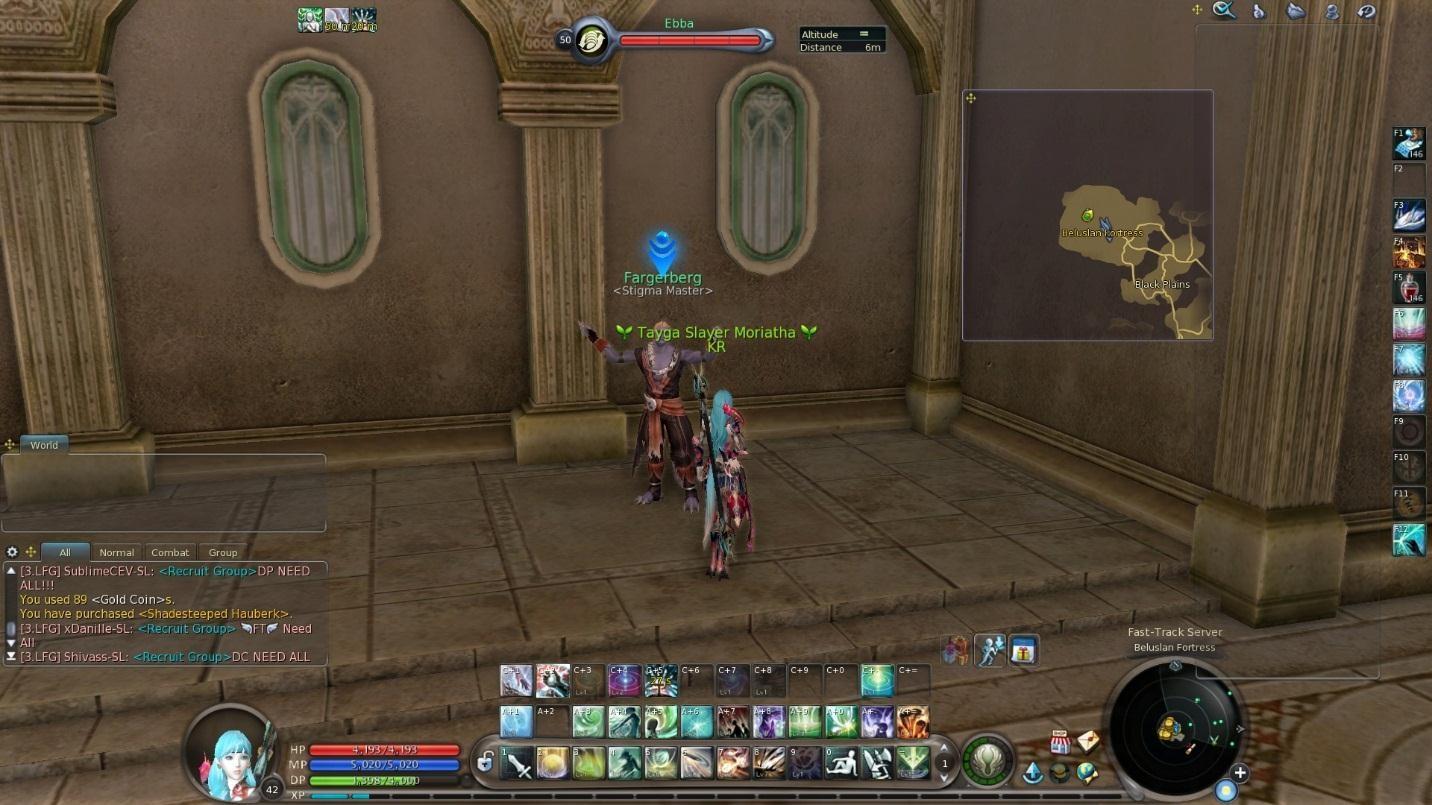
Fly to Beluslan Fortress. Here, in the temple, speak with Fargerberg to turn in “Stigma Stone will Break my Bones” and get you final normal stigma to choose and equip.
Then fly to Red Mane Cavern. Speak to Chieftain Akagitan to update “The Mauling of the Mau”. Pick up “Consulting the Leaders” from Freyja. Then head up the ramp to get to Mostin.
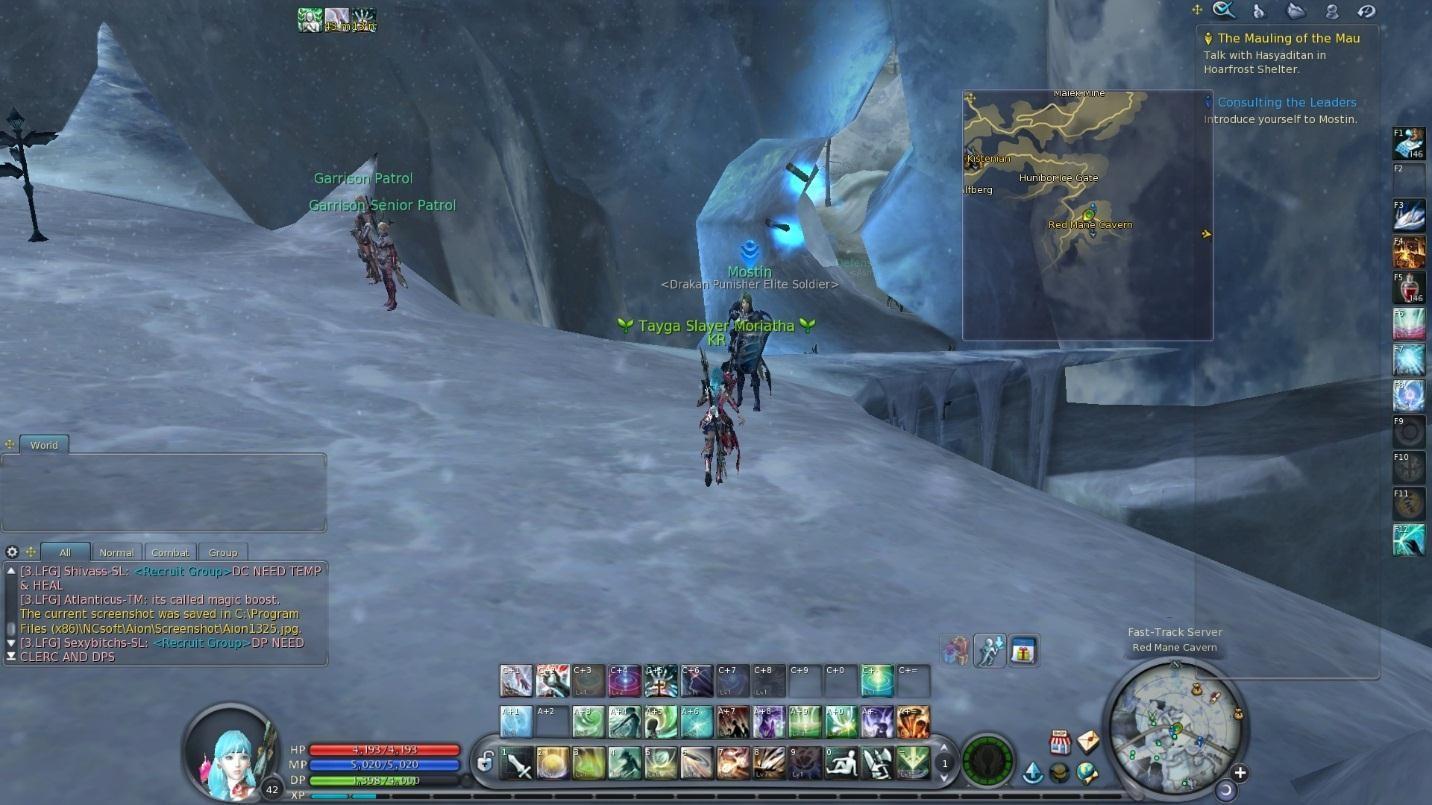
Update “Consulting the Leaders” and pick up “Assuming Con-Troll” and “Eradication Pa-Troll”. Head up the ramp more and talk to Delris to update “Consulting the Leaders” and “Decorative Skulls”. Talk to Thor to update “Consulting the Leaders” and pick up the light blue quest “Hoarfrost Diplomacy”. Then return to Freyja.
Head out the east side of the cavern, cross the bridge, and head north. Kill 9 Rynoces and loot their skulls.

Then head east to a troll encampment. Kill 6 of the small trolls and 4 of the big trolls.

Then kill 2 of their houses. The houses are huge things with tusks on them. Melee, you will need to get inside the house as its hitbox is in the middle.

Return to the road and head east to hoarfrost shelter.

Talk to Hasyaditan to update “The Mauling of the Mau” and pick up “Mau’s Lament”. Speak with Svafastir a little to the west to turn in “Hoarfrost Diplomacy”.
Head south out of the camp to a ghost town. Kill 4 fighters, 2 shamans, 2 archers, and 1 healer and look them.

Return to the camp to turn in the quest to the chief. Then speak with Arita to update “The Mauling of the Mau”.
Run with your Mau buddy along the west road until you come upon a rock with Mau on it.
Run around it until the cutscene activates. Then return to Red Mane Cavern to update “The Mauling of the Mau” and turn in “Eradication Pa-Troll”, “Assuming Con-Troll” and “Decorative Skulls”, heading up the ramp as you do so. Then talk to Thor to turn in “The Mauling of the Mau” and reach level 43.
Level 43
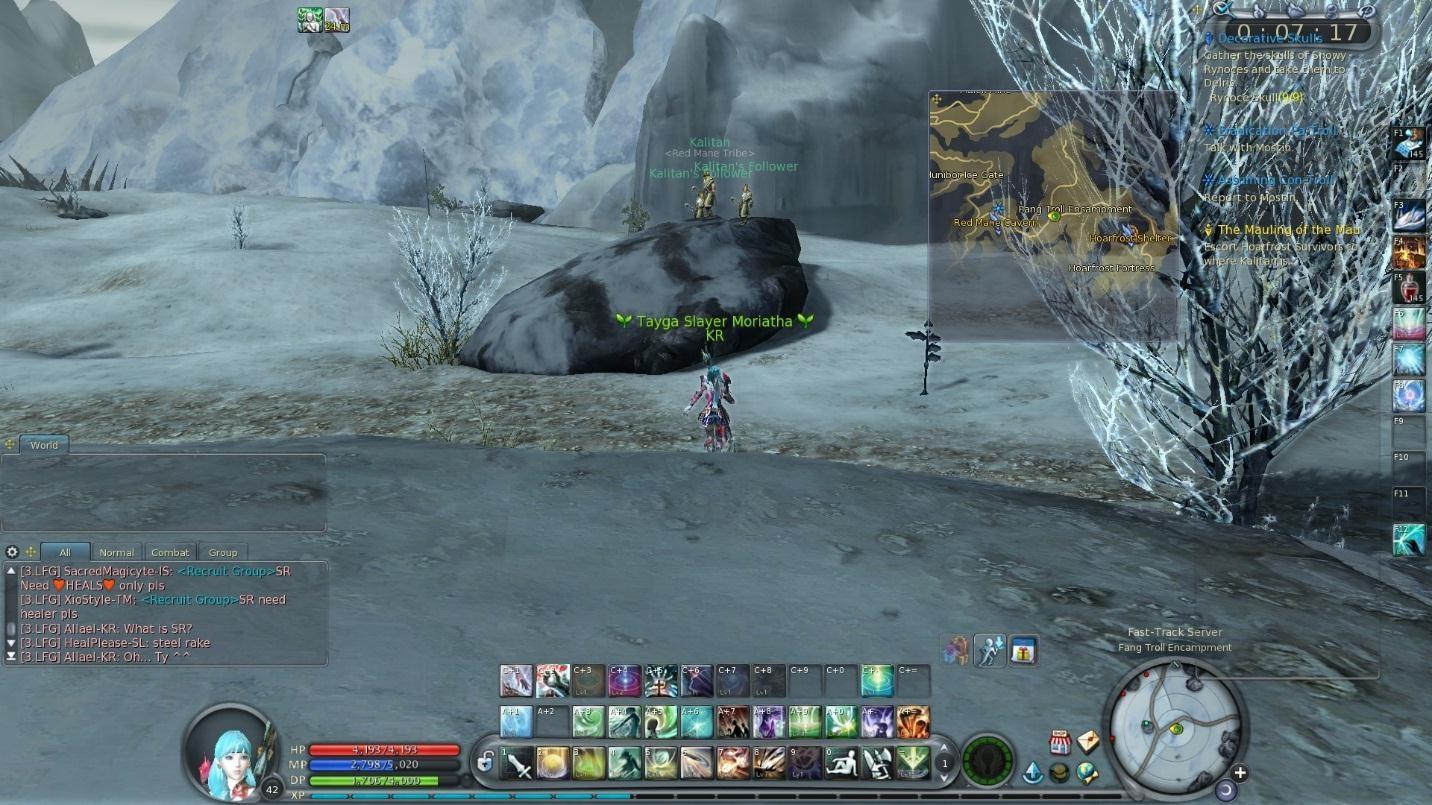
Speak with Lasyatil to pick up “Spirit’s Tears” and “Scarlet Warmth”. Speak to Chieftain Akagitan to pick up “Once a Friend, Now an Enemy”, “Scarlet Warmth”, and “The Efficacy of Fire”. Speak to Borvo to pick up “Red Mane Tribe’s Special Remedy”.
Head to the top of the ramp and talk to Delris to update “The Efficacy of Fire”. Then head out the east side of the cavern and make your way south. When you get to a bridge, just off and glide down.
When you land, kill 4 Terra Spirits and kill/loot 4 Earth Spirits (they look the same, but different names).

To the south of these spirits is Galciont the Hardy. Be full health when you attack him.

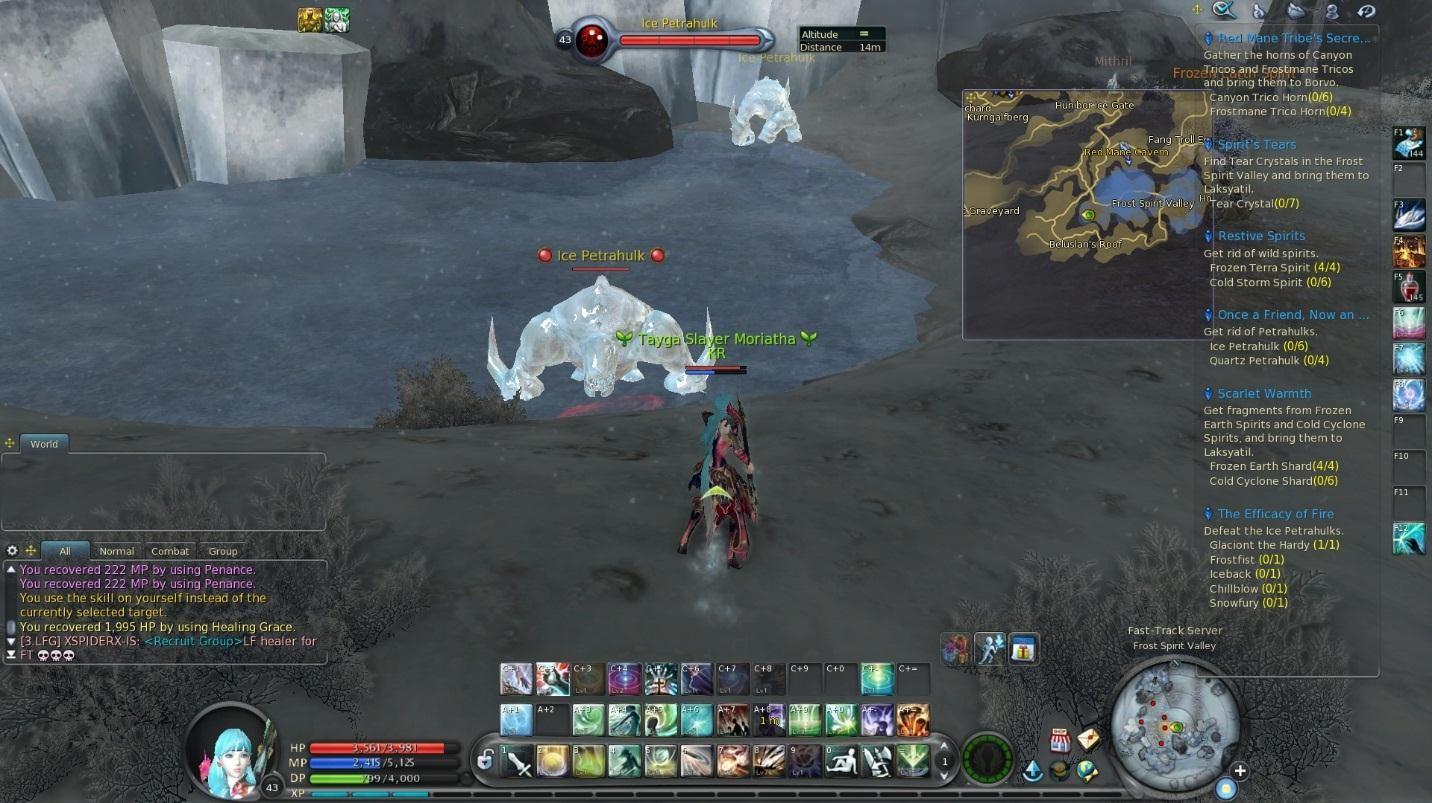
Then kill 6 Ice Petrahulks in the area.
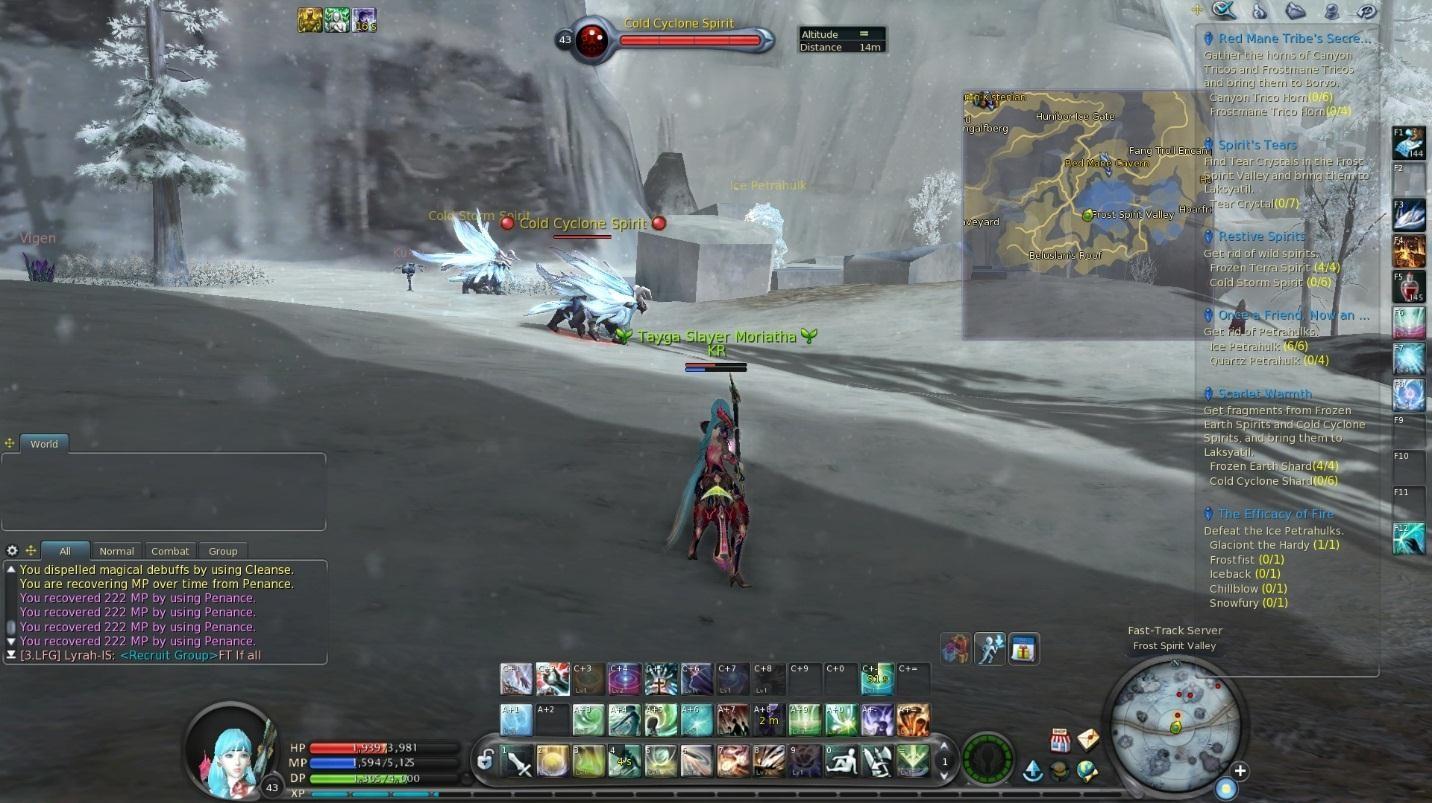
To the north of the road, kill and loot 6 Cold Cyclone Spirits and kill 6 Cold Storm Spirits as you make your way east.
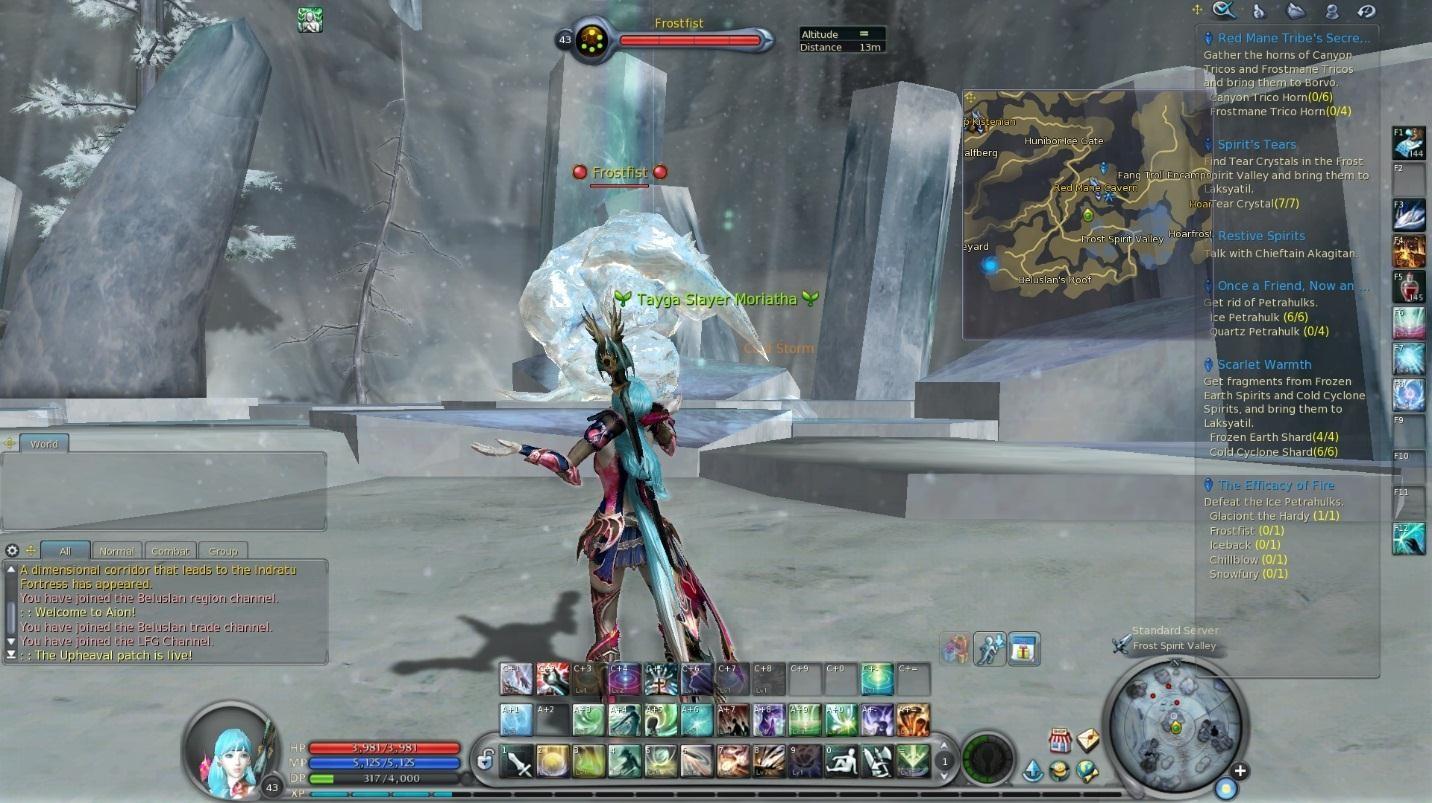
As we continue on the north side, we will come to Frostfist, so kill him. He spawns on the platform with the light going up.
As you make your way back to the road, gather tear crystals in the area. You’ll need 7 total, so look around here for them.

Work your way East across a bridge made of Hexagons. These are not perfectly connected, so I suggest jumping across it so you don’t fall to your death. When you cross the bridge, kill 6 Canyon Tricos and loot their horns.

Continue northeast onto the ice hexagons, and kill 4 Quartz Petrahulks.
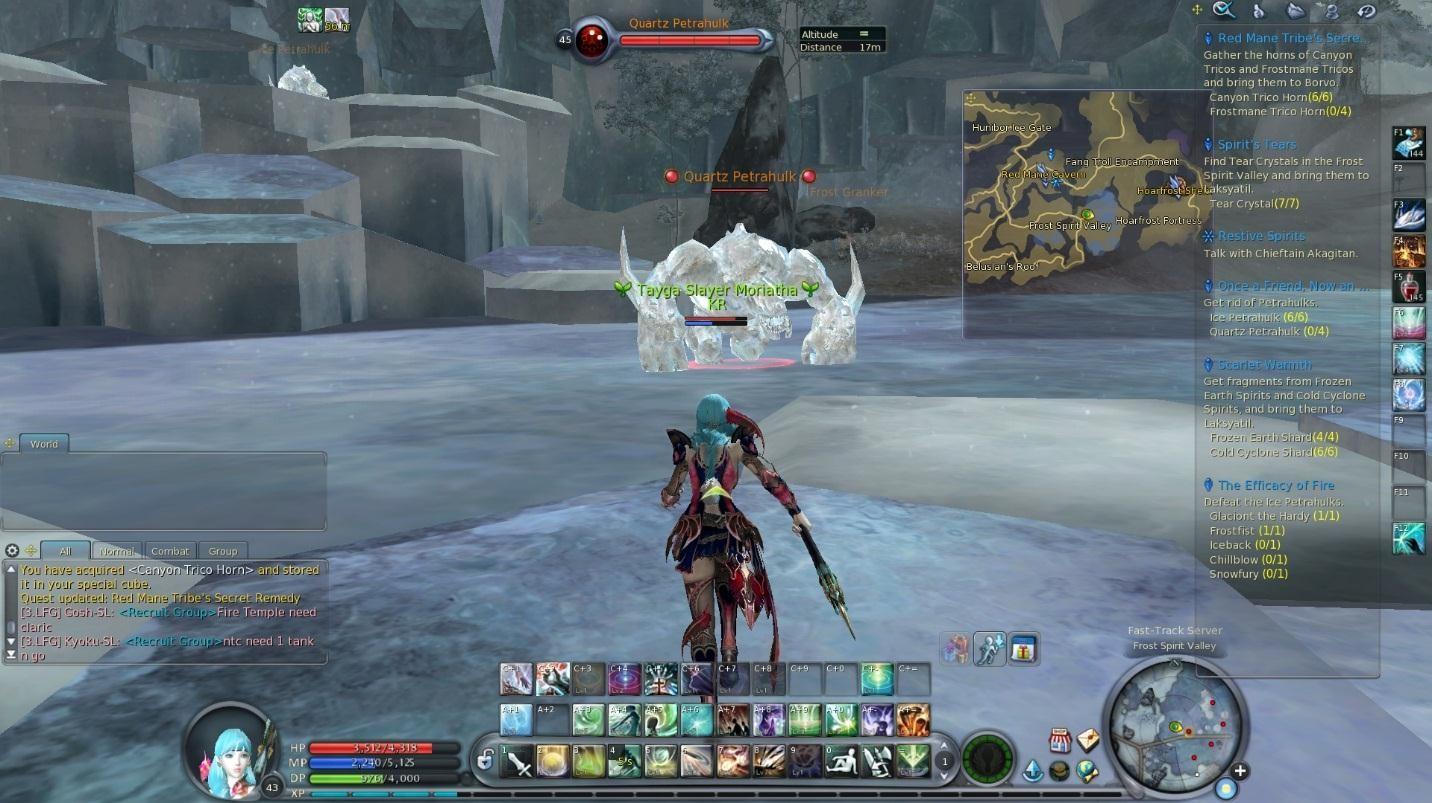
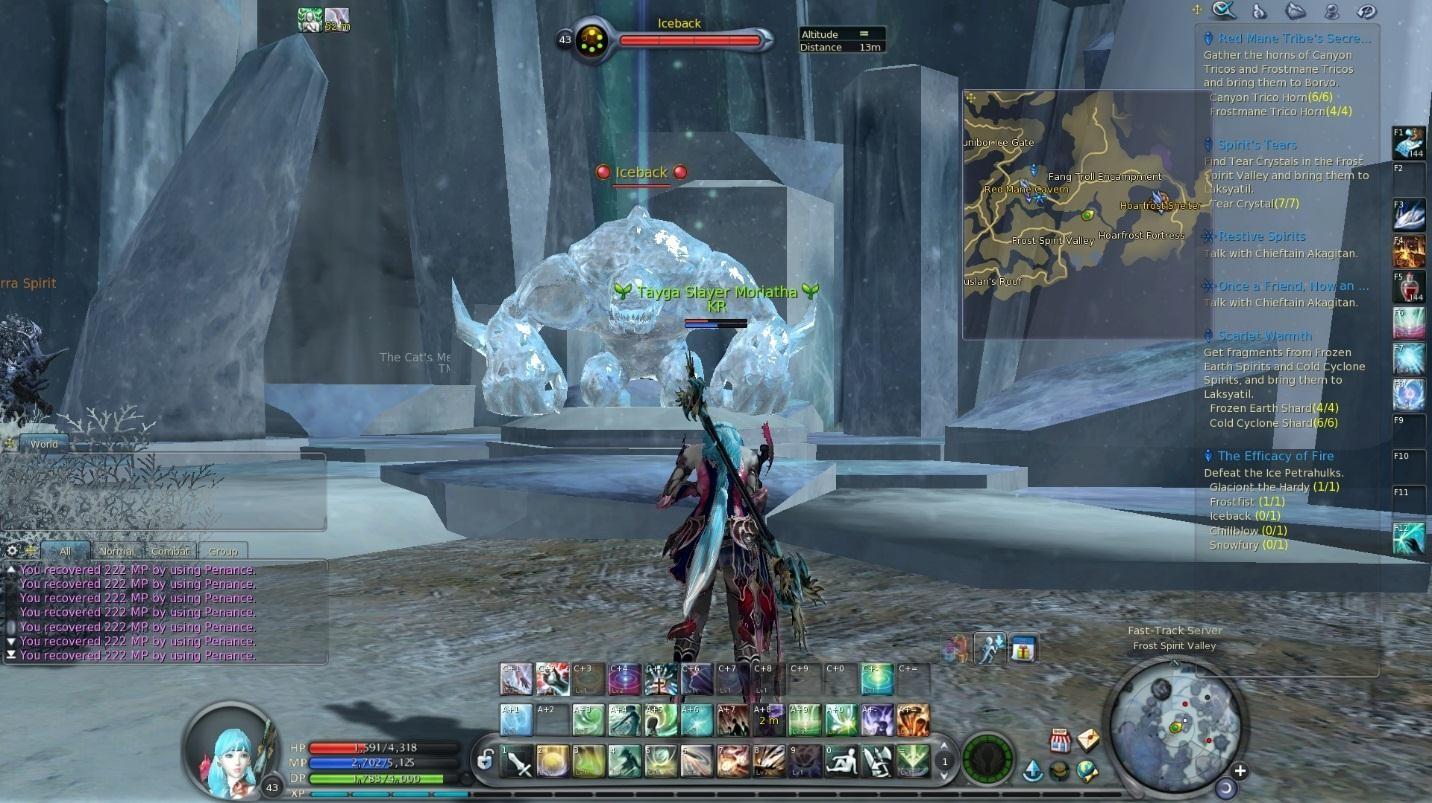
In the northeast is Iceback.
To the south is a hexagon that moves up and down.

Take it up. At the top, kill 4 Frostmane Tiricos and loot their horns.

Continue south to get to Chillblow and kill him.

Head back west to get to Snowfury.
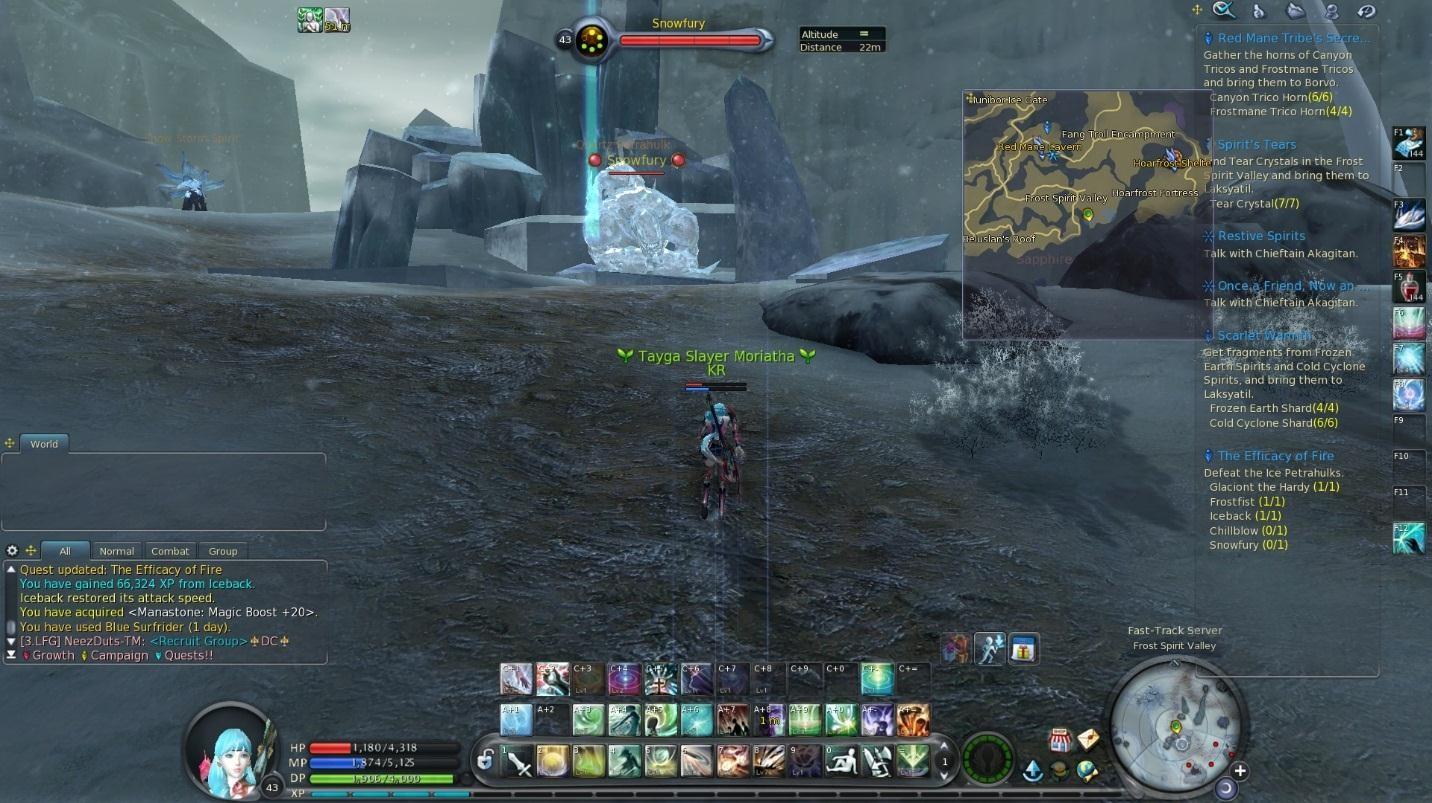
When he’s dead use your map teleport to return to Red Mane Cavern and turn your quests in to reach level 44.
Level 44
Head to Beluslan Fortress. Then find Endandos near the exit of the fortress and grab her pink quests for free goodies. Then speak with Nerita to update “Crisis in Beluslan”.
Fly to Red Mane Cavern and then Hoarfrost Shelter. Use the teleport statue to head to Bakarma Barracks.

You will be on top of a hill. Head down the hill to talk to a drakie.

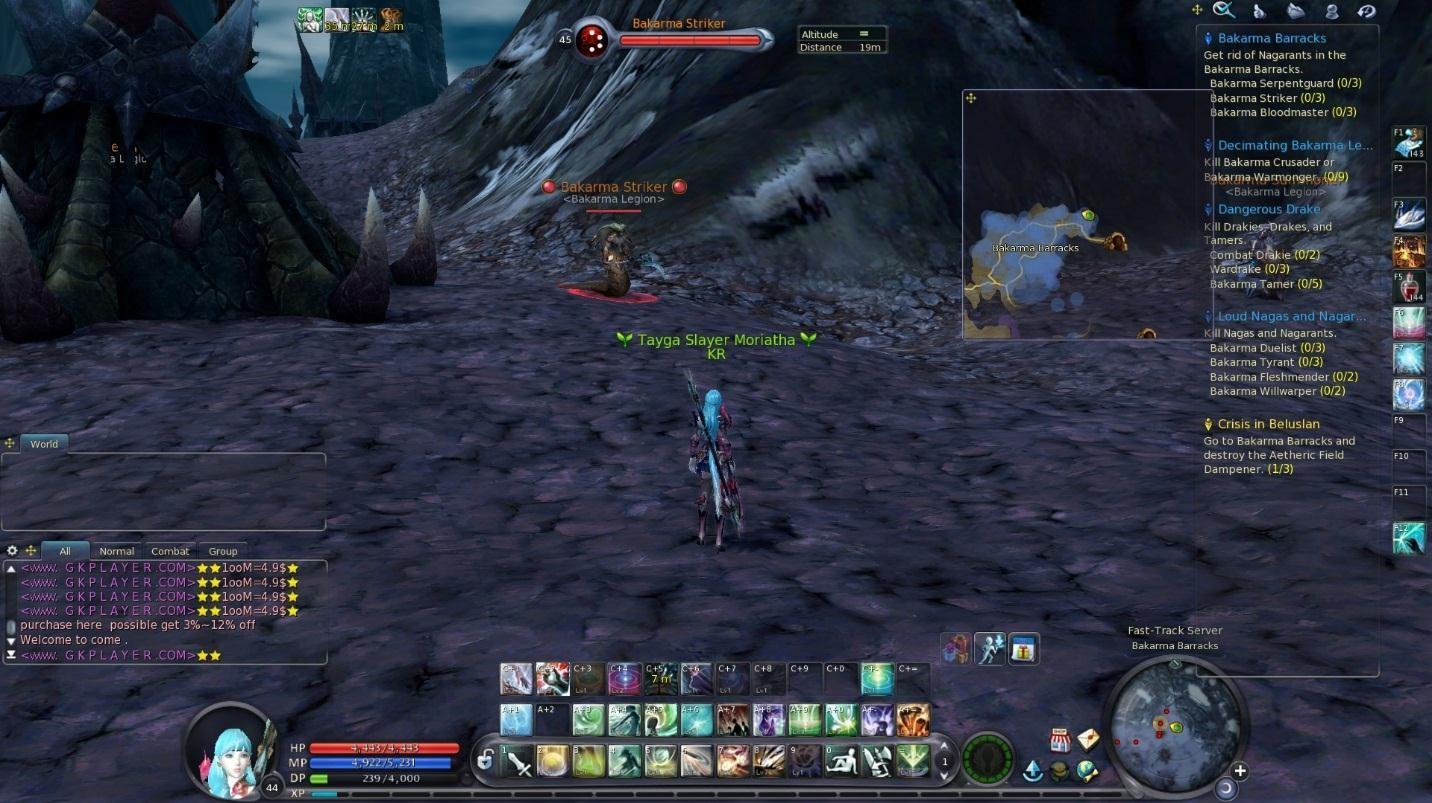
Update “Crisis in Beluslan” and pick up “Bakarma Barracks”, “Decimating the Bakarma Legion”, “Dangerous Drake”, and “Loud Nagas and Nagrants”.
Warning: The next few quests for level 44 are soloable, but extremely difficult. It is advised you find a group for it if you are less experienced. Regardless, only aggro mobs that do not have another mob next to them.
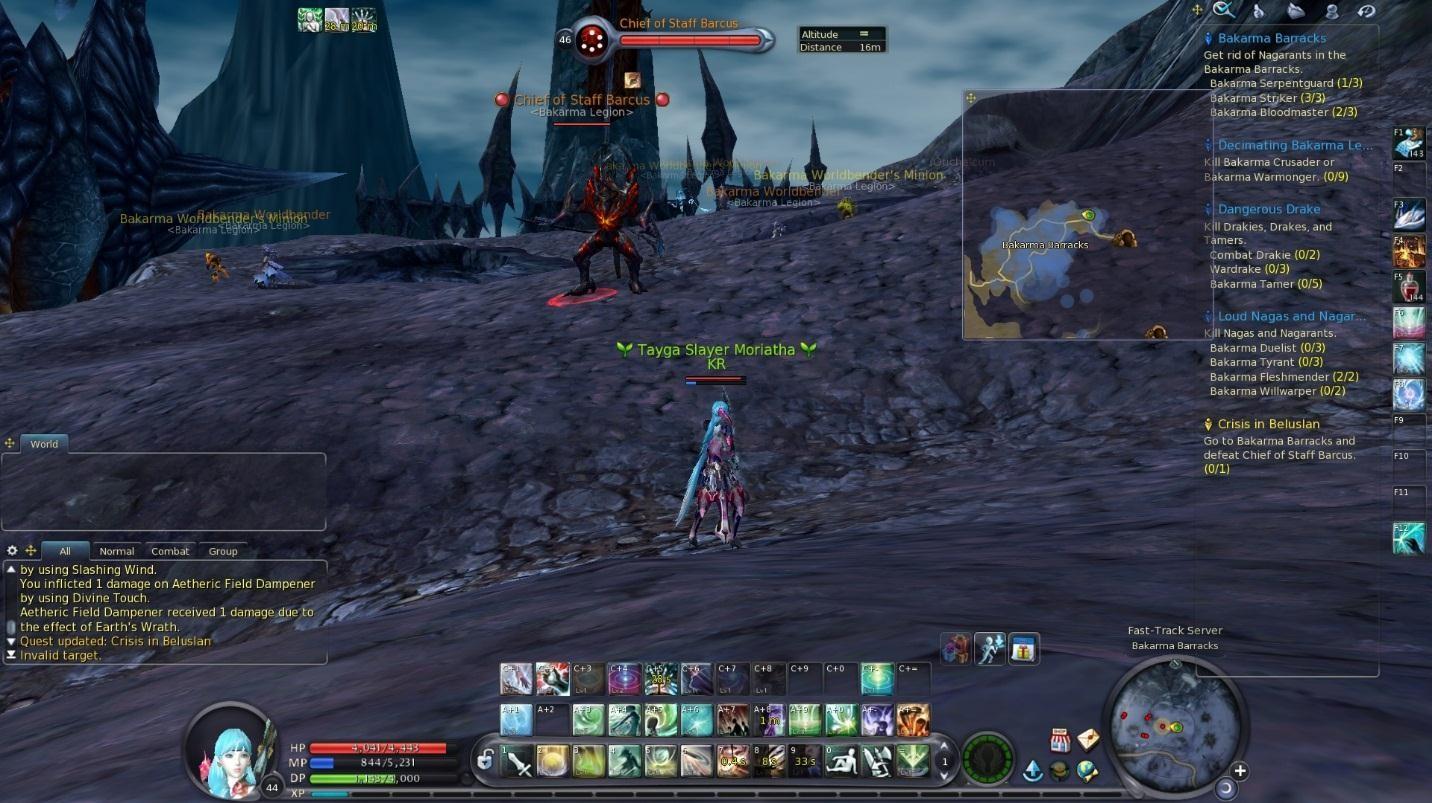
First, in this area, kill 3 Aetheric Field Dampeners. If you can’t find any, find one and change channels to kill it.

Once they’re down, kill the chief of staff. This guy hits HARD.
Next kill 3 Bakarma Strikers, Serpentguards, and Bloodmasters. There are single versions of each around this same area.
These guys have a skill called cruel capture which disables all skills for 10 seconds. If they use this on you, kite them for a bit and use a potion.
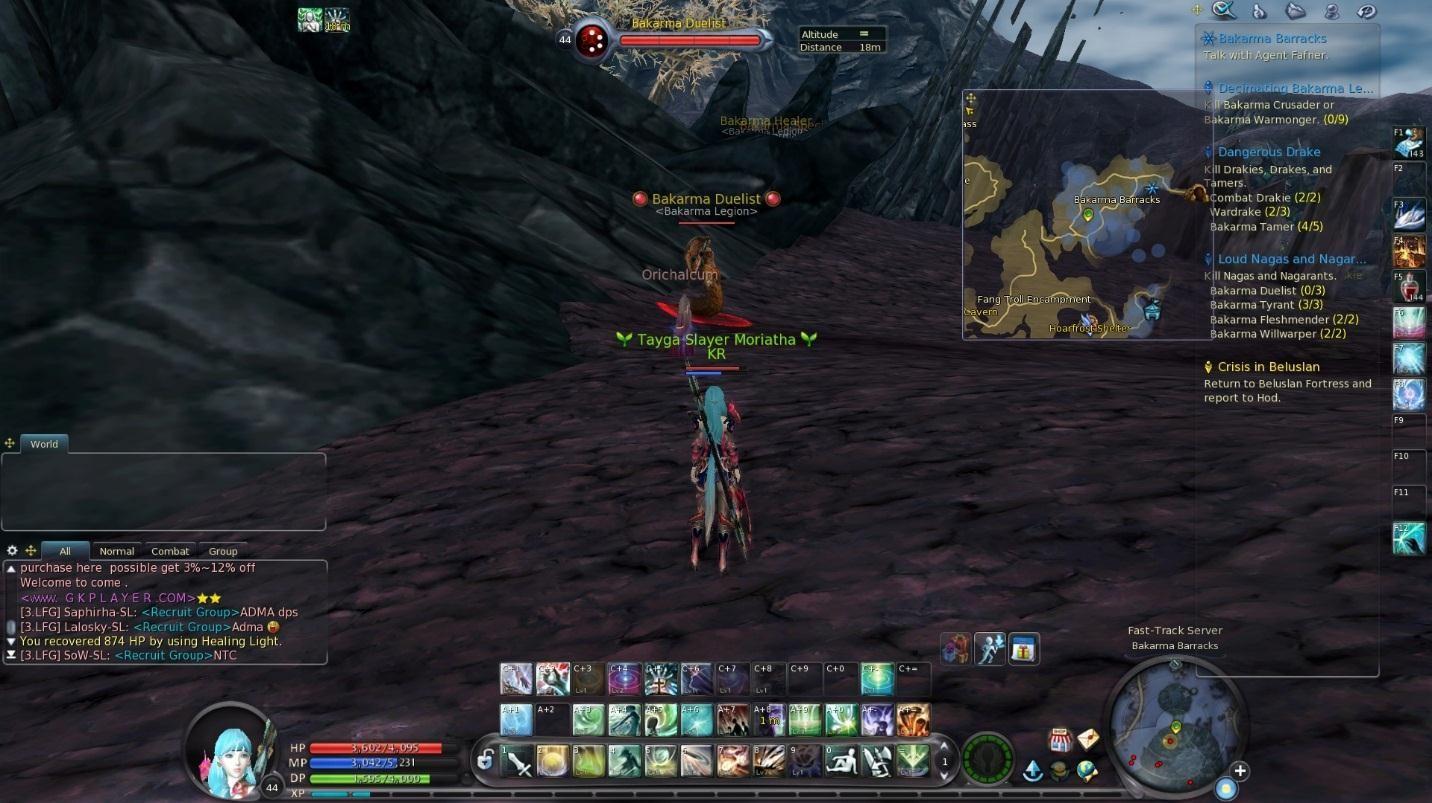
When done, head a bit further west. Here we will find plenty of single versions of Tyrants,
Fleshmenders, and Willwarpers. Kill 3 Tyrants, 2 Fleshmenders, and 2 Willwarpers. Be careful with the Willwarpers. They will usually paralyze you for 10 seconds immediately and take down a ton of your health, so have a potion ready for the second you stop being paralyzed. They also have a reflect skill.

To the southwest are Duelists. These guys have an invisible mob next to them, so it is suggested to CC the duelist and then kill the invisible mob. Unfortunately, they do have cruel capture, so it may be extremely hard without a greater healing pot (available on broker). The only one without an add is pictured below.
Head north to get to Tamers and drakes. Kill 2 partnered with Drakies and 3 partnered with Wardrakes.
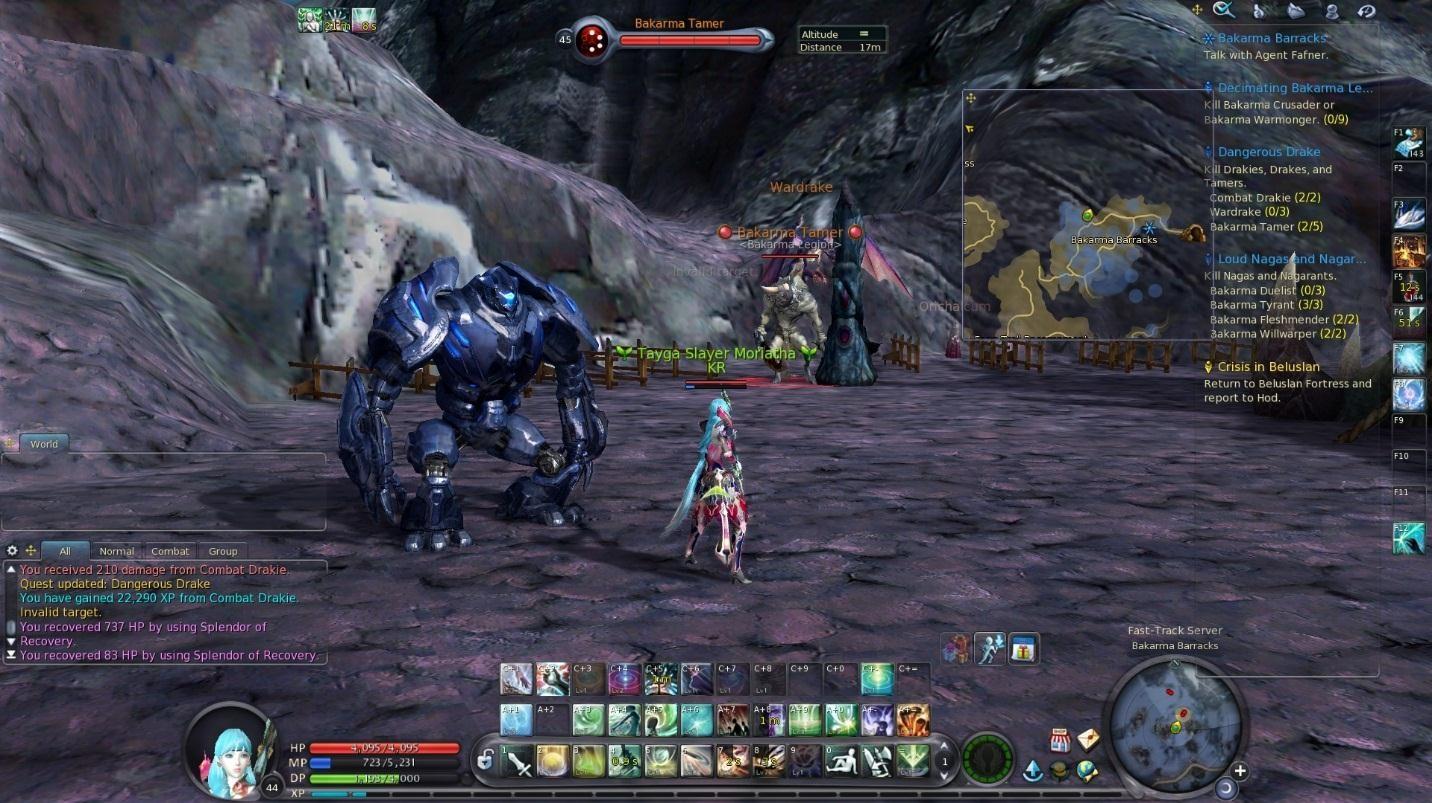
Tamers do turn you into a Tog for 12 seconds, so use a pot if you are.
When done, head south and kill 9 Crusaders.

Return to the Drakie to turn in your quests. Use your map teleport to return to Beluslan Fortress. Turn in “Crisis in Beluslan” to reach level 45.
Level 45
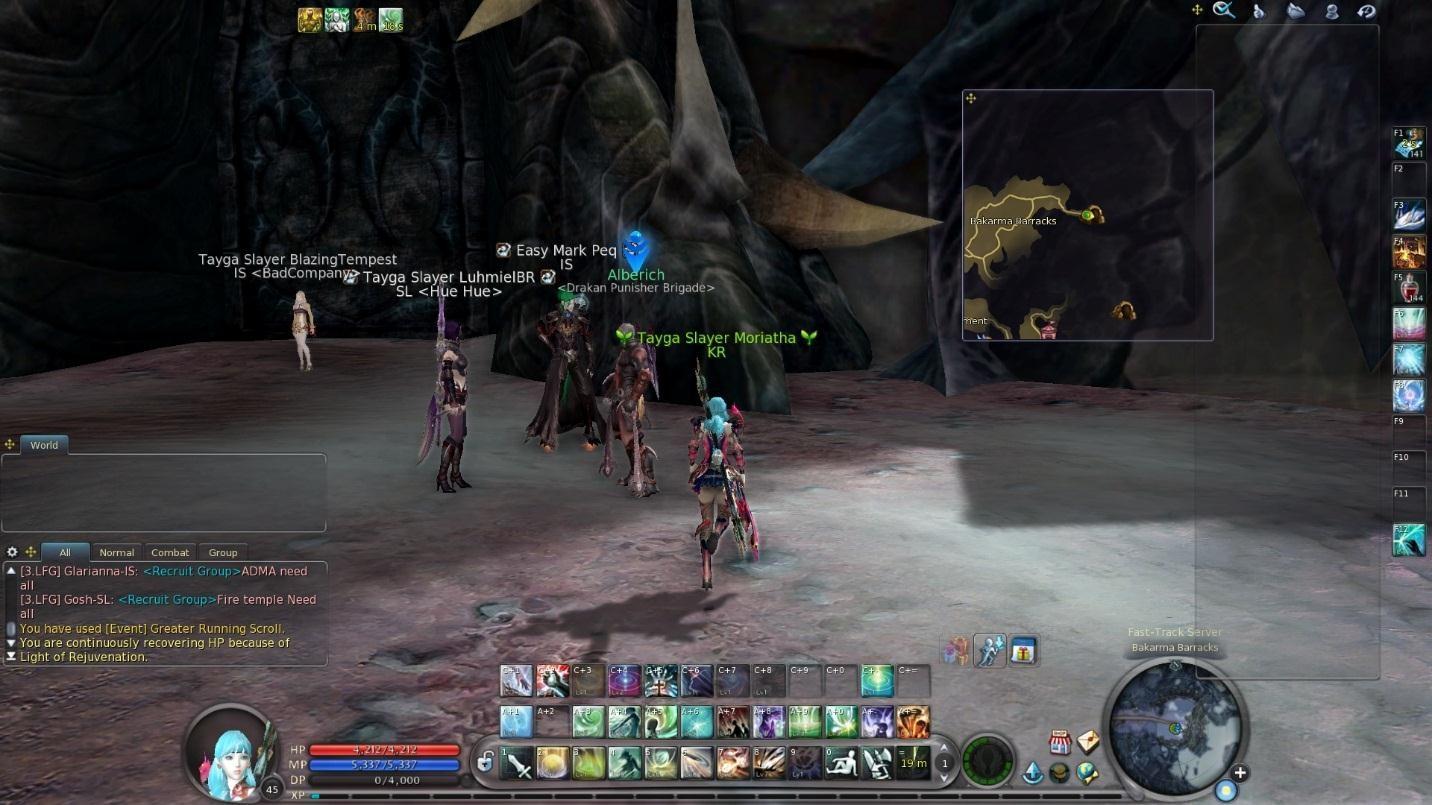
Pick up “To Steal a Secret” from Nerita. Teleport to Hoarfrost Outpost and take the statue to the Bakarma Barracks. Head east to the entrance of Draupnir Cave. Speak to Alberich on the outside of the fortress.
Use a pandaemonium scroll to return to panda. Head back to Aud in the capital building like we did at level 20 and turn in “Better than Great” to receive a greater stigma. In here are for most classes their most important skills, so choose wisely and then equip it.

Head east to Artisan’s Hall and pick up “Unexpected Reward” from Talon.
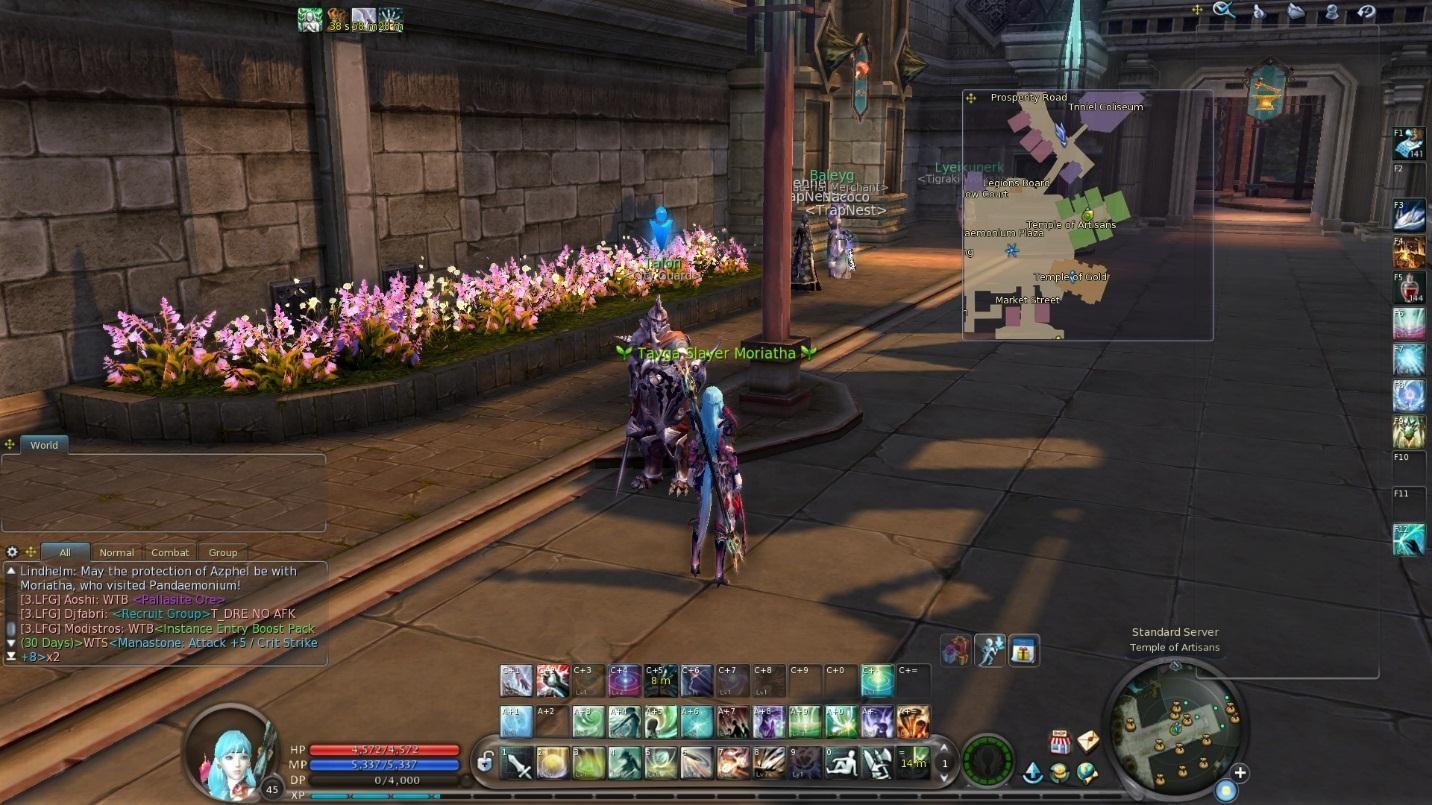
Head down to the temple of gold to turn it in to the cube artisan. This is the last inventory expansion covered in this guide due to 4.9 changing the other inventory expansions.
Grab goodies from your pink quests. Then teleport to Brusthonin. Fly to Baltasir Hill Village. Pick up “Glug Glug Glug” from Surt.

Head out the west side of the village and kill 10 Rotten Branch Agrints.

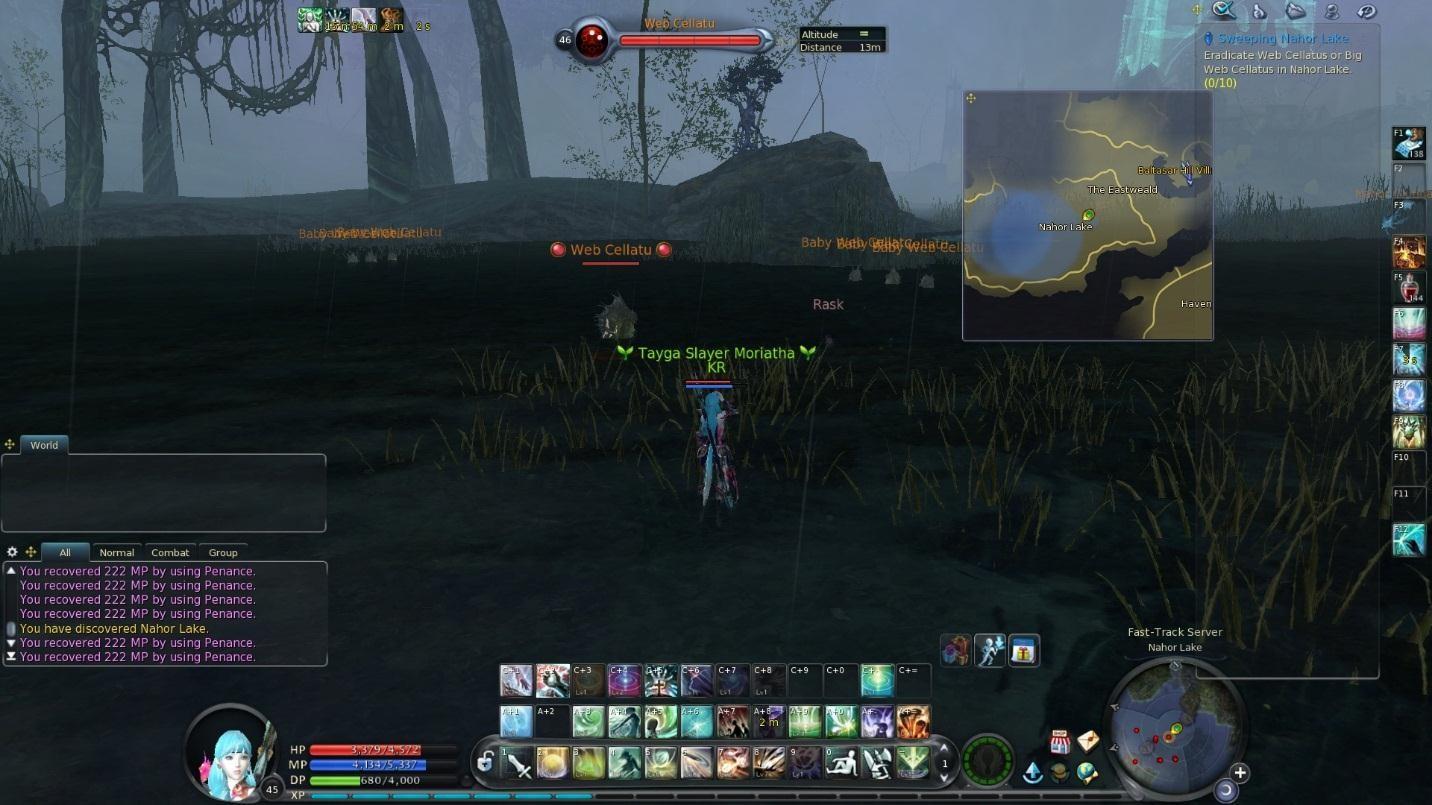
Return to Surt to turn in “Glug Glug Glug” and pick up “Sweeping Nahor Lake”. Head out the west and go further than before to kill 10 Web Cellatus.
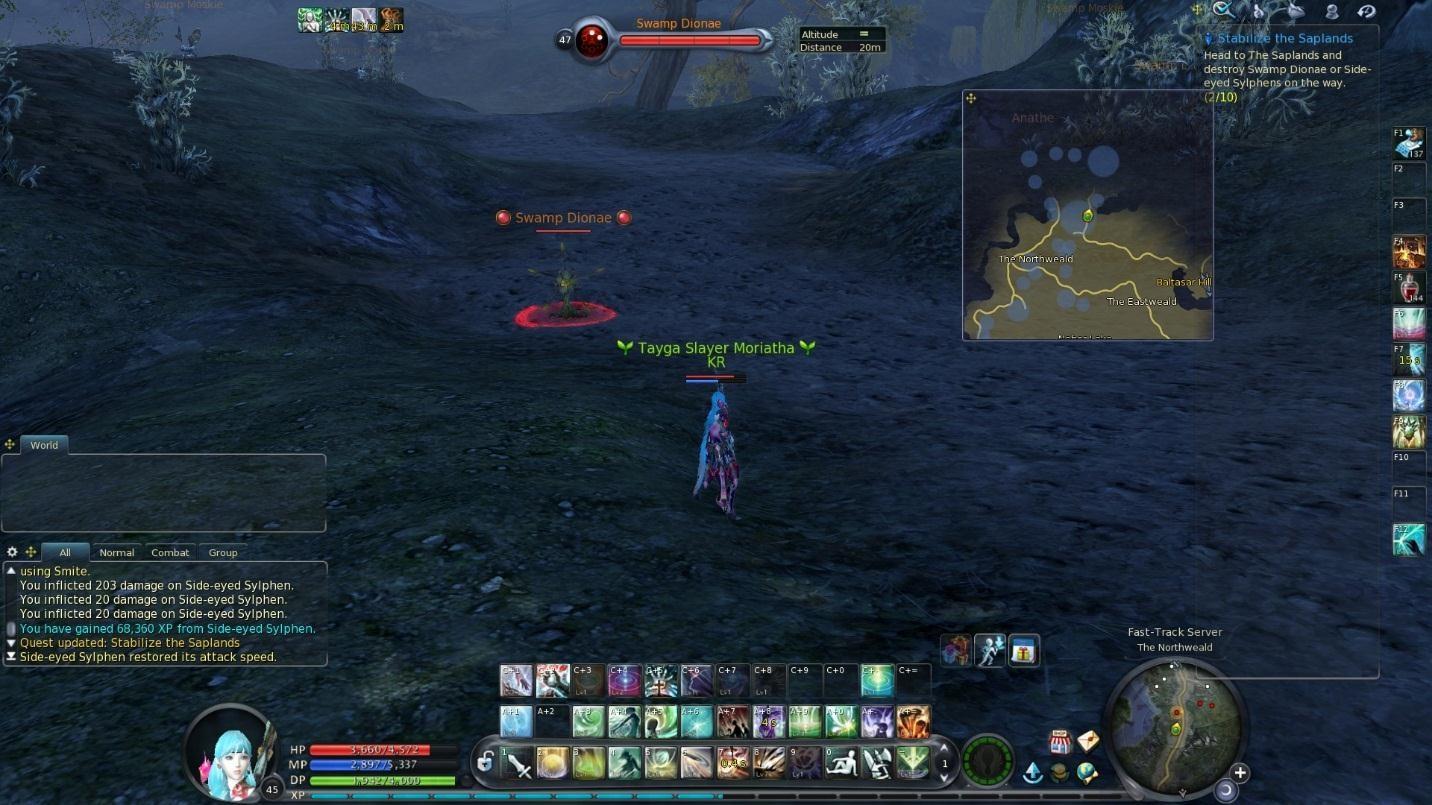
Return to Surt to turn in “Sweeping Nahor Lake” and pick up “Stabilize the Saplands”. Fly to Bubu village and head southeast. Kill 10 Swamp Dionaes.
Return to Bubu village and turn the quest in to BuBu Khaaan and pick up “Scared Skurvs”. Head southeast and kill 10 Tenacious Karnifs.

Return to BuBu Khaaan to turn in the quest and pick up “Beach Day”. Head east out of the camp and kill 10 Chimaeras.

Return to BuBu Khaaan to turn the quest in and pick up “Back to Surt”. Head south and kill 10 Ksellids on the way.

Continue south to the edge of torment, and then fly to Baltasar Hill Village to turn the quest in.
This gear set is usable at level 46. However, if you are going to use it, you have to use all 5 pieces until you get shoes of another set. This set has 0% running speed on the shoes as opposed to the usual 22%, and instead put the 22% as a 5-piece set bonus.
When you turn in the last quest, you should hit level 46


0 comentários:
Postar um comentário